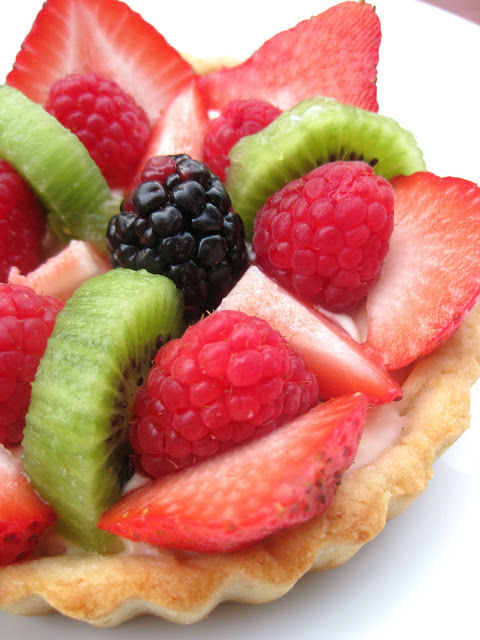
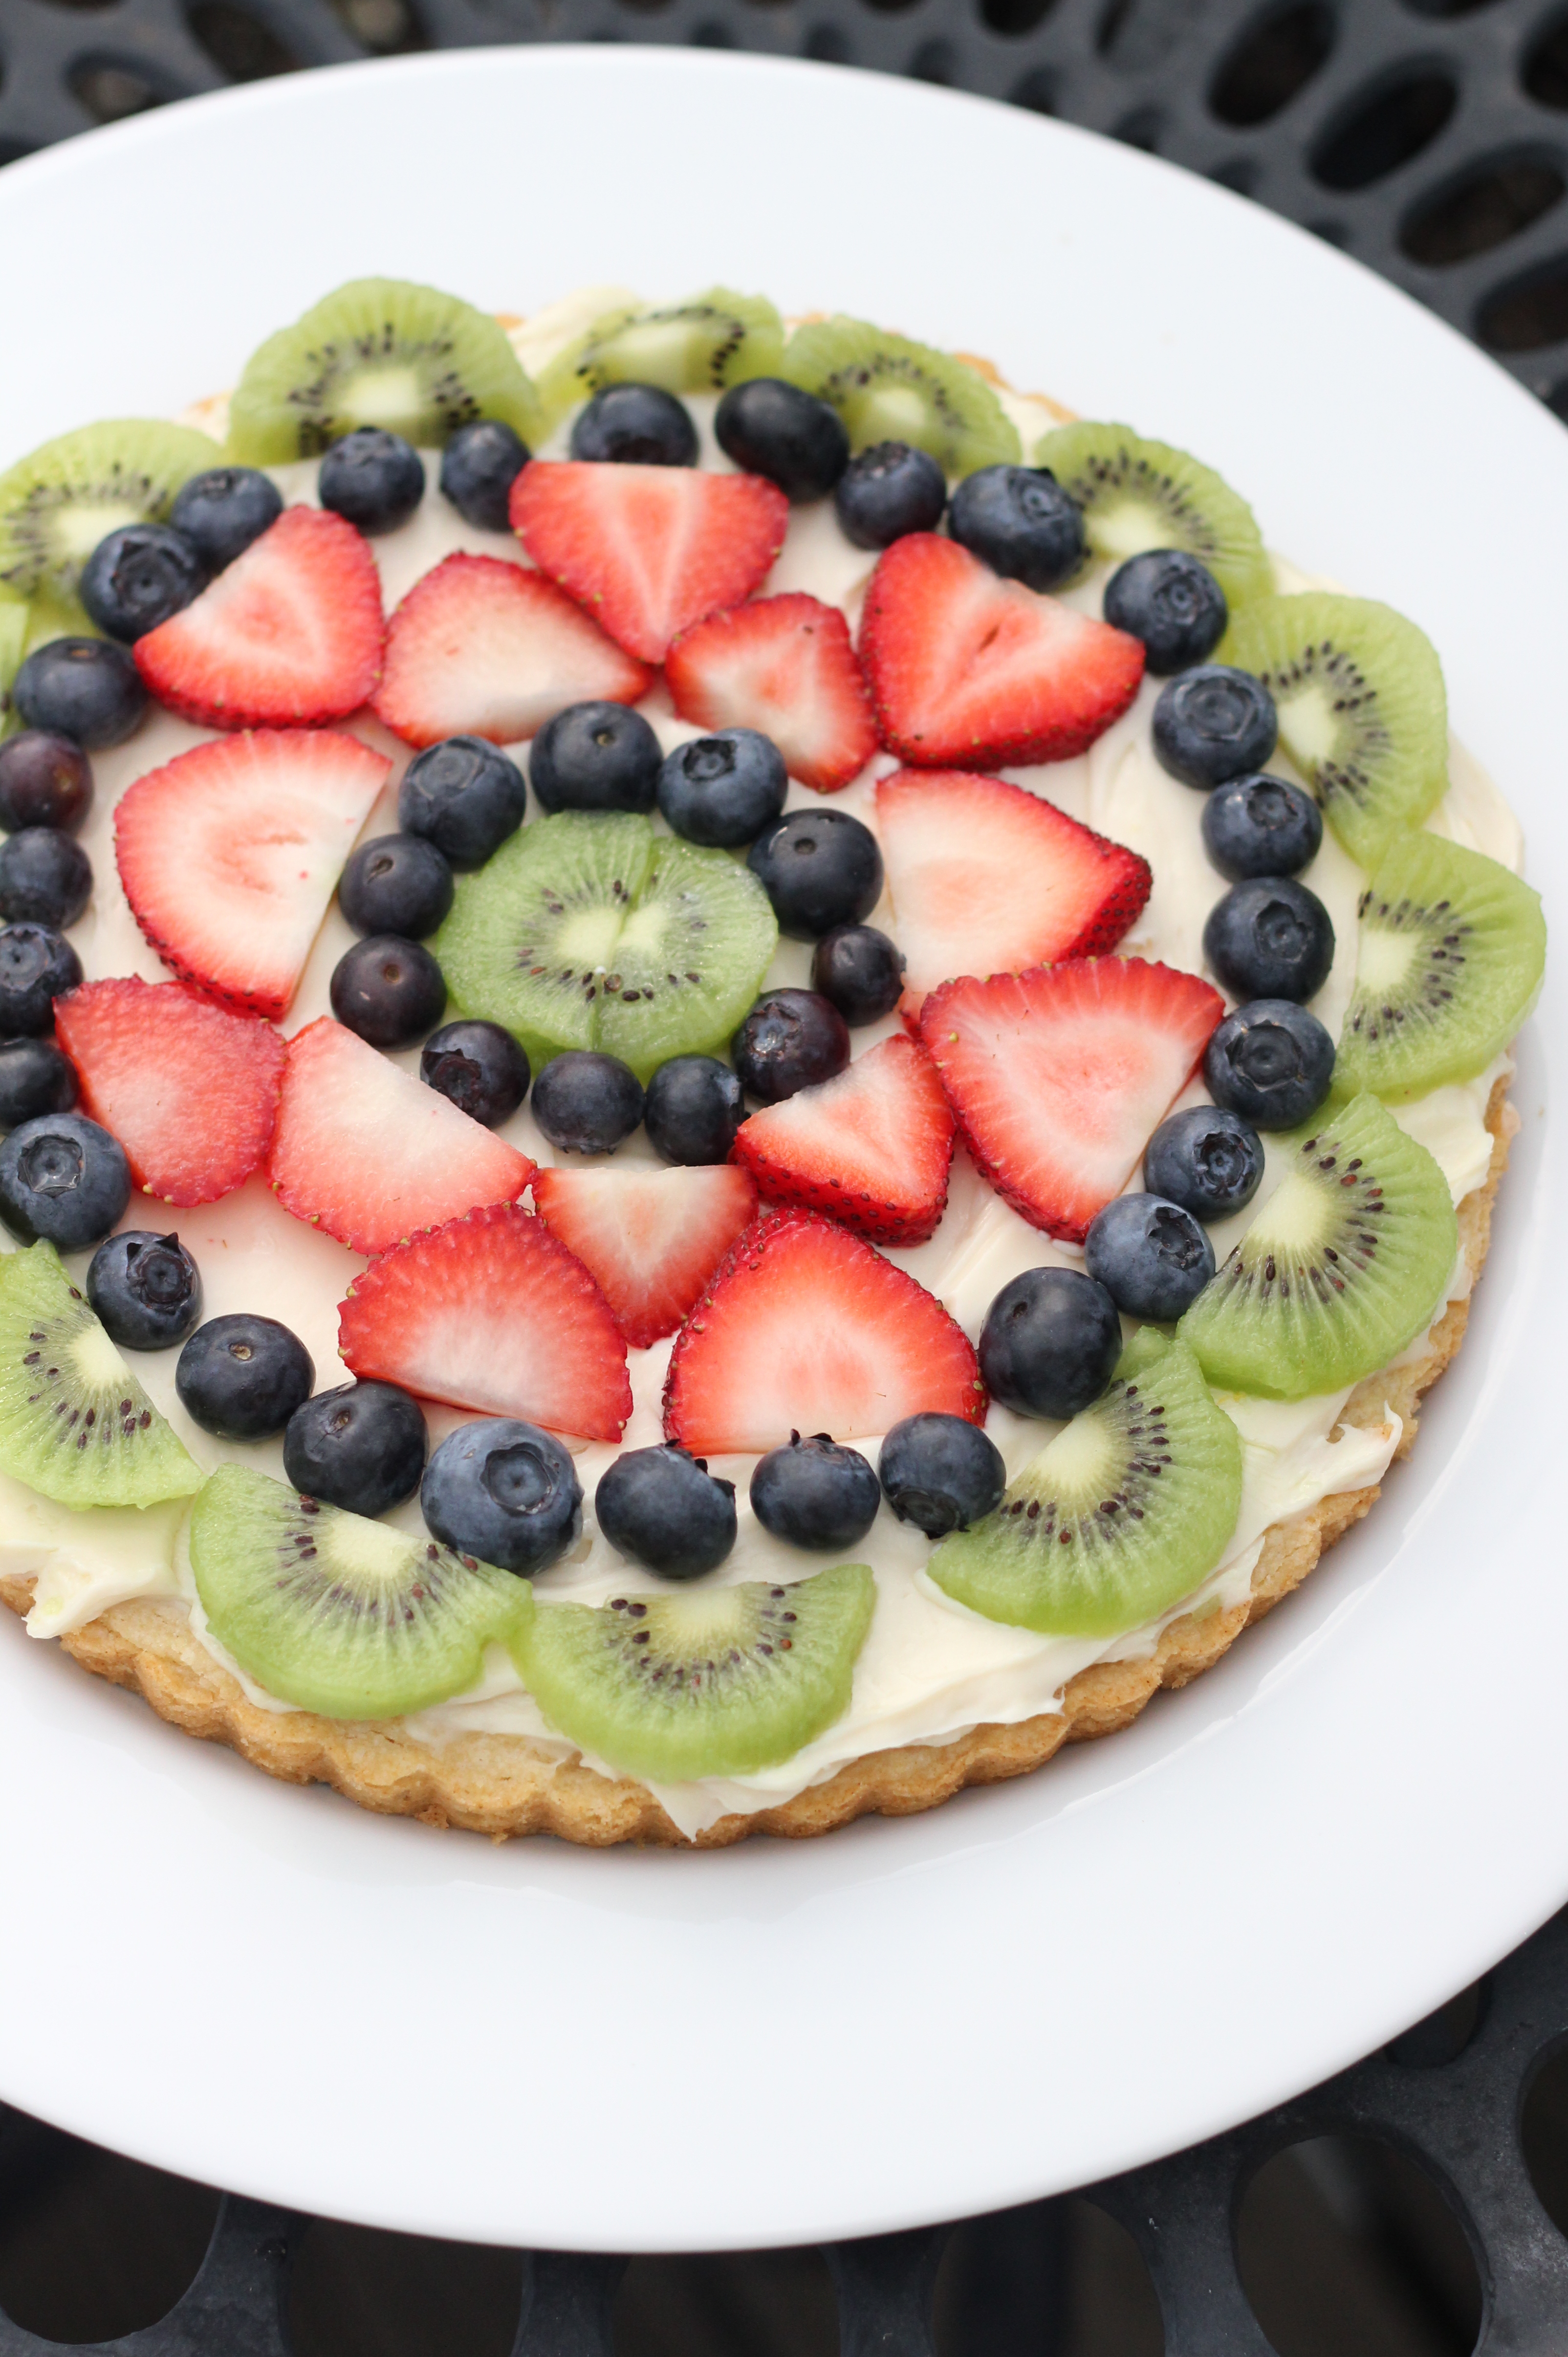
I’ve been wanting to master the art of fruit tarts forever. Every time I passed by a bakery window I’d admire the rows of tart perfection and a wave of jealousy would rush over me. I want to be able to create that! If I thought about it too hard I’d begin to salivate…I could almost taste them…their flaky butter crusts surrounding the sweet cream filling, piled high with fresh juicy fruits in every color of the rainbow.
The crust recipe I used has been circulating through kitchens across America, and has such a good reputation that I didn’t dare stray. It’s quite easy to make, and if you take the shortcuts I did, it’s quick as well. The filling? Only a matter of creaming a few ingredients together. And for the fruit topping…why, you can use whatever your heart (or stomach) desires. It couldn’t be more simple.
I used marscapone for my filling but you could go with the more traditional cream cheese. There are countless recipes out there for tart fillings…so experiment. I was very happy with this crust, and I’m sure it would be great with a variety of creative fixings.
With a dessert this picturesque, I worried that the taste wouldn’t stand up to it’s visual appeal (as is often the case with sub-par baked goods). But these delicate morsels were divine. Fresh and fabulous.
Sweet Tart Crust
INGREDIENTS:
1 1/2 cups all-purpose flour
1/2 cup confectioner’s sugar
1/4 tsp. salt
9 Tbsp. very cold unsalted butter (1 stick plus 1 Tbsp.), cut into small pieces
1 large egg yolk
DIRECTIONS
1. Put the flour, sugar and salt in the bowl of a food processor and pulse a few times to combine. Scatter the pieces of butter over the dry ingredients and pulse until the butter is coarsely cut in—you should have pieces the size of oatmeal flakes and some the size of peas. Stir the yolk, just to break it up, and add it a little at a time, pulsing after each addition. When the egg is in, process in long pulses—about 10 seconds each—until the dough, which will look granular soon after the egg is added, forms clumps and curds. Just before you reach this stage, the sound of the machine working the dough will change—heads up. Turn the dough out onto a work surface and, very lightly and sparingly, knead the dough just to incorporate any dry ingredients that might have escaped mixing. Chill the dough, wrapped in plastic wrap, for about 2 hours before rolling.
NOTE: I don’t have a large food processor and so I did this step by hand using a pastry blender. I found that my dough wasn’t quite moist enough so I added about 1 Tbsp. of water to help it come together. If you are using a food processor you will probably not need to add the water. Instead of chilling the dough I chose to press it directly into the pastry tins. To prevent it from rising while baking I lined the dough filled pans with aluminum foil and filled them with beans. Halfway through baking (after about 10 minutes), I removed the beans from the crusts, pricked them with a fork, and returned them to the oven. Since I used smaller tins, they didn’t take the full length of time to cook. Make sure to let them cool completely before filling.
2. To roll the dough: Butter a 9-inch fluted tart pan with a removable bottom. Roll out chilled dough on floured sheet of parchment paper to 12-inch round, lifting and turning dough occasionally to free from paper. Using paper as aid, turn dough into 9-inch-diameter tart pan with removable bottom; peel off paper. Seal any cracks in dough. Trim overhang to 1/2 inch. Fold overhang in, making double-thick sides. Pierce crust all over with fork.
3. Freeze the crust for at least 30 minutes, preferably longer, before baking.
4. To fully bake the crust: Center a rack in the oven and preheat the oven to 375°F. Butter the shiny side of a piece of aluminum foil (or use nonstick foil) and fit the foil, buttered side down, tightly against the crust. (Since you froze the crust, you can bake it without weights.) Put the tart pan on a baking sheet and bake the crust for 25 minutes.
5. Carefully remove the foil. If the crust has puffed, press it down gently with the back of a spoon (or prick it with the tip of a small knife). Bake the crust about 10 minutes longer, or until it is firm and golden brown, brown being the important word: a pale crust doesn’t have a lot of flavor. Transfer the pan to a rack and cool the crust to room temperature.
(Sweet Tart Crust from Confessions of a Tart, originally from Dorie Greenspan)
Marscapone Filling
INGREDIENTS
8 oz. marscapone cheese
1/4 tsp. vanilla
1/4 cup. confectioner’s sugar
1 tsp. orange zest
DIRECTIONS
1. In a small bowl combine the marscapone, vanilla, sugar, and orange zest, mixing until smooth. Refrigerate until ready to use.
2. Once the tart crusts have cooled, evenly divide the filling between them and spread it over the bottom of the tart shell. Arrange fresh fruit/berries on top of the filling and serve.
(Filling adapted from Simply Recipes)
Makes 1 large 9-inch or 4 4-inch tarts.


That’s funny you asked because yes, I just finished reading it! (Well, a month ago before I started school.) I really enjoyed it… and was so impressed with how they survived on their own/locally. It inspired me to visit the farmers market more and to try making my own cheese (you’ll see if you haven’t gotten to that part yet!) But yeah, she has a lot of opinions on food that I agree with although I’ll never be able to go to quite that length! And I made her zucchini cookies…!
Have you read Barbara Kingsolver’s book “Animal, Vegetable, Miracle”? I think you’d like it. It reminds me of your philosophy on food. Kingsolver is way into “eating with the season” — she won’t eat a single fruit or vegetable (unless she’s canned it herself) that isn’t in season or grown in the county she lives in. I’m halfway through it right now and at times she seems a bit excessive, but all in all it’s pretty interesting!