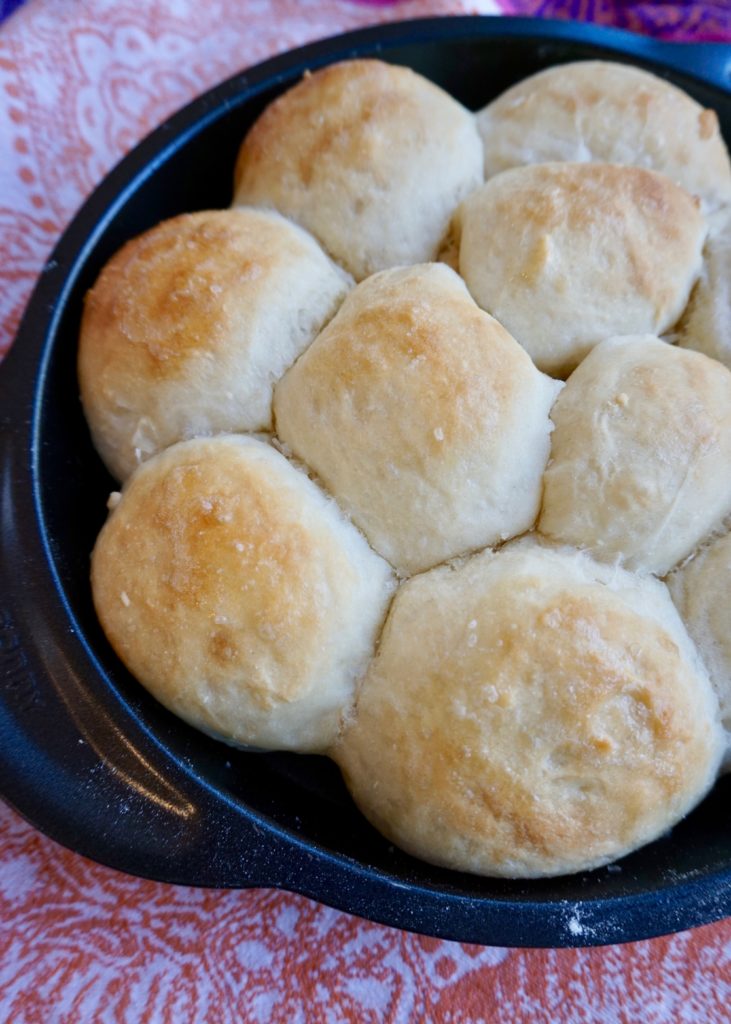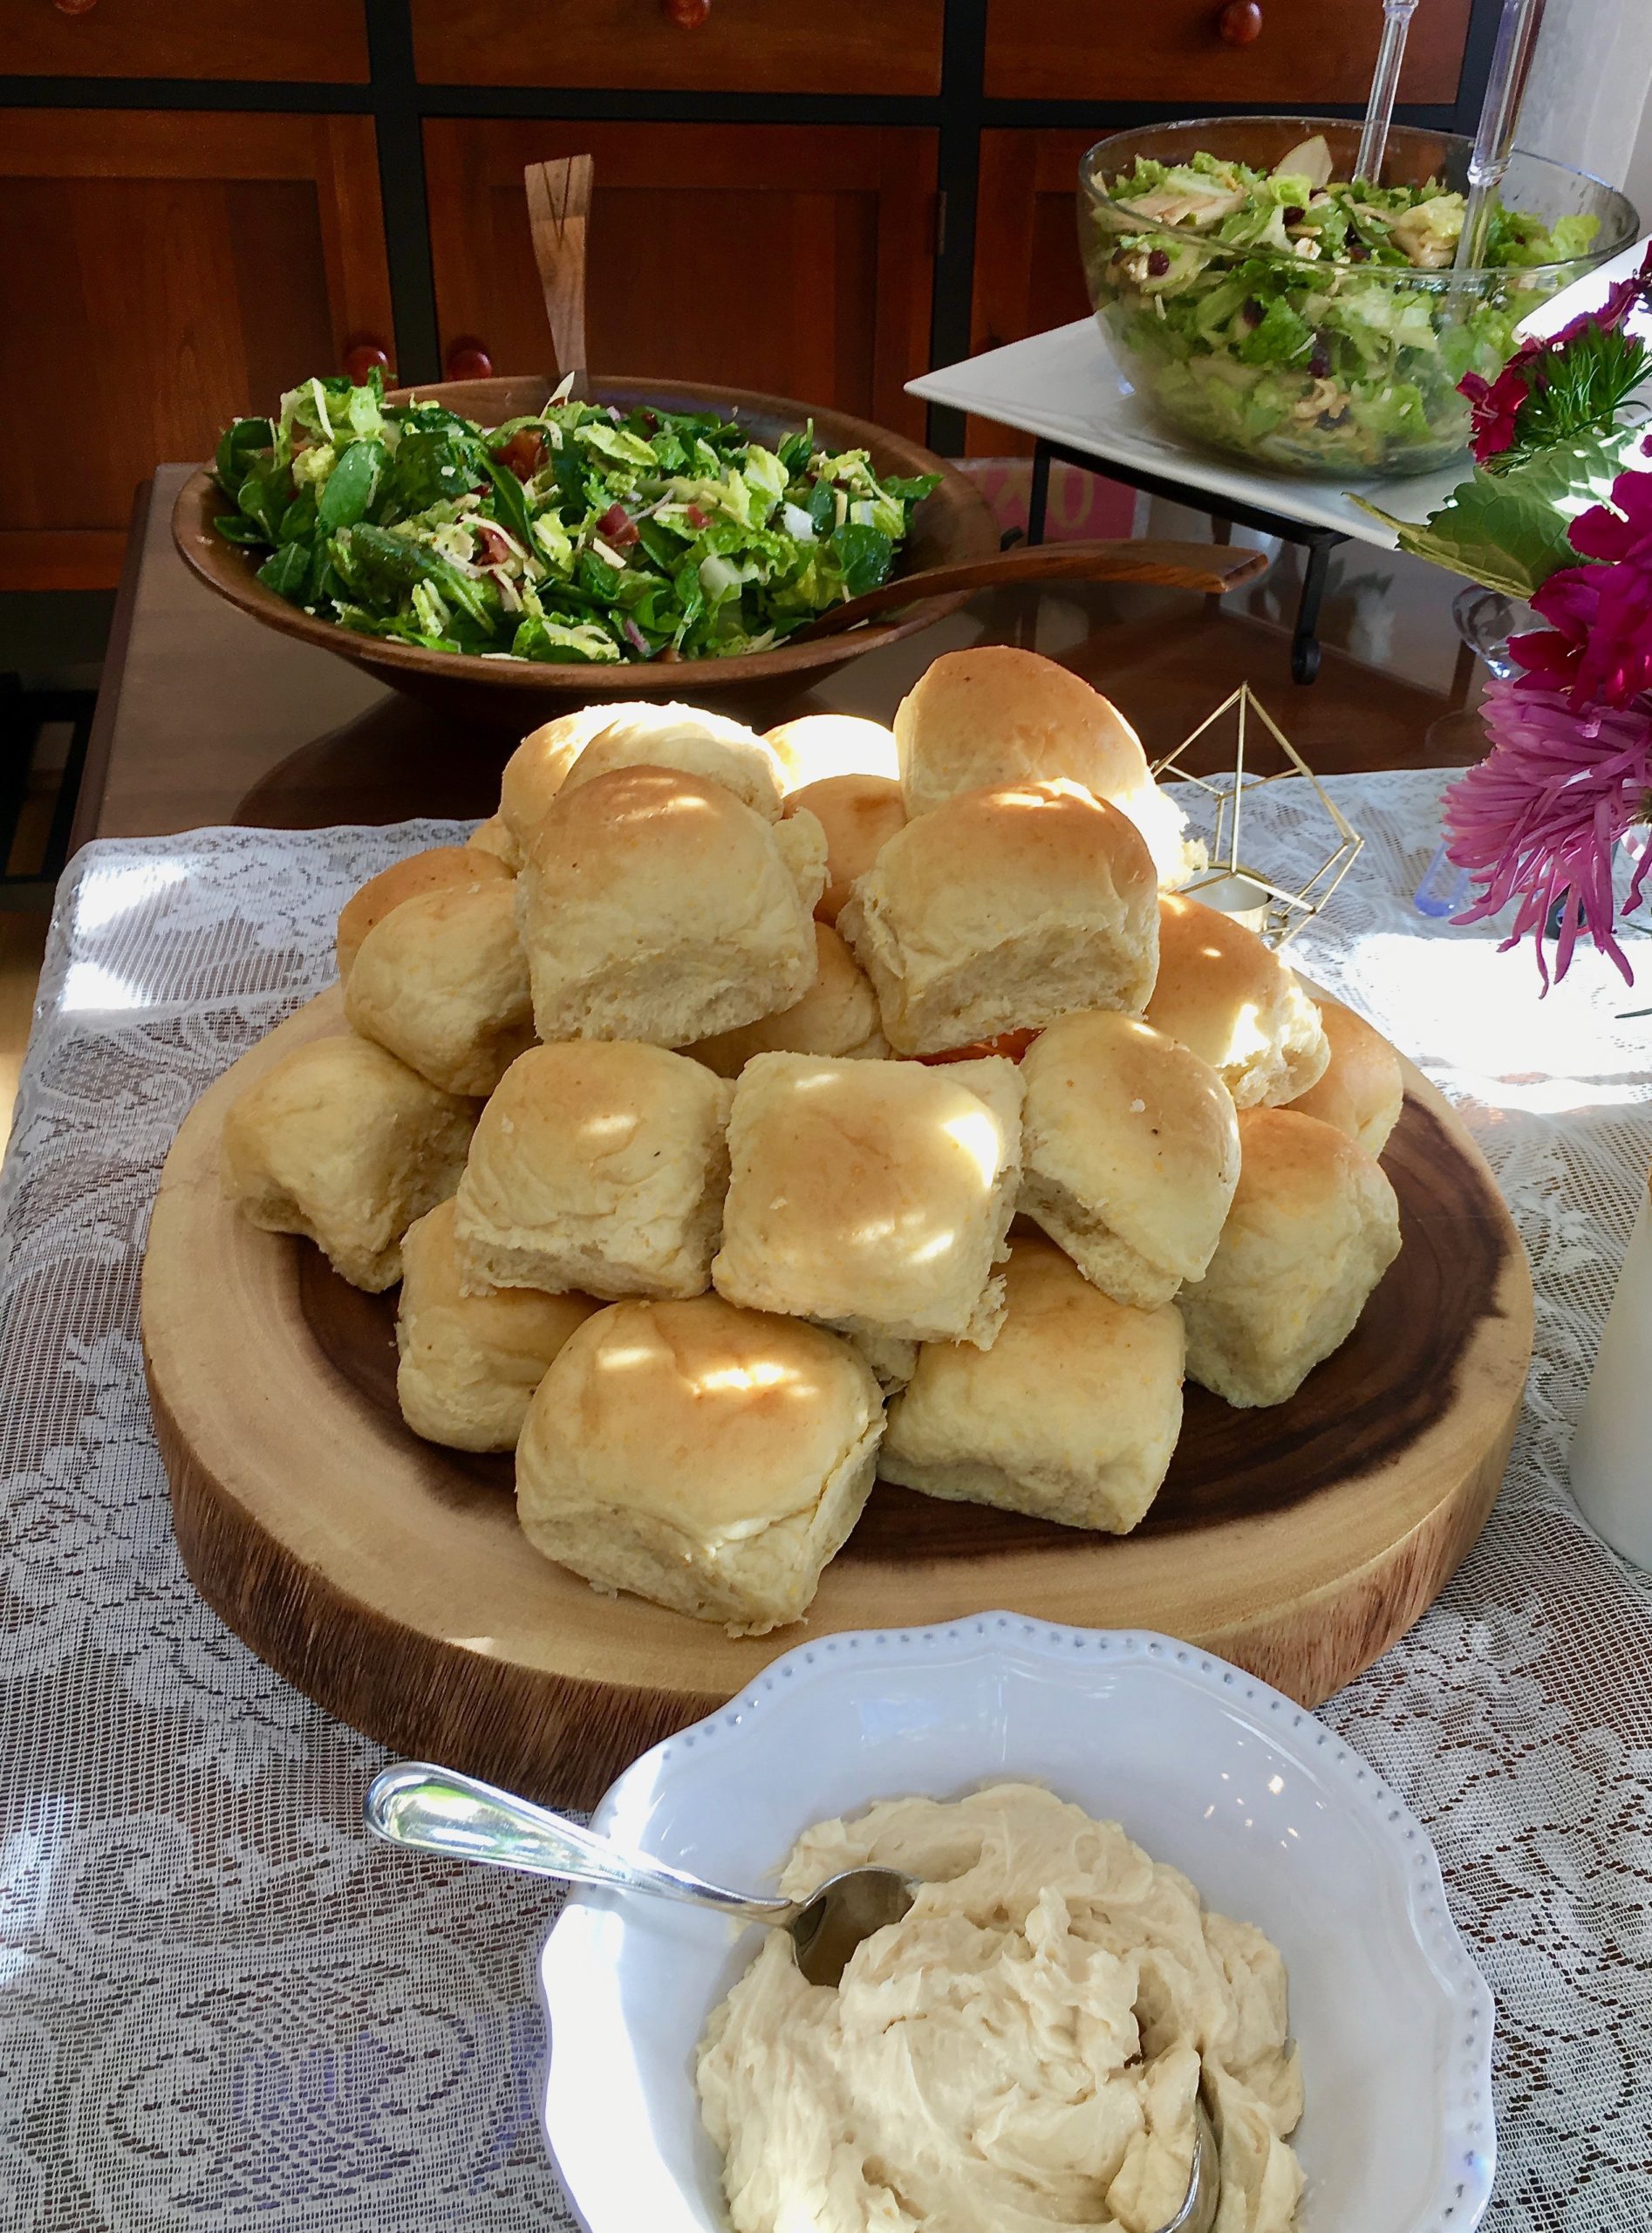
I decided last minute that I wanted to rolls to serve with our Easter dinner. And since I had a pile of potatoes to julienne and pork and carrots to roast I wanted something easy. After a quick search I found this recipe and went for it. I didn’t expect too much because I’ve never made rolls with a no-knead method before (I figured no-knead doughs needed a long rise to develop properly). But the fact that I’m sharing this recipe today means I was pleasantly surprised… these rolls were soft and fluffy, especially delicious with a pat of butter and drizzle of honey, and my little family fought over them!
The original recipe below notes that it’s best to use buttermilk (not a substitute). I’ve learned to just keep buttermilk on hand because it’s inexpensive and I use it often in baking and breakfast foods (pancakes, waffles, even french toast). If I’ve had a jug of buttermilk open a few days and haven’t used it up I put the rest in the freezer and thaw it out as needed. Budget Bytes recommends freezing it in ice cube trays, but I usually just measure it by cup-fulls and freeze in ziplock freezer bags.
No Knead Buttermilk Dinner Rolls
INGREDIENTS
2 cups all-purpose flour
1 tsp. kosher salt (use less for table/sea salt)
1 Tbsp. sugar
1 1/8 tsp. instant yeast
1/2 cup boiling water
1/2 cup buttermilk
3 Tbsp. melted butter, divided
pinch of flakey salt (optional)
DIRECTIONS
- In a large bowl, whisk together the flour salt, sugar, and instant yeast.
- In a small bowl or liquid measuring cup, pour the boiling water over the buttermilk, stir to combine, and let cool for 10 minutes. The buttermilk may look curdled, but this is okay.
- Pour the buttermilk mixture and 2 Tbsp. of the melted butter over the flour mixture. Stir until a sticky ball of dough forms. Cover the dough in the bowl with a damp tea towel or plastic wrap and set aside in a warm place for 1.5 to 2 hours, or until doubled in bulk.
- Grease an 8-inch circle or square baking dish. Using two forks, deflate the dough by releasing it from the sides of the bowl and pulling it toward the center. Rotate the bowl quarter turns as you deflate, turning the mass into a rough ball.
- Liberally flour a work surface. Use the two forks to lift the sticky ball of dough out of the bowl and onto the floured surface. Using a bench scraper or sharp knife, cut the dough into 10-12 pieces. Using well floured hands, shape each piece roughly into a circle. It’s okay if each piece is a little misshapen. Place the dough balls into the prepared pan, spacing them evenly apart.
- Begin preheating the oven to 375ºF. Let the dough rise, uncovered, for 20-25 minutes, or until the dough pieces have puffed to almost fill the pan.
- Transfer the pan to the oven and bake for 20-25 minutes, or until golden brown. Remove them from the oven and immediately brush the surfaces with the remaining 1 Tbsp melted butter. Sprinkle a pinch of flakey salt over top. Let the rolls cool in the pan for 5 minutes, then turn it out onto cooling racks and invert onto a plate. Let the bread rest for 5 minutes before serving.
NOTE: I highly suggest using real buttermilk for this recipe instead of a milk and vinegar substitute. If you’re concerned about having leftover buttermilk, follow these instructions for freezing your buttermilk for later use.
Makes approx. 10-12 rolls (and can be easily doubled to make more).
Recipe from Budget Bytes


/ COMMENT / Share