Author Archives: Jessie Davis

Dahlia Bakery’s Cherry Almond Scones

February 20, 2021

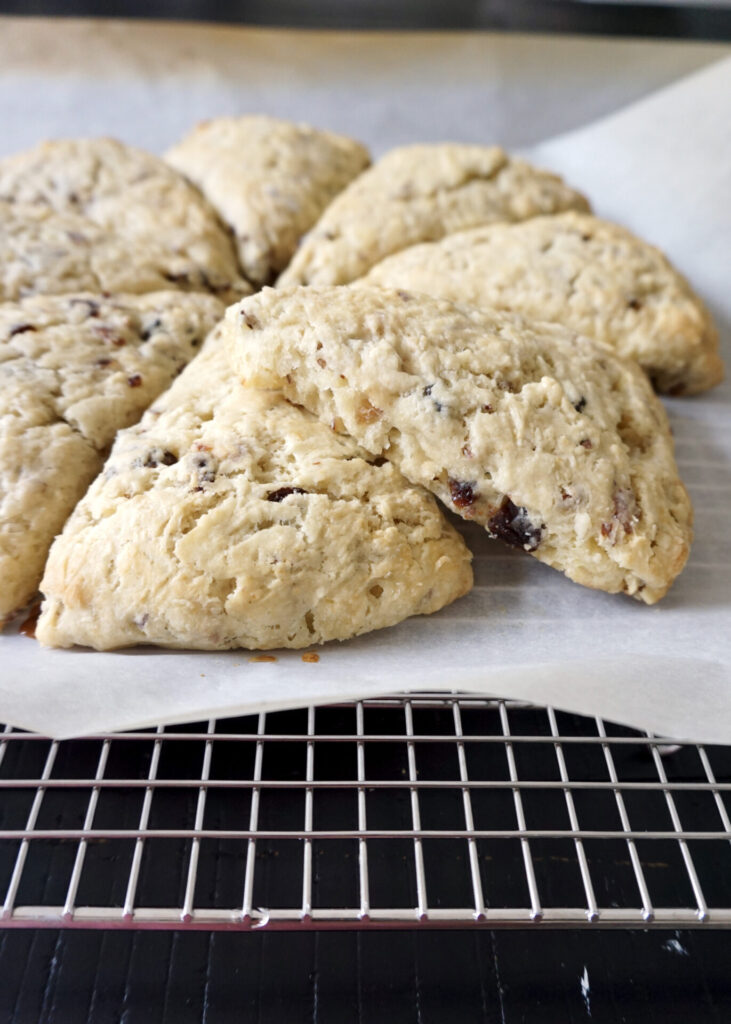
Like the Tomato Soup with Brown Butter Croutons, this recipe come’s from Seattle’s Dahlia Bakery, one of my favorite places to eat downtown. They’ve been closed during the pandemic and it has been more motivation for me to try their recipes at home! I made these scones for brunch last weekend, with soft scrambled eggs, chicken sausages, and green smoothies on the side, and my kids oohed and aahed over them! They’re not overly sweet but plenty buttery. And quite addictive with a crackly sugar top, bits of tart dried cherry, and crunchy almond flakes. I added lemon zest as directed but think they’d be just as, maybe more, delicious with orange zest!

Dahlia Bakery’s Cherry Almond Scones

INGREDIENTS

2 1/2 cups all-purpose flour
1/4 cup sugar + extra for sprinkling
1 tsp. baking powder
1 tsp. grated lemon zest (or orange zest)
3/4 tsp. kosher salt
1/4 tsp. baking soda
10 Tbsp. cold unsalted butter, cut into small cubes
1/2 cup dried tart cherries, coarsely chopped (I used Trader Joe’s brand)
1/2 cup sliced blanched almonds, toasted and cooled (mine weren’t blanched and it was fine)
1 cup buttermilk
1/4 tsp. pure vanilla extract
1/4 tsp. pure almond extract
1/4 cup heavy cream, for brushing (I used whole milk in a pinch)

DIRECTIONS

  1. Preheat oven to 425 F.
  2. In a small pan, toast almonds over medium heat about 5 minutes, stirring occasionally. Remove from heat. Let cool completely.
  3. In a large bowl, combine flour, sugar, baking powder, lemon zest, salt, and baking soda. Cut the butter into the dry mixture, using a pastry blender or your fingertips until the mixture looks like coarse cornmeal. Mix in the cherries and almonds.
  4. Add buttermilk and extracts. Using rubber spatula, mix until dough just comes together.
  5. Turn dough onto lightly floured surface and knead lightly and quickly with hands until buttermilk is evenly incorporated into dry ingredients, being careful not to overwork the dough. Pat dough with your hands into a 9-inch round about 1-inch thick. Cut the dough into 8 wedges with a floured knife or metal bench knife.
  6. Place the scones on a parchment-lined baking sheet. Brush them with the heavy cream and sprinkle them generously with sugar.
  7. Bake in preheated oven for 10 minutes, rotate the baking pan, then reduce the oven temperature to 350 F and finish baking until golden brown and cooked through, about 15 minutes more. Remove from oven and cool briefly on a wire rack. Serve the scones while they are still warm.

Makes 8 scones.

(Adapted from The Dahlia Bakery Cookbook: Sweetness in Seattle and Luci’s Morsels)

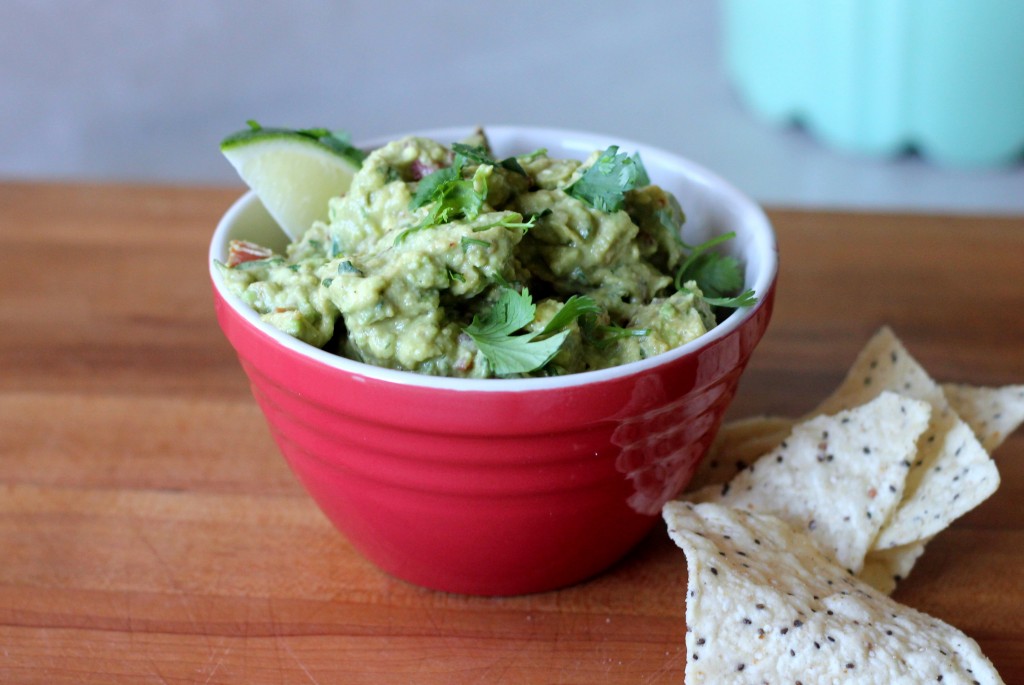
Chipotle Guacamole

IMG_8034

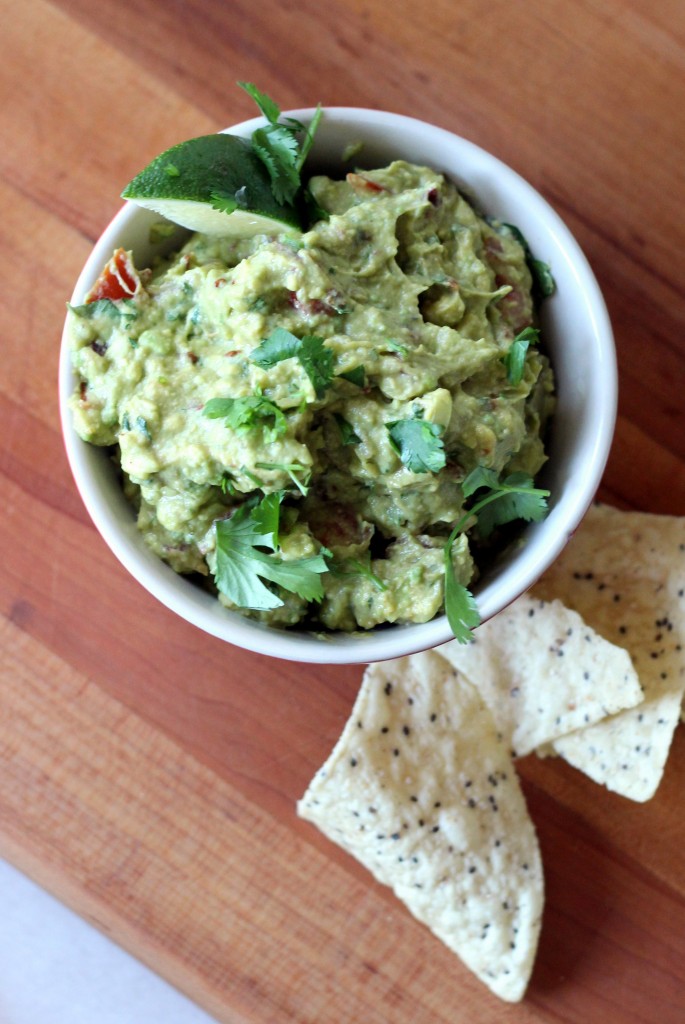
Chipotle as in the smoked jalapeno pepper, not the restaurant. (Just to be clear.) We eat lots and lots of guacamole. Most often I mash a ripe avocado with some red salsa and voila! guacamole. But this is my new favorite recipe for when I want to put forth more effort. Originally I added an ear of fresh corn but didn’t love it. (More of a personal preference. If you love sweet corn, you might prefer it.) I did love the chipotle flavor so on my second attempt I used a red onion instead for crunch and thought it was perfect.

IMG_8036

Chipotle Guacamole

INGREDIENTS

2 large ripe avocados, halved, pitted and peeled
1 Tbsp. fresh lime juice
1 plum tomato, seeded and diced
1 small clove garlic, minced
2 Tbsp. chopped fresh cilantro
3-4 Tbsp. chopped red onion
1 canned chipotle chile*, finely chopped (I used a medium chipotle for mild spice, feel free to add more)
1 Tbsp. sour cream
salt and freshly ground black pepper, to taste

optional add-in: 1 ear fresh corn

DIRECTIONS

1. Mash avocados with lime juice in medium bowl. Stir in tomato, garlic, cilantro, and onions. Combine chipotle and sour cream in small bowl; whisk to blend. Stir cream mixture into avocado mixture. Season with salt and pepper. Do ahead: Can be made 4 hours ahead. Place plastic wrap directly onto surface of guacamole and refrigerate. Bring to room temperature before serving.

*Chipotle chiles are dried, smoked jalapeños canned in adobo sauce. They are available at some supermarkets, at specialty foods stores, and at Latin markets. Leftovers can be frozen for a long time.

(Adapted from Bon Appetit)

Southwest Chipotle Fry Sauce

February 18, 2021

We make roasted sweet potatoes and sweet potato fries all the time over here and this yummy southwest fry sauce is the perfect thing to dip them in! (It’s also great for burgers- see my tip for the best turkey burger below*, tater tots, regular french fries, etc.) As is traditional with fry sauce, there’s some mayonnaise (I go half yogurt to save some calories) and ketchup, then dill pickle juice for tang (don’t knock it ’til you try it!), and garlic and onion and paprika for flavor. What makes this sauce special though is the chipotle pepper in adobo which adds delicious smoky heat.

*For the best turkey burgers, combine 1 lb. ground turkey thigh (or a mixture of thigh and breast) with 2 Tbsp. of this southwest fry sauce and a bit of salt and pepper. Form into four patties and grill until just cooked through, topping with cheese (such as Cheddar) before they’re done so it melts. Serve on toasted buns topped with more fry sauce, pickles, lettuce, tomato, and onion. Yum!

Southwest Chipotle Fry Sauce

INGREDIENTS

1/2 cup mayonnaise
1/2 cup plain Greek yogurt (whole or low-fat are OK, can use sour cream or more mayo)
3 Tbsp. ketchup
1- 2 Tbsp. minced chipotle pepper in adobo (or more to taste, 1 Tbsp. for mild heat)
1 tsp. dill pickle juice (can substitute lemon or lime juice, but pickle juice is best)
1/2 tsp. garlic powder
1/4 tsp. paprika
1/4 tsp. onion powder
pinch salt and freshly ground black pepper, to taste

DIRECTIONS

  1. To make the fry sauce, stir to combine all ingredients in a small bowl. Season to taste with salt and freshly ground black pepper. Refrigerate until ready to serve.

(Adapted from Cait’s Plate)

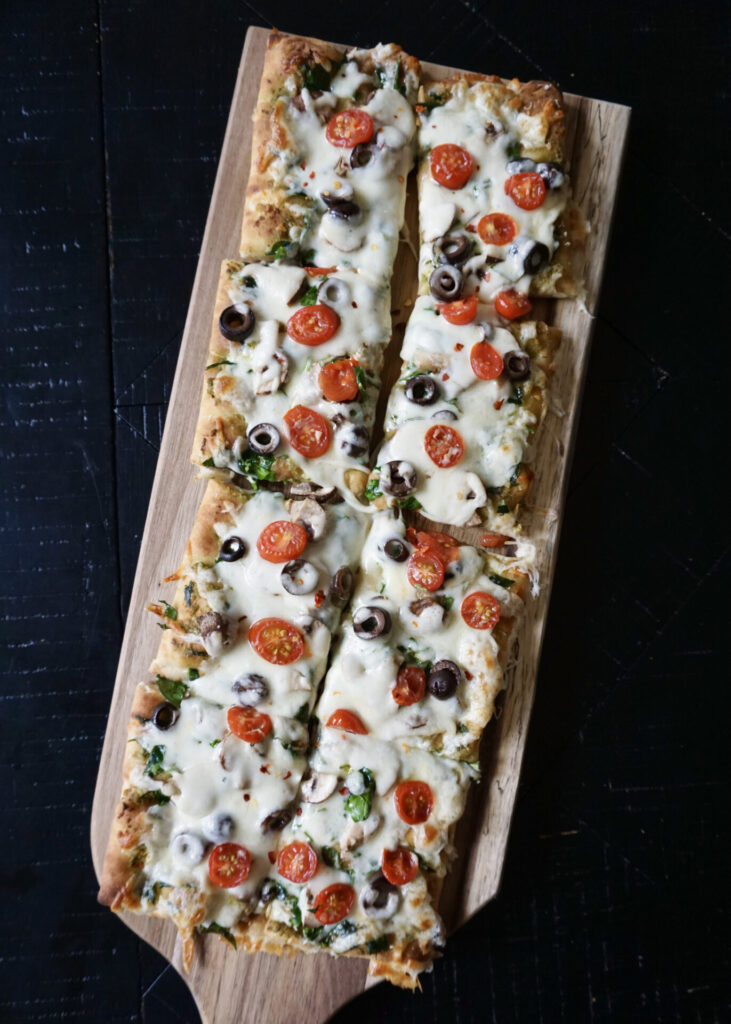
Pesto Veggie Flatbread Pizza

February 16, 2021

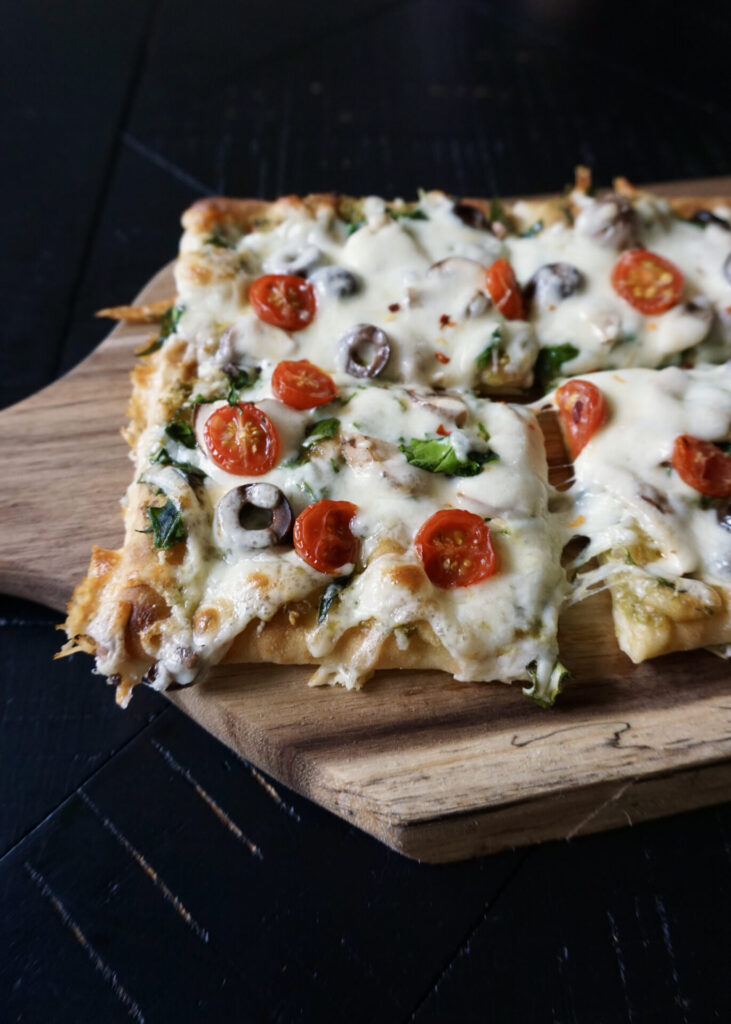
As promised, here is my favorite easy veggie pizza! While it can be made on homemade pizza dough, I often opt for our favorite flatbread crusts from Trader Joe’s. And I always keep a jar of Costco’s basil pesto on hand (it freezes well!). You can mix up the veggies but this is our favorite combination, inspired by a favorite at our local pizza place: chopped baby spinach, cremini mushrooms, sliced tomato and black olives. And then, of course, lots of cheese!

Pesto Veggie Flatbread Pizza

INGREDIENTS

flatbread pizza crust (or pita, naan, pizza dough, etc., our favorite flatbread crusts pictured above are from Trader Joe’s)
basil pesto (we love the Costco brand, or homemade)
chopped baby spinach
sliced cremini mushrooms
thinly sliced tomato
sliced black olives
freshly grated mozarella cheese
freshly grated Parmesan and/or Pecorino Romano
crushed red pepper flakes, for serving (optional)

DIRECTIONS

  1. Preheat oven to 400 F. Place flatbread pizza crust (or pita, naan, etc.) on a large baking sheet. (Or if making pizza dough, prepare it according to recipe directions.)
  2. Top the pizza crust with a thin layer of pesto, a bit of mozzarella cheese, some spinach, mushrooms, slices of tomato, and black olives, Top with more mozarella cheese and sprinkle with Parmesan and/or Pecorino Romano.
  3. Bake in preheated oven for 10-12 minutes until the crust is crisp and the cheese is golden and bubbling. Slice and serve with crushed red pepper flakes (optional).

Homemade Ciabatta Bread

February 12, 2021

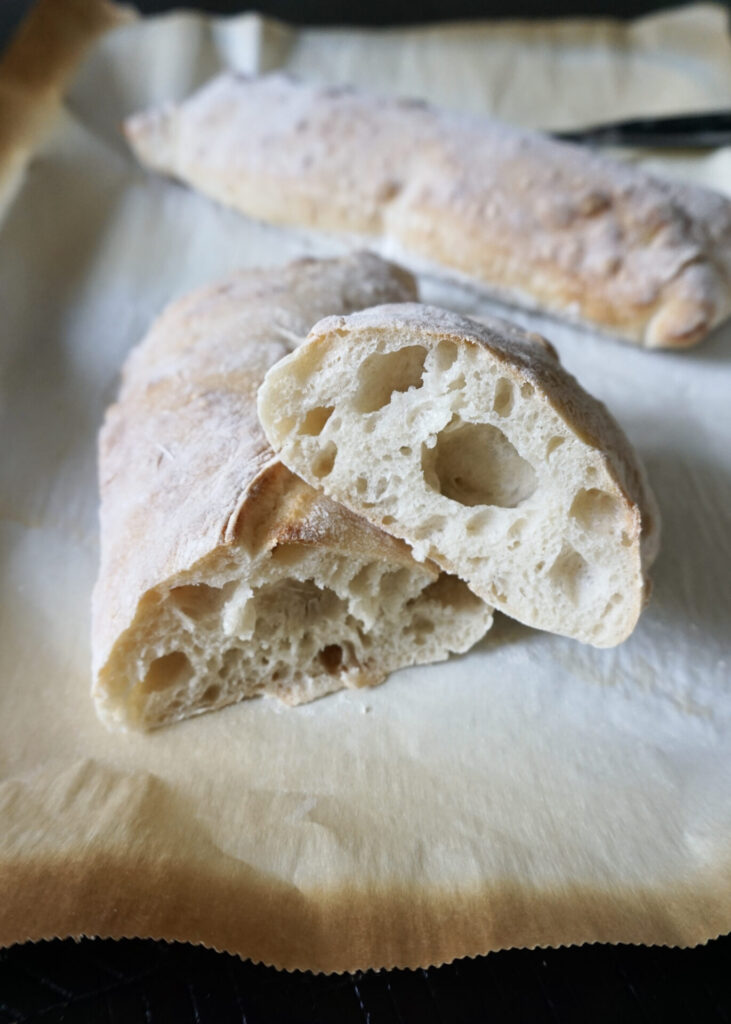
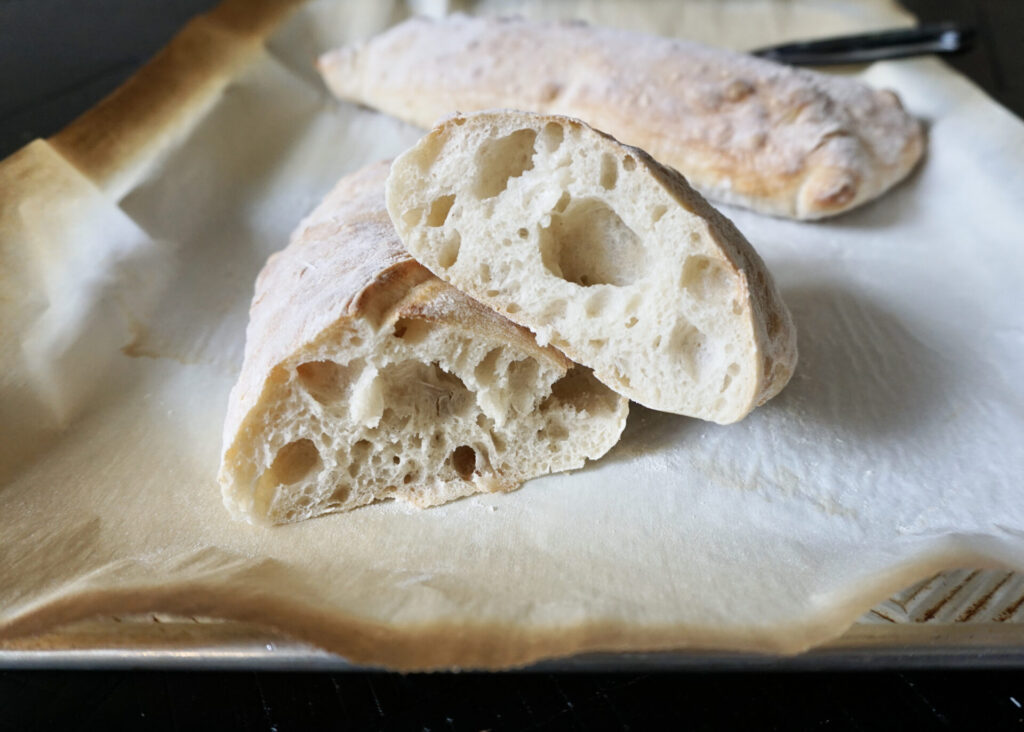
I’m on roll with with the Italian breads lately. First, I surprised myself by making my own focaccia that was just as addictive as the loaves from my favorite bakeries. And now I made ciabatta, and it too was soooo good! These loaves turned out soft in the center with a chewy crust and nice big holes- just as ciabatta should be.

This recipe was pretty much perfect so I didn’t change much about it. I did use bread flour (King Arthur being my favorite brand) and haven’t tested it yet with all-purpose flour, but suspect it would still work. Make sure you start the night before as you’ll make a starter dough that needs to sit out for 8-12 hours (overnight makes it easy) to ferment. But it’s as simple as stirring some water, yeast, and flour together before bed and time does the rest. I followed the original instructions closely using my Kitchen Aid stand mixer (with the paddle attachment) to knead and rest the dough for the exact times specified and couldn’t have been happier with the result.

Homemade Ciabatta Bread

INGREDIENTS

Yeast Starter Dough:*
1/2 tsp active dry yeast
3/4 cup water, room temperature
1 cup bread or all-purpose flour

Ciabatta Dough:
1/2 tsp active dry yeast
3/4 cup water, room temperature
All of the Yeast Starter Dough From Above plus the following:
2 cups bread or all-purpose flour (I used King Arthur bread flour)
1 1/2 tsp salt

DIRECTIONS

  1. *For the Yeast Starter Dough: Combine all ingredients in a medium sized bowl and stir well. Cover with plastic wrap and allow to sit at room temperature for 8-12 hours (overnight works perfectly).
  2. For the Ciabatta Dough: In a large bowl or the bowl of a stand mixer fitted with a paddle attachment, stir the yeast in to the water. Add all of the Yeast Starter Dough that you made earlier and has been sitting. Mix briefly. Add the flour and salt and mix to combine. Beat on medium-low for 3 minutes. Stop the mixer and let dough rest for 10 minutes. Beat again on medium-low for 3 minutes. Stop again and let dough rest for 10 minutes.
  3. Remove dough to a lightly oiled bowl large enough to hold double the amount of dough. Cover the bowl with plastic wrap and let the dough rest until it starts to puff up, about 45 minutes.
  4. Using a silicone bowl scraper or spatula, scrape the dough on to a well-floured work surface. Have a cup of flour handy to use. Sprinkle the top of the dough with some flour. Using your silicone bowl scraper, scoop up one edge of the dough and fold it over the top of the dough to reach the middle. Scoop up the opposite edge and scoop it up to cover the fold you just made. Add some more flour to your board and the top of the dough (just enough to control stickiness). Let dough rest for 15 minutes and then repeat this same folding. Let rest another 15 minutes. Flour board and top of dough and roughly shape in to an 8×8-inch square. Using a sharp knife, cut your dough into two 4×8-inch rectangles. Flour the top of the dough then cover with a tea towel and allow to rise until puffy, about 30 minutes.
  5. Meanwhile, preheat oven to 475° F and line a baking sheet with parchment paper (or grease well). When dough is risen, using a bench scraper or silicon spatula and your hand, gently lift the loaves to the prepared baking sheet, being careful not to deflate.
  6. Bake in the preheated oven for 20-25 minutes (my loaves were done at 18-19 minutes) or until golden brown and the internal temperature reaches 200°F. Transfer to a cooling rack to cool.

Makes 2 8-inch loaves.

(Adapted from Seasons and Suppers)