Category Archives: Seafood

Blackened Shrimp Tacos

August 12, 2020

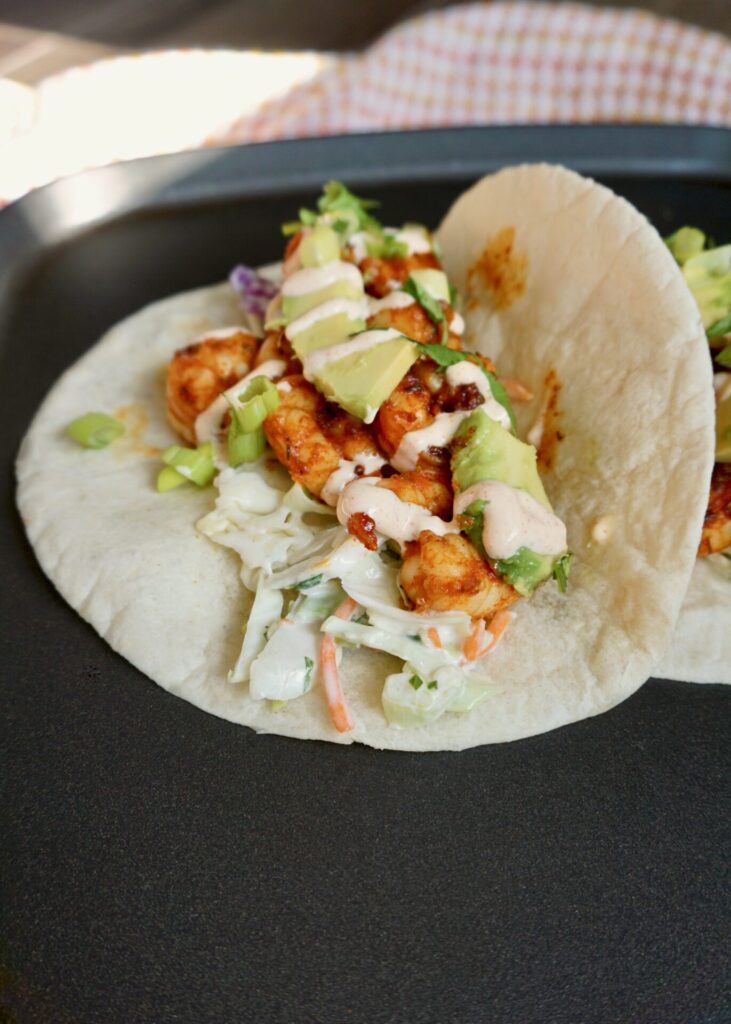
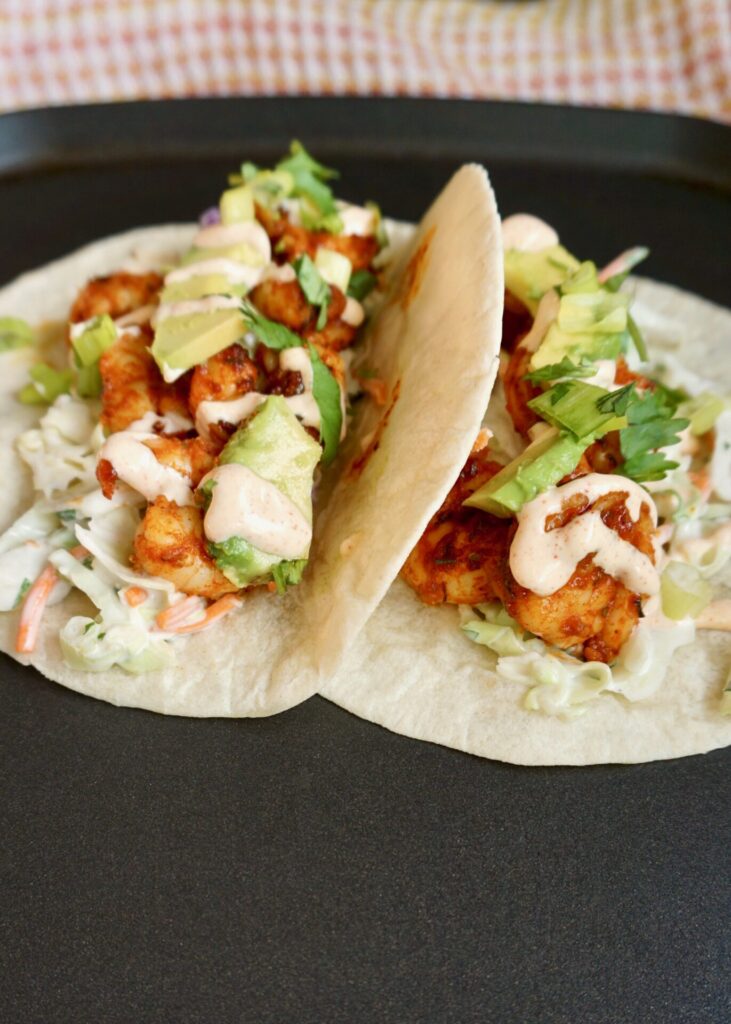
There are few foods we love more than good tacos. Bonus if they come from a truck! We tried a new taco truck in Seattle (actually, Renton) this weekend and it was one of the best we’ve had in the area. But I think my recently posted fish tacos and these shrimp tacos are better!
Notes:

Make the slaw and sauce and prep the other ingredients ahead of time. The shrimp cook really quickly so you need everything else ready to go.

I like to buy shrimp on the smaller size (I think these were 51/60 per lb. or something like that) so you can eat them in one bite.

The blackening seasoning has just the right amount of spice to make these interesting; combined with the creamy sauce and avocado it’s not too hot.

Smoked paprika is an amazing spice. You CAN NOT substitute regular paprika and get the same result. Also, make sure it’s not hot paprika because that would make these way too spicy!

The slaw is delicious on it’s own. (I had a hard time not eating it all from the bowl while I prepped the rest of the tacos!)

Corn tortillas are traditional but we prefer flour and that’s what I usually have on hand so that’s what I used.

Blackened Shrimp Tacos

INGREDIENTS

Coleslaw:
1/3 cup mayonnaise (I used half mayo and half plain Greek yogurt)
1/2 Tbsp. honey
1 tsp. Dijon mustard
1 tsp. red wine vinegar
1/4 tsp. salt
freshly cracked pepper, to taste
1/2 bag coleslaw mix (shredded cabbage and carrots)
3 green onions, sliced
~2 Tbsp. fresh cilantro, chopped (optional)

Smoky Garlic Lime Sauce:
1/3 cup mayonnaise (once again, I used half mayo and half plain Greek yogurt)
1/8 tsp. garlic powder
1/4 tsp. smoked paprika
1/8 tsp salt
1 Tbsp. lime juice

Blackening Seasoning:
1 Tbsp. smoked paprika
1 tsp. dried thyme
1 tsp. dried oregano
1/2 tsp. cumin
1/4 tsp. cayenne
1/4 tsp. garlic powder
1/4 tsp. onion powder
1/4 tsp. salt
freshly ground black pepper, to taste

Tacos:
1 lb. peeled and deveined shrimp
1 Tbsp. butter
1 clove garlic, minced
corn or flour tortillas (this recipe has a method for making crispy tortillas in the oven that would be great here!)
green onions, sliced
fresh cilantro, chopped
sliced avocado
lime wedges

DIRECTIONS

  1. To prepare the coleslaw dressing, mix together the mayonnaise, honey, Dijon, red wine vinegar, salt, and some freshly cracked pepper in a bowl. Place the coleslaw mix and sliced green onions (and cilantro, if using) in a bowl and add about 3/4 of the dressing. Stir until everything is coated in dressing, then add more dressing if desired. Refrigerate the slaw until ready to serve.
  2. To prepare the smoky garlic lime sauce, stir together the mayonnaise, garlic powder, smoked paprika, and lime juice in a small bowl. Save the other half of the lime to serve as wedges with the finished tacos.
  3. Heat a dry skillet over medium heat. Once the skillet is hot, toast the tortillas on each side until browned on the edges. Place the toasted tortillas on stacked on a plate and covered with a towel until ready to serve.
  4. Prepare the blackening seasoning by stirring together the smoked paprika, thyme, oregano, cumin, cayenne, garlic powder, onion powder, salt, and freshly cracked pepper in a bowl. Pour the seasoning over the shrimp and stir until the shrimp are coated.
  5. Add the butter and minced garlic to a large skillet. Cook over medium heat for about one minute, or until the garlic is fragrant and slightly softened. Add the seasoned shrimp and sauté just until the shrimp is firm (about 3-5 minutes). Remove the skillet from the heat to prevent over cooking the shrimp.
  6. To serve the tacos, place some coleslaw in each tortilla, top with shrimp, a drizzle of the smoky garlic lime sauce, avocado, and garnish with green onion and cilantro. Squeeze a wedge of fresh lime over top.

Serves 3-4.

Adapted from Budget Bytes

Crispy Pan-Fried Tilapia

July 13, 2020

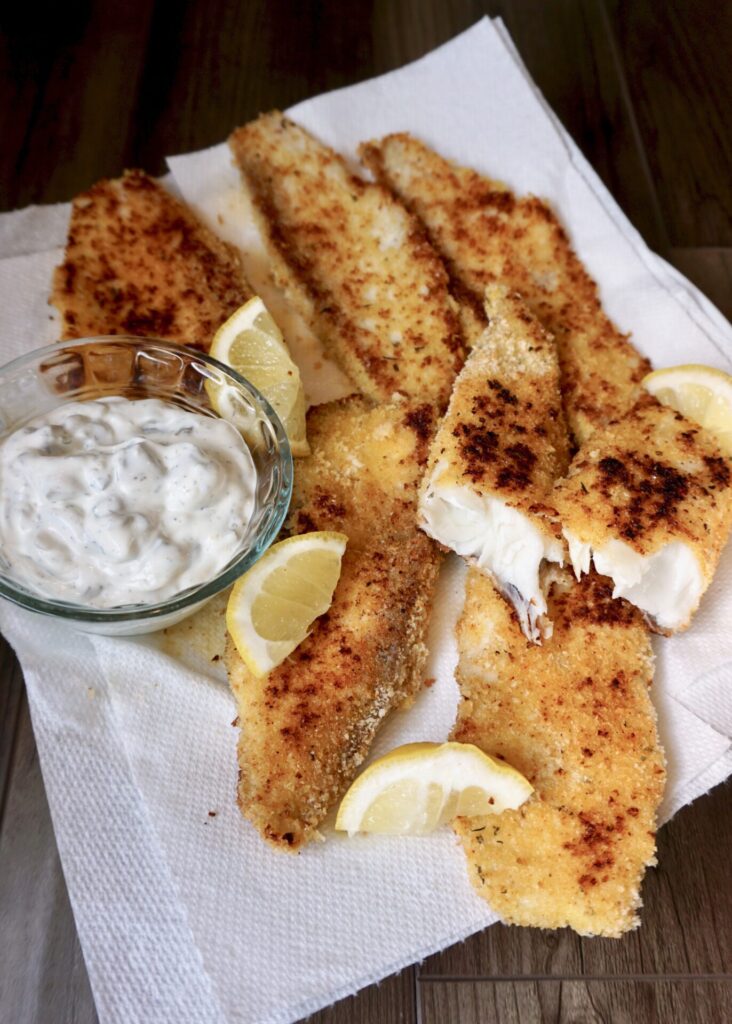
I’m not above buying frozen fish sticks for an easy quick dinner. But I had some frozen tilapia on hand and figured this recipe was worth a go. As written it was very simple: dredge the fish fillets in some flour, egg, and panko to coat. Then fry them in some oil on a hot skillet. Serve with lemon and tartar (this homemade recipe is THE BEST). I decided to kick up the flavor a notch by adding Cajun seasoning. I didn’t have that on hand so I found a recipe and mixed it myself. (It makes more than you’ll need but will store in an airtight container for a least a year.) The fish was tender and flakey, crisp on the outside from the lightly fried panko crust, and so delicious with that tartar sauce.

You could definitely opt to bake the tilapia fillets instead. They just won’t be quite as rich or crispy. Preheat an oven to 400 F, place the prepared fillets on a baking sheet lined with foil, coat them in nonstick cooking spray, and bake until they’re golden and the centers flake easily.

Crispy Pan-Fried Tilapia

INGREDIENTS

Tilapia:
2 lbs. tilapia fillets
1 cup all-purpose flour
3 eggs, beaten
2 cups panko bread crumbs
Cajun seasoning, to taste (I used 2 tsp. of the recipe below and it had a kick but wasn’t too spicy for my kids)
salt and freshly ground black pepper, to taste
olive or vegetable oil (I used grape-seed oil), for frying

lemon wedges, for serving
tartar sauce, for serving

Cajun Seasoning:
1 Tbsp. paprika (I prefer smoked paprika)
2 tsp. fine kosher salt
2 tsp. garlic powder
1 tsp. ground black pepper
1 tsp. ground white pepper
1 tsp. onion powder
1 tsp. dried oregano
1 tsp. cayenne pepper
1/2 tsp. dried thyme

DIRECTIONS

To make the Tilapia:

  1. Cut the tilapia into “fingers” by first cutting the fillets in half. Leave the thin sides long, then cut the thicker sides in half on a diagonal so they appear longer. (I just cut my fillets in half.)
  2. Set up three large shallow bowls in an assembly line. Put the flour in the first bowl; the beaten eggs in the second; and the panko (and the Cajun seasoning, if using) in the third.
  3. Line a baking sheet with aluminum foil. Dredge the fish fingers in the flour mixture, shaking excess into the bowl so just a light coating remains; dip in the eggs and turn to coat evenly; then dredge in the panko, turning several times to coat evenly. (This can be a messy job…it’s best to use one hand for the flour and eggs and the other for the panko.) Set the breaded tilapia fingers on the prepared baking sheet and season with salt and pepper. Cover and refrigerate until ready to cook (this can be done several hours ahead of time).
  4. Line a plate with 3 paper towels and set by the stove. Coat a large non-stick sauté pan generously with olive oil and place over medium heat. When the pan is hot, place the first batch of tilapia fingers in the pan (do not crowd) and cook until the first side is golden brown, 2-3 minutes. Flip and continue cooking until done, about 2 minutes more. Transfer the fish fingers to the plate with paper towels and let sit for a minute to drain any excess oil. Remove any brown bits out of the pan, add more oil if necessary and continue to cook the fish in batches until done. Season the cooked tilapia fingers with more salt if desired. Serve with lemon wedges and tartar sauce.

To make the Cajun Seasoning:

  1. Mix all ingredients together in a bowl or spice jar until evenly combined. Use immediately, or store in a sealed container for up to 1 year.

Serves 4-6.

Tilapia adapted from Once Upon a Chef and Cajun seasoning from Gimme Some Oven

Fish Tacos

June 8, 2020

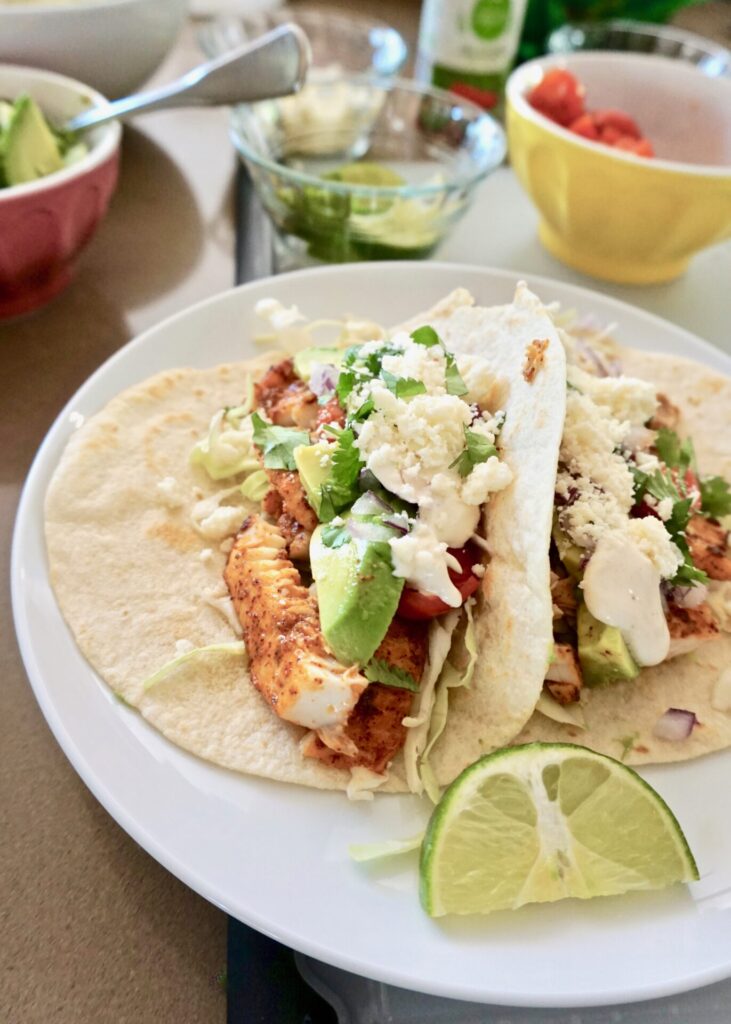
We love fish tacos but we don’t live in San Diego and can’t have them nearly as often as we wish. (Though there are some great fresh fish options here in the Pacific Northwest… the tacos are just not quite as authentic.) But we love this recipe and think it’s the best way to enjoy them at home! Tilapia is my first choice of flakey white fish for tacos. Cod can be a little tough and halibut, though wonderful, is super expensive. Whatever fish you choose gets marinaded for a short time (while you prep your sauce/toppings) before going on the grill (or under the broiler if it’s not ideal grilling conditions or you don’t have one). Warm tortillas, a creamy garlic/lime/hot sauce, and all the toppings- don’t skip the Cotija and avocado they’re awesome here!- finish the tacos off. Hint: you can make the fish and sauce as mild or spicy as you want by adjusting the cayenne and hot sauce. We kept it medium for the little mouths but feel free to kick it up!

Fish Tacos

INGREDIENTS

Fish:
1 – 1 1/2 lbs. lean white fish fillets (I used tilapia, can use halibut, mahi mahi, snapper, cod)
salt and freshly ground black pepper
2 Tbsp. canola or vegetable oil
1 small lime , juiced
1 clove garlic , minced
1 1/2 tsp. chili powder
1 tsp. ground cumin
1/2 tsp. paprika
1/8 tsp. cayenne (optional, or use more to make it spicy)
8- 12 corn or flour tortillas (this recipe has a method for making crispy tortilla shells in the oven that would be amazing here!)

Sauce:
1/2 cup sour cream
1/3 cup mayonnaise (I used half mayo and half plain low-fat Greek yogurt)
1/2 lime , juiced
1/2 tsp. garlic powder
1/2 tsp. cumin
¼ tsp. salt
1 tsp. sriracha hot sauce, or to taste (I used 1/2 tsp. of a chipotle hot sauce for a mild kick)

Toppings:
pico de gallo or diced tomato
Cotija cheese, crumbled
shredded cabbage
fresh cilantro
sliced avocado
lime wedges
diced white or red onion
hot sauce

DIRECTIONS

  1. Season the fish with a little salt and pepper on both sides.
  2. In a mixing bowl whisk together the oil, lime juice, garlic, chili powder, cumin, paprika, cayenne.
  3. Add fish to a large ziplock bag and pour the marinade over fish. Seal bag and allow fish to marinade for 20-30 minutes.
  4. Preheat grill to medium-high heat. Brush grill grates with oil and grill fish filets for about 3-4 minutes on each side (cook time will vary depending on thickness of fish), flipping only once. OR Preheat oven broiler to high. Place fish on a lightly greased foil-lined baking sheet and broil for 5-7 minutes until fish flakes easily with a fork (if you have extra thick fillets it could take longer).
  5. Add the tortillas to the grill and warm for about 15 seconds on each side (or warm in the oven or microwave).
  6. Transfer fish to a plate and allow to rest for a few minutes before gently breaking into pieces.
  7. Serve on warm tortillas, topped with cabbage, pico de gallo, sauce and other desired toppings.

Adapted from Tastes Better from Scratch

Sushi Rice Bowls

April 4, 2020

My kids LOVE sushi. At first we were proud of their adventurous taste buds but soon realized how expensive their sushi habit was going to be. We can’t go to a Japanese restaurant and trick them into eating teriyaki while we feast on maki anymore. They want the good stuff and they can eat A LOT of it. Luckily, they’re pretty easy to please with California or shrimp rolls. I’ve yet to try making my own sushi rolls at home, but these bowls are a simpler solution that satisfy us all!

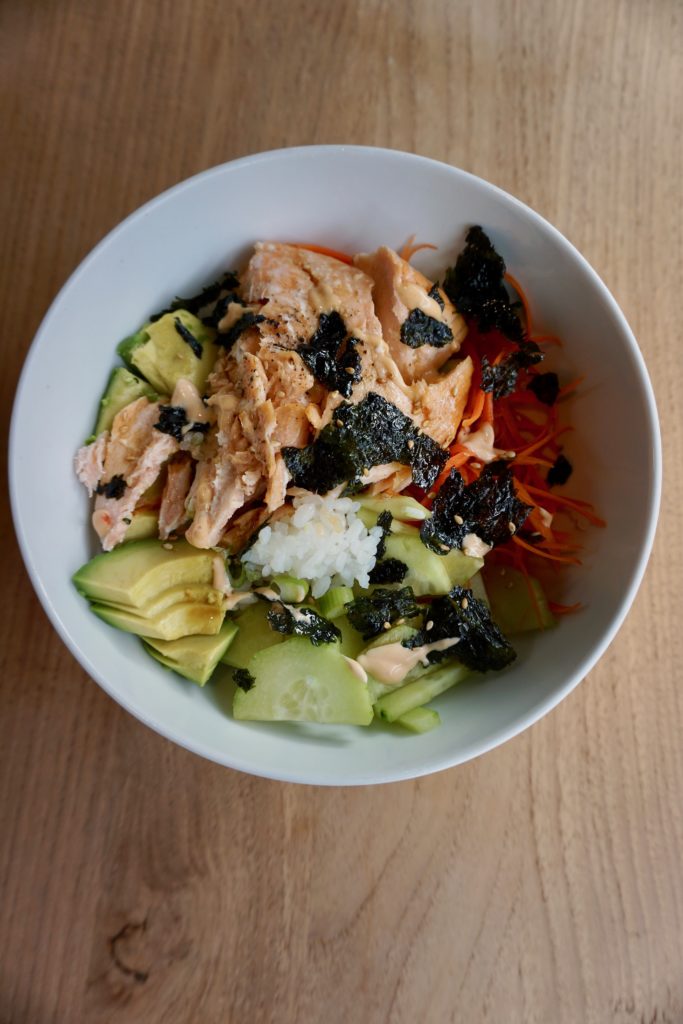
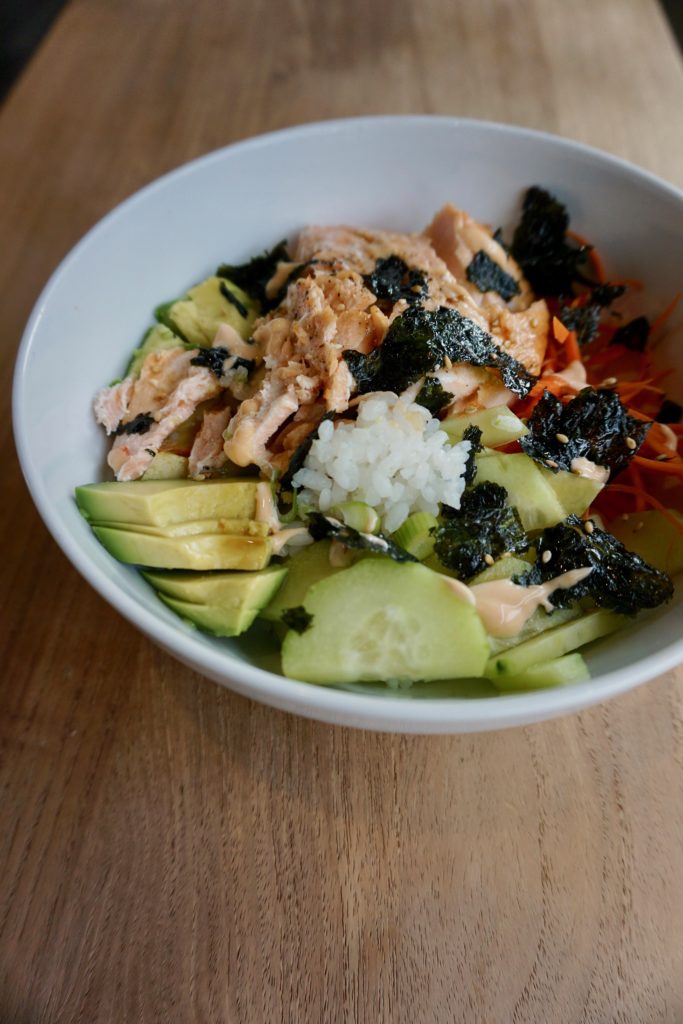
Since we don’t feed them raw fish and we all love salmon, we make salmon sushi bowls. You could substitute shrimp or crab meat or make yours a veggie bowl. So many options! There are a few different things to prep but much (or all) of it can be done ahead of time and each step is pretty simple. The two things that make these sushi bowls extra special: roasted nori (for that essential umami flavor) and spicy mayo! My kids can handle a little kick and they can’t get enough of that stuff.

Sushi Rice Bowls

INGREDIENTS

Salmon:
~1 lb. salmon
drizzle of olive oil
salt and freshly ground black pepper
1/2 lemon, sliced (optional)

Sushi Rice:
1 1/2 cups sushi rice, cooked according to package directions
3 Tbsp. unseasoned rice vinegar
1 Tbsp. sugar
1 tsp. salt

Spicy Mayo:
1/4 cup mayonnaise
2 tsp. sambal oelek (or sriracha)*
1 tsp. unseasoned rice vinegar
1 tsp. lemon juice

Sweet Soy Sauce:
3 tbsp. soy sauce (I use low-sodium)
1 1/2 Tbsp. unseasoned rice vinegar
1 tsp. toasted sesame oil
1 tsp. honey

green onion, sliced
carrot, grated or sliced
cucumber, peeled and sliced
avocado, pitted and sliced
nori roasted seaweed snack, crumbled
toasted sesame seeds, for sprinkling

DIRECTIONS

  1. Preheat oven to 400 F. Line a baking sheet with aluminum foil and coat with cooking spray. Place the salmon on the sheet and drizzle with olive oil, season with salt and pepper, and top with lemon slices (if using). Bake in preheated oven for 12-15 minutes until the fish flakes easily with a fork. 
  2. Prepare the sushi rice according to package directions. In a small microwave-safe bowl, combine the rice vinegar, sugar, and salt. Microwave for 20-30 seconds and stir until the sugar/salt dissolves. Once the rice has finished cooking, remove the rice from the heat and stir in the vinegar mixture until the rice is evenly coated. 
  3. To make the spicy mayo, combine the mayo, sambal oelek, rice vinegar, and lemon juice in a small bowl. Adjust heat to taste.
  4. To make the sweet soy sauce, in a small bowl whisk to combine the soy sauce, rice vinegar, sesame oil, and honey. (You can heat it a bit in the microwave if you’re having trouble getting the honey to combine.) 
  5. While the salmon and rice finish cooking, prep the remaining ingredients so they are ready to go into your bowls. 
  6. Place prepared rice in individual serving bowls, top with salmon, onion, carrot, cucumber, avocado, nori, and toasted sesame seeds, Drizzle with spicy mayo and sweet soy sauce and serve.

*The amount of chili paste/sriracha can be adjusted to taste. This is mildly spicy so that my kids can handle it!

Inspired by Budget Bytes

Grilled Mahi with Tropical Salsa and Coconut Rice

June 1, 2015

IMG_7960

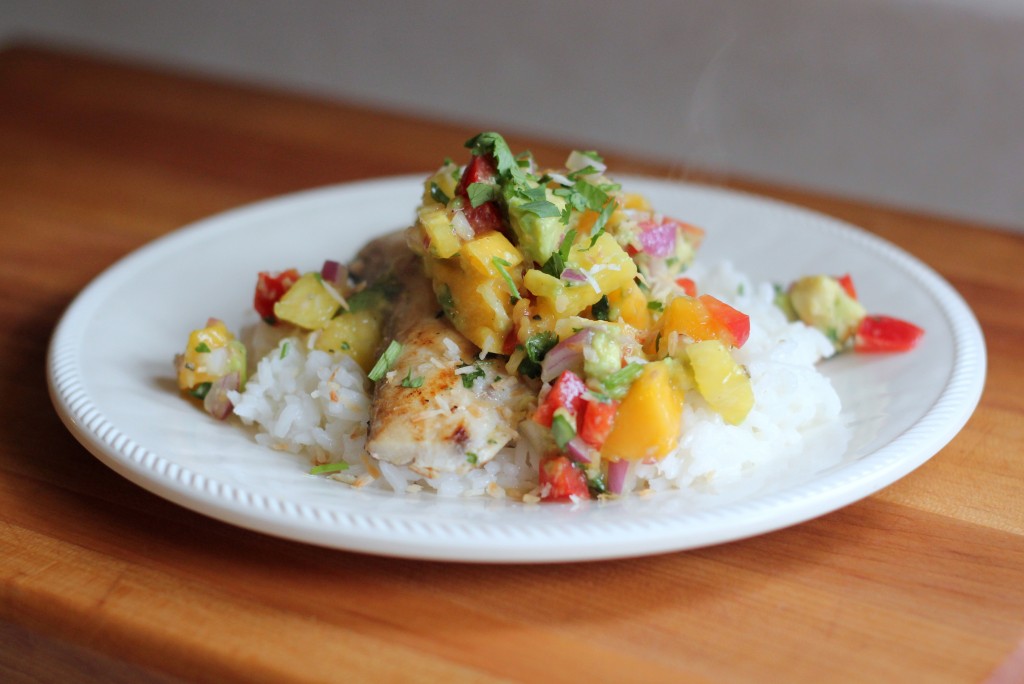
This is really three recipes in one. And each is awesome on its own. We snacked on the tropical salsa with blue corn tortillas chips. The coconut rice could accompany grilled chicken. It’s just delicious. And the grilled mahi, marinated in olive oil, orange juice, lime juice, garlic, and cilantro is fresh and flavorful. It’s all so good. Don’t let your lack of a grill stop you, the fish could be roasted, broiled, or pan-fried as well. Here’s to summer and hopefully many more meals like this!

Grilled Mahi with Tropical Salsa and Coconut Rice

INGREDIENTS

Mahi:
1/2 cup sliced yellow onions
1/4 cup olive oil
2 Tbsp. orange juice
2 Tbsp. lime juice
2 Tbsp. fresh cilantro
5 cloves garlic, smashed
1 tsp. salt
1 tsp. cumin
pinch cayenne
4 (~6 oz.) mahi mahi fillets
toasted coconut flakes, garnish
chopped cilantro, garnish

Coconut Rice:
1 cup coconut milk (I used a full can of light coconut milk and reduced the water to 1/2 cup)
1 1/2 cups water
1 tsp. salt
3/4 tsp. sugar
1 cup long grain white rice
3 Tbsp. chopped fresh cilantro

Tropical Salsa :
1 ripe mango, peeled, seeded, and diced
1 ripe avocado, peeled, seeded, and diced
1/2 cup diced fresh pineapple
1/4 cup minced red onions
1/4 cup minced red bell peppers
3 Tbsp. chopped fresh cilantro
1 Tbsp. fresh lime juice
2 tsp. minced jalapeno (or a pinch of cayenne pepper)
1 tsp. minced garlic
salt and freshly ground black pepper, to taste

DIRECTIONS

1. In a bowl, combine the onions, oil, orange and lime juices, cilantro, garlic, salt, cumin, and cayenne. Place the fish in a large, non-reactive baking dish. Pour the marinade over the fish, cover and refrigerate for up to 1 hour.

2. Preheat a grill (or indoor grill pan), and lightly oil the grill rack with vegetable oil. Remove the fish from the marinade. Place on the oiled grill and cook until marked, 45 seconds to 1 minute. Turn carefully with a spatula and cook until the fish is just cooked through, about 4 minutes, depending upon thickness. Remove from the grill.

3. Spoon the coconut rice into the center of 4 large plates. Arrange 1 fillet onto each serving of rice and top with the Tropical Salsa. Garnish with toasted coconut and cilantro, and serve.

Coconut Rice:
1. In a saucepan, combine the coconut milk, water, salt, and sugar. Bring to a boil. Add the rice, stir well, and reduce the heat to medium-low. Cover and simmer undisturbed until the liquid is absorbed and the rice is fluffy, about 20 minutes. Remove from the heat and let sit without stirring for 10 minutes.

2. Fluff with a fork and add the cilantro. Adjust seasoning, to taste. Serve hot.

Tropical Salsa :
1. Combine the mango, avocado, pineapple, onions, bell peppers, cilantro, lime juice, jalapeno (or cayenne), garlic, and salt and pepper in a bowl and gently fold to combine. Adjust seasoning to taste. Let sit for 30 minutes before serving for the flavors to blend.

Serves 4.

(Adapted from Food Network)