Tag Archives: Bread/Rolls

No-Knead Dutch Oven Bread

March 25, 2021

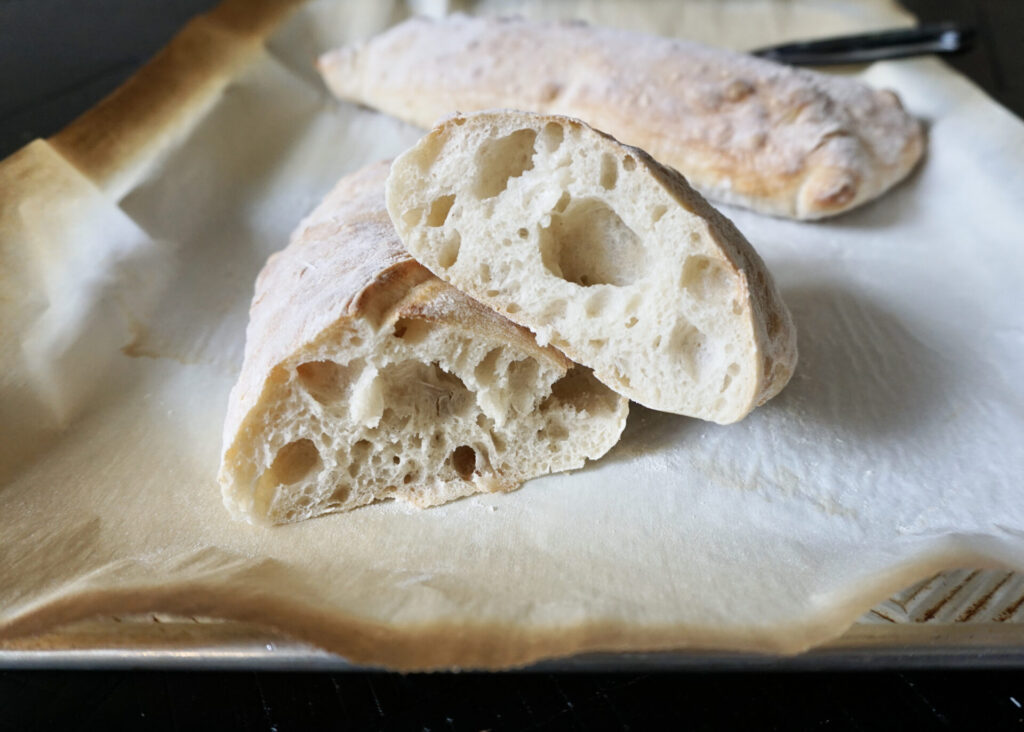
I’ve made this knead-free bread a few times now and every time am surprised by how very little effort can yield such good results! You toss a few ingredients together in a bowl the night before (for best flavor) and let it sit. The next day you form it into a round and bake it in the oven inside a hot dutch oven pot with a lid on top. The trapped steam turns the crust extra crisp and the inside is soft and chewy. Perfect alongside salad or cup of soup.

As you can see, I use parchment paper for easy transfer of the dough to the pot. (I also bake all of my pizzas on parchment in a very hot oven and have never had trouble with the parchment burning.) My family devoured this loaf in one sitting, but should you have leftovers they can be frozen in a freezer bag and defrosted as needed.

No-Knead Dutch Oven Bread

INGREDIENTS

3 cups all-purpose flour + more for shaping
2 tsp. sea salt
1 tsp. active dry yeast OR 3/4 tsp. instant yeast
1 1/2 cups warm water (about 110-115 degrees F)

DIRECTIONS

  1. In a large bowl, whisk flour, salt and yeast until well mixed. Pour in warm water and use a wooden spoon to stir until a shaggy dough forms. The mixture will be wet and very sticky to the touch.
  2. Cover bowl tightly with plastic wrap and set aside in a warm place 8 to 18 hours until dough rises, bubbles and flattens on top.
  3. Heat oven to 450 degrees F. Once oven is preheated, place a 6-quart Dutch oven (with cover) in oven 30 minutes before baking. (I preheated my dutch oven with the oven and it was plenty hot.)
  4. Punch down dough. Generously flour a sheet of parchment paper; transfer dough to parchment and, with floured hands, quickly shape into a ball. Place dough on parchment paper and sprinkle top lightly with flour. Top with a sheet of plastic wrap and let rest 30 minutes. (I let my dough ball rest uncovered while the oven preheated, about 20 minutes.)
  5. Remove Dutch oven from oven. Uncover dough and carefully transfer to Dutch oven, with or without parchment paper beneath (if bottom of Dutch oven is not coated with enamel, keep parchment paper beneath dough). Cover Dutch oven and return to oven.
  6. Bake bread 30 minutes covered, then another 10 to 15 minutes uncovered until dough is baked through and golden brown on top. Cool slightly before slicing. (My oven runs hot and it was done after 35-40 minutes total- the bread will sound hollow when tapped.)

Makes 1 loaf.

(Adapted from Girl vs Dough)

Homemade Ciabatta Bread

February 12, 2021

I’m on roll with with the Italian breads lately. First, I surprised myself by making my own focaccia that was just as addictive as the loaves from my favorite bakeries. And now I made ciabatta, and it too was soooo good! These loaves turned out soft in the center with a chewy crust and nice big holes- just as ciabatta should be.

This recipe was pretty much perfect so I didn’t change much about it. I did use bread flour (King Arthur being my favorite brand) and haven’t tested it yet with all-purpose flour, but suspect it would still work. Make sure you start the night before as you’ll make a starter dough that needs to sit out for 8-12 hours (overnight makes it easy) to ferment. But it’s as simple as stirring some water, yeast, and flour together before bed and time does the rest. I followed the original instructions closely using my Kitchen Aid stand mixer (with the paddle attachment) to knead and rest the dough for the exact times specified and couldn’t have been happier with the result.

Homemade Ciabatta Bread

INGREDIENTS

Yeast Starter Dough:*
1/2 tsp active dry yeast
3/4 cup water, room temperature
1 cup bread or all-purpose flour

Ciabatta Dough:
1/2 tsp active dry yeast
3/4 cup water, room temperature
All of the Yeast Starter Dough From Above plus the following:
2 cups bread or all-purpose flour (I used King Arthur bread flour)
1 1/2 tsp salt

DIRECTIONS

  1. *For the Yeast Starter Dough: Combine all ingredients in a medium sized bowl and stir well. Cover with plastic wrap and allow to sit at room temperature for 8-12 hours (overnight works perfectly).
  2. For the Ciabatta Dough: In a large bowl or the bowl of a stand mixer fitted with a paddle attachment, stir the yeast in to the water. Add all of the Yeast Starter Dough that you made earlier and has been sitting. Mix briefly. Add the flour and salt and mix to combine. Beat on medium-low for 3 minutes. Stop the mixer and let dough rest for 10 minutes. Beat again on medium-low for 3 minutes. Stop again and let dough rest for 10 minutes.
  3. Remove dough to a lightly oiled bowl large enough to hold double the amount of dough. Cover the bowl with plastic wrap and let the dough rest until it starts to puff up, about 45 minutes.
  4. Using a silicone bowl scraper or spatula, scrape the dough on to a well-floured work surface. Have a cup of flour handy to use. Sprinkle the top of the dough with some flour. Using your silicone bowl scraper, scoop up one edge of the dough and fold it over the top of the dough to reach the middle. Scoop up the opposite edge and scoop it up to cover the fold you just made. Add some more flour to your board and the top of the dough (just enough to control stickiness). Let dough rest for 15 minutes and then repeat this same folding. Let rest another 15 minutes. Flour board and top of dough and roughly shape in to an 8×8-inch square. Using a sharp knife, cut your dough into two 4×8-inch rectangles. Flour the top of the dough then cover with a tea towel and allow to rise until puffy, about 30 minutes.
  5. Meanwhile, preheat oven to 475° F and line a baking sheet with parchment paper (or grease well). When dough is risen, using a bench scraper or silicon spatula and your hand, gently lift the loaves to the prepared baking sheet, being careful not to deflate.
  6. Bake in the preheated oven for 20-25 minutes (my loaves were done at 18-19 minutes) or until golden brown and the internal temperature reaches 200°F. Transfer to a cooling rack to cool.

Makes 2 8-inch loaves.

(Adapted from Seasons and Suppers)

Cornmeal Biscuits

January 11, 2021

Cornbread and biscuits are two of my favorite comfort foods. Much like the cornmeal dinner rolls we love, this recipe is a hybrid of the two. A buttery biscuit base with the addition of cornmeal makes for a fluffy moist biscuit in the middle with a crunchy nutty crust. With a pat of butter and drizzle of honey, it’s carb heaven!

These biscuits can be dropped with a spoon right onto the pan for a rustic look, sliced into triangles or squares like a scone, or gently kneaded and cut into rounds for a more traditional biscuit look. Any way you do it, they’re quick and easy and if your family loves them as much as mine, they’ll be devoured in no time.

Cornmeal Biscuits

INGREDIENTS

1 3/4 cups all-purpose flour
2/3 cup cornmeal
2 Tbsp. granulated sugar (can use 1 Tbsp. for a more savory biscuit)
1 Tbsp. baking powder
1/2 tsp. salt
1/2 cup cold butter, cubed
1 cup cold buttermilk

DIRECTIONS

  1. Heat oven to 450 F. (I baked mine on convection at 425 F because I was roasting vegetables at the same time.)
  2. Stir flour, cornmeal, sugar, baking powder, and salt in the bottom of a large bowl with a fork or whisk. Add butter and toss to coat cubes in dry mixture. Use your finger or a pastry blender to break the butter into smaller and smaller bits, until the largest is pea-sized. Add buttermilk and stir once or twice, until a dough comes together.
  3. Press the dough gently into the bottom of your mixing bowl into roughly a circle. Cut into 8 or 12 wedges and drop onto a baking sheet. (I kneaded the dough once or twice into a round and used a biscuit cutter to cut out circles. Leftover scraps I pressed together to make one last biscuit.)
  4. Bake for 10-15 minutes, depending on size, until golden and crisp around the edges. Remove from oven and serve warm.

Makes 8-12 biscuits, depending on size.

(Adapted from Smitten Kitchen)

Easy (Yet Amazing!) No-Knead Focaccia

November 30, 2020

When I posted this sandwich I told you I’ve been meaning to bake my own focaccia. And I finally went for it! I read a lot of recipes to find one that wasn’t too fussy (i.e. didn’t require two days to proof) and had great reviews. What I didn’t expect is that first try it would turn out so perfect! Actually comparable to the focaccia I obsess over at my favorite restaurants/bakeries. And the best part… it’s really not hard!

Focaccia is extra delicious because it contains a lot of oil. The oil ensures the bread is rich in flavor and that you get a crispy crust (while the center stays soft and chewy). I kept things simple this time and just topped it with flakey sea salt. But the options are endless… garlic, onion, fresh or dried herbs, tomatoes, cheese. We devoured more than half of this loaf shortly after it came out of the oven. Leftovers I hid in the freezer and made for some awesome sandwiches a few days later.

Note: Bon Appetit has some helpful photos/video of the baking process (turning the dough, dimpling the loaf, etc.) so you can follow this link to see those.

Easy (Yet Amazing!) No-Knead Focaccia

INGREDIENTS

1/4 -oz. envelope active dry yeast (~2 1/4 tsp.)
2 tsp. honey
5 cups all-purpose flour
5 tsp. Diamond Crystal or 1 Tbsp. Morton Kosher salt (I used kosher salt)
6 Tbsp. extra virgin olive oil, divided + extra for hands
flakey sea salt, for topping (I used Maldon)

DIRECTIONS

  1. Whisk one ¼-oz. envelope active dry yeast (about 2¼ tsp.), 2 tsp. honey, and 2½ cups lukewarm water in a medium bowl and let sit 5 minutes (it should foam or at least get creamy; if it doesn’t your yeast is dead and you should start again—check the expiration date!).
  2. Add 5 cups all-purpose flour and 5 tsp. Diamond Crystal or 1 Tbsp. Morton kosher salt and mix with a rubber spatula until a shaggy dough forms and no dry streaks remain.
  3. Pour 4 Tbsp. extra-virgin olive oil into a big bowl that will fit in your refrigerator. This puppy is going to rise! Transfer dough to bowl and turn to coat in oil. Cover with a silicone lid or plastic wrap and chill until dough is doubled in size (it should look very bubbly and alive), at least 8 hours and up to 1 day. If you’re in a rush, you can also let it rise at room temperature until doubled in size, 3–4 hours. (Mine rose for 4 hours at room temperature.)
  4. Generously butter (I used nonstick cooking spray) a 9×13 baking pan, for thicker focaccia that’s perfect for sandwiches, or an 13×18 rimmed baking sheet, for focaccia that’s thinner, crispier, and great for snacking. The butter may seem superfluous, but it’ll ensure that your focaccia doesn’t stick. Pour 1 Tbsp. extra-virgin olive oil into center of pan. Keeping the dough in the bowl and using a fork in each hand, gather up edges of dough farthest from you and lift up and over into center of bowl. Give the bowl a quarter turn and repeat process. Do this 2 more times; you want to deflate dough while you form it into a rough ball. Transfer dough to prepared pan. Pour any oil left in bowl over and turn dough to coat it in oil. Let rise, uncovered, in a dry, warm spot (like near a radiator or on top of the fridge or a preheating oven) until doubled in size, at least 1½ hours and up to 4 hours. (I let mine rise for another 3 hours.)
  5. Place a rack in middle of oven; preheat to 450 F. To see if the dough is ready, poke it with your finger. It should spring back slowly, leaving a small visible indentation. If it springs back quickly, the dough isn’t ready. (If at this point the dough is ready to bake but you aren’t, you can chill it up to 1 hour.) Lightly oil your hands. If using a rimmed baking sheet, gently stretch out dough to fill (you probably won’t need to do this if using a baking pan). Dimple focaccia all over with your fingers, like you’re aggressively playing the piano, creating very deep depressions in the dough (reach your fingers all the way to the bottom of the pan). Drizzle with remaining 1 Tbsp. extra-virgin olive oil and sprinkle with flaky sea salt.
  6. Bake focaccia until puffed and golden brown all over, 20–30 minutes. (Mine took about 25 minutes.) Cool on a wire rack, slice, and serve.

Makes a 9×13 or 13×18 pan foccacia.

(Adapted from Bon Appetit)

Homemade Pita Bread

October 27, 2020

Here is that promised pita bread recipe! We eat a lot of pita with hummus/tzatziki or as a quick pizza crust and I have trouble keeping enough pita on hand. While this recipe isn’t exactly quick if you factor in the rise, rolling out, and baking time, it’s definitely not hard and so delicious! Nothing beats fresh, homemade bread.

I haven’t tried this pita recipe with whole wheat flour, but do have one from years ago that is whole wheat in the archives. I did have a few pita leftover the night I made them and popped them in the freezer (in a freezer bag) for later. They can be rewarmed in the microwave as needed.

Homemade Pita Bread

INGREDIENTS

1 package (2 1/4 tsp.) active dry yeast
1 tsp. sugar
1 1/2 cups warm water
1 tsp. salt
31/2 cups bread flour + more for dusting
1 tsp. olive oil

DIRECTIONS

  1. In the bowl of a heavy-duty electric mixer fitted with a dough hook, combine the yeast, sugar, and warm water; stir to blend. Let the yeast stand until foamy, about 5 to 10 minutes. (I did this in a large bowl.)
  2. Stir in the salt. Add the flour, a little at a time, mixing at the lowest speed until all the flour has been incorporated and the dough gathers into a ball; this should take about 4 minutes. (I mixed by hand with a spatula.)
  3. Turn the dough onto a lightly floured surface and knead until it’s smooth and elastic. Transfer the dough to a lightly oiled bowl, turn it over to coat, and cover with plastic wrap. Allow to rise until double in size, about 1 1/2 hours.
  4. Place a large pizza stone on the lower oven rack, preheat the oven (and stone) to 500 degrees F.
  5. Punch the dough down, divide it into 8 pieces, and gather each piece into a ball; keeping all of them lightly floured and covered while you work. Allow the balls of dough to rest, covered, for 15 minutes so they will be easier to roll out.
  6. Using a rolling pin, roll each dough ball into a circle that is about 8-inches in diameter and 1/4-inch thick. Make sure the circle is totally smooth, with no creases or seams in the dough, which can prevent the pitas from puffing up properly. Cover the disks as you roll them out, but do not stack them up. Put 2 pita rounds at a time on the hot pizza stone and bake for 3 to 4 minutes, or until the bread puffs up like a balloon and is pale golden. Watch closely; they bake fast. Remove the bread from the oven and place on a rack to cool for 5 minutes; they will naturally deflate, leaving a pocket in the center. Wrap the pitas in a large kitchen towel to keep them soft.

Makes 8 pita.

(Adapted from Food Network)