Tag Archives: Bread/Rolls

Whole-Grain Cornbread

October 16, 2020

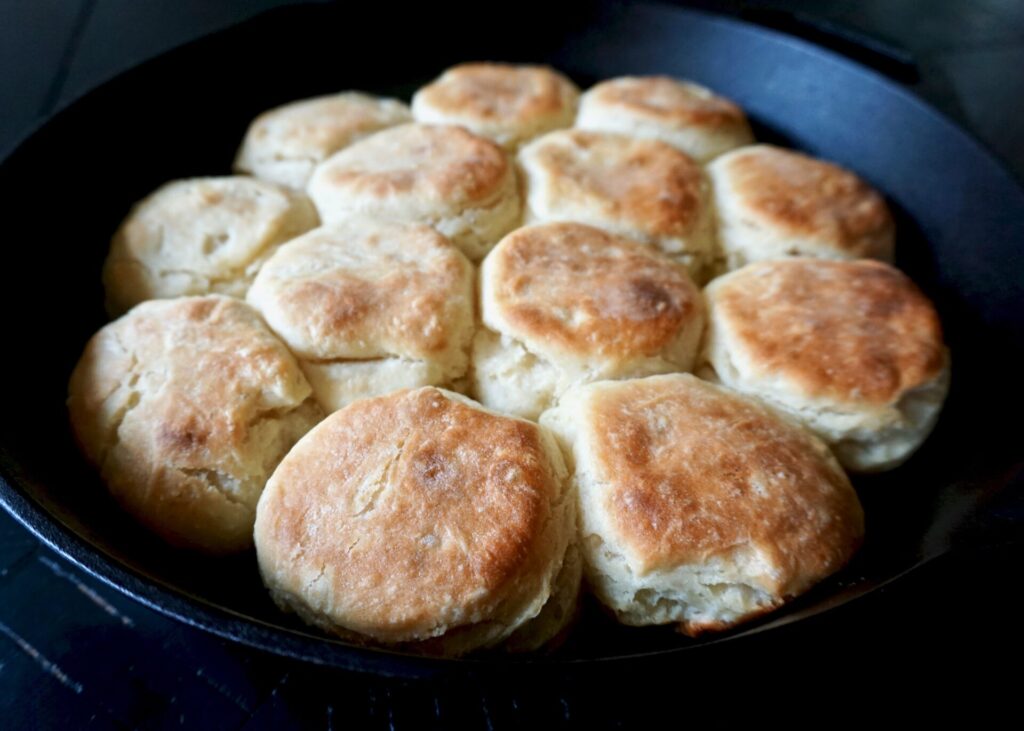
Since the weather has turned cooler and wet and we’ve been stuck indoors more, I’ve been baking a lot! So most of the recipes I share for the next while will probably fall into the category of baked goods. I’ve been making dinner as well, but haven’t had as much success with those recipes. Nothing has wowed us, and a few things have even ended up in the trash bin. Nobody around here is complaining about cornbread, muffins, and homemade pita though (that one coming soon)!

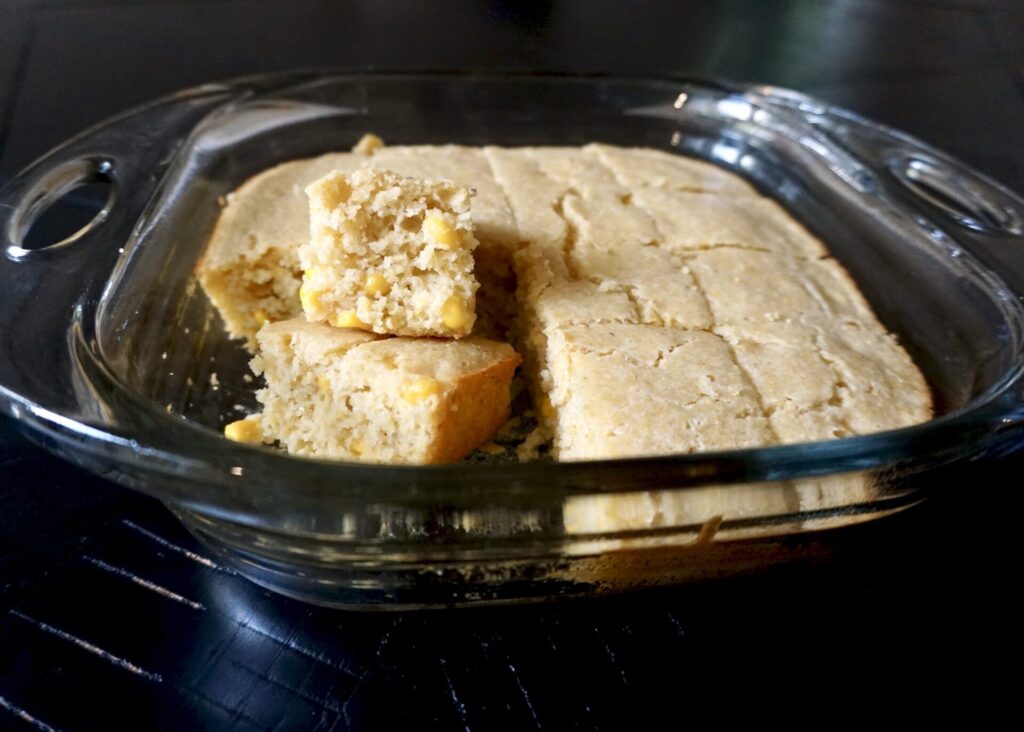
I’ve been making this cornbread for several years now. It’s exactly what I want cornbread to be- fluffy, moist, slightly sweet, and flecked with corn. Even better spread with butter and drizzled with honey. I love that this recipe can be make 100% whole grain, though I usually use half white and whole wheat flour. For a savory version, reduce the sweetener to 1 tablespoon and add 1/2 cup shredded cheddar cheese.

Whole-Grain Cornbread

INGREDIENTS

2/3 cup whole wheat flour (I use half white whole wheat flour and half all-purpose flour)
1/2 cup cornmeal
1 Tbsp. baking powder
1/8 tsp. salt (I used unsalted butter so I increased the salt to 1/4 tsp.)
4 Tbsp. butter, melted
1/2 cup milk 
2 Tbsp. pure maple syrup (or honey)
2 eggs
1/2 cup sour cream (or plain Greek yogurt)
3/4 cup corn (fresh, canned, or frozen)

DIRECTIONS

  1. Preheat oven to 350 degrees F.
  2. In a small bowl, whisk together the flour, cornmeal, baking powder and salt.
  3. In a large bowl, whisk to combine the butter, corn, milk, maple syrup (or honey), eggs, and sour cream. Add the dry ingredients and mix until just combined. Stir in the corn.
  4. Pour batter into a lightly greased 8 or 9-inch square or round baking dish.  
  5. Bake in preheated oven for 25-30 minutes (it could take slightly longer if you use frozen corn) until lightly golden and a toothpick inserted into the center comes out clean. 

Makes an 8 or 9-inch square or round pan of cornbread. 

(Adapted from 100 Days of Real Food)


French Bread Rolls

September 18, 2020

I’m still making my way through the pile (or rather, digital files) of recipes I came to love during my blogging absence. This is one of them I’ve made time and time again now and its debut is overdue. These fluffy soft rolls are similar to french bread in taste and texture. They’re naturally dairy-free (just don’t brush with butter at the end!) and adaptable to whole grains (I’d start by replacing half of the flour with whole wheat).

My tips for roll success:

I almost always knead by hand because I trust myself more than a mixer. There are instructions provided for either method though.

Don’t over-flour the dough! After kneading the dough should still be slightly sticky or “tacky”. If you use some whole wheat flour you’ll need less flour as you knead because whole wheat absorbs more water. No matter the type of flour you use, if you’re baking somewhere humid you might need more flour because the dough will be more wet.

I like these rolls best baked in a 9×13 pan- when they’re crammed together they’re less likely to dry out. And remove the rolls from the oven just when they turn golden brown. There’s nothing more disappointing than over-baked bread. (If you’re bread obsessed like I am, anyway.)

French Bread Rolls

INGREDIENTS

1 1/2 cups warm water
3/4 Tbsp. instant yeast (or 1 Tbsp. active dry yeast)
2 Tbsp. sugar or honey
2 Tbsp. neutral-flavored oil (such as canola, grapeseed, or olive oil)
1 tsp. salt
3 1/2 – 4 cups all-purpose flour

DIRECTIONS

  1. In the bowl of a stand mixer fitted with the dough hook or in a large bowl by hand, combine the warm water, instant yeast, sugar, oil, salt and 2 cups of the flour. If you are using active dry yeast instead of instant yeast, let the yeast proof in the warm water and sugar for about 3-5 minutes until it is foamy and bubbly before adding the oil, salt and flour.
  2. Begin mixing, and continue to add the rest of the flour gradually until the dough has pulled away from the sides of the bowl. Begin kneading the dough for 4-5 minutes in a stand mixer (7-9 minutes by hand).
  3. The dough should be soft and smooth but still slightly tacky to the touch. After a few minutes of kneading, stop the mixer and grab a small piece of dough to test if it needs more flour or not. It might leave a little bit of sticky residue on your fingers, but if you can roll it into a small ball without it sticking all over to your hands, it is good to go. If not, gradually add a bit more flour as needed.
  4. Lightly grease a container or large bowl with nonstick cooking spray, and place the kneaded dough in the container.
  5. Cover the bowl with lightly greased plastic wrap or a large tea towel. Let the dough rise until it has doubled (this usually takes about an hour, depending on the warmth of the kitchen).
  6. Lightly punch down the dough and turn it out onto a lightly greased countertop.
    Divide the dough into 12-15 equal pieces, and form the dough into round balls.
  7. Place the rolls in a lightly greased 9X13-inch pan or on a large, rimmed baking sheet lined with parchment or lightly greased. Space the rolls about 1/2- to 1-inch apart.
    Cover the rolls with lightly greased plastic wrap taking care not to pin the plastic wrap under the baking sheet or else the rolls will flatten while rising. Let the plastic wrap gently hang over the sides of the pan to fully cover the rolls but not press them down.
  8. Let the rolls rise until very puffy and doubled, about 45 minutes to 1 hour.
  9. Preheat the oven to 400 degrees. Bake for about 15 minutes until lightly browned and cooked through.
  10. Immediately out of the oven, brush with butter (optional).

Makes 12-15 rolls.

(Adapted from Mel’s Kitchen Cafe)

Angel Biscuits

June 1, 2020

I’m realizing I should have taken a picture of one of these biscuits cracked open, slathered in butter and dripping honey. That’s the best way to enjoy them! They’re plenty buttery and rich on their own, of course, but you’ve got to have one with honey or some really good jam. Then they’re unforgettable! I’d choose that over most desserts any day.

Angel biscuits are a hybrid of biscuits and dinner rolls because they use yeast (but still a lot of butter). You have a longer rise but get a lighter, fluffier, taller biscuit with the texture somewhere in-between. It’s a good thing. I promise. I like baking them in a cast iron skillet for an extra crisp bottom.

Angel Biscuits

INGREDIENTS

2 1/2 cups all-purpose flour
2 tsp. baking powder
1/2 tsp. baking soda
1/2 tsp. kosher salt
2 1/2 Tbsp. sugar
2 Tbsp. warm (90-110 F) water
1 package (2 1/4 tsp.) active dry yeast
1/2 cup (1 stick) butter, cold, cut into small squares + 2 Tbsp. extra melted butter for the pan and brushing on top
1 cup buttermilk

DIRECTIONS

  1. Preheat the oven to 425 degrees F.
  2. In a large bowl, whisk together the flour, baking powder, baking soda, salt and 1 1/2 Tbsp. of the sugar.
  3. In a small bowl, combine the warm water with the yeast and the remaining 1 tablespoons sugar; stir until the yeast is dissolved. Let stand until bubbles appear, 2 to 3 minutes.
  4. Using your hands, mix the 1/2 cup cold butter into the flour, breaking the butter into small pebbles, until the mixture resembles coarse meal. Make a well in the center and add the buttermilk and the yeast mixture. Gently fold the flour into the wet ingredients. Keep mixing until a ball starts to form, then gently knead, 12 to 15 times, to create a smooth dough. Cover with a cloth or plastic wrap and let rise in a warm place for approximately 1 hour.
  5. Transfer the dough to a lightly floured work surface and press out to 1- to 1 1/2-inches thick. Fold the dough in half, press again to 1- to 1 1/2-inches thick, and then fold again. Cut the dough using a 2- to 3-inch round biscuit cutter, depending personal preference. Brush the bottom of a cast-iron skillet with some of the melted butter. Place the biscuits in the skillet; brush the tops with melted butter.
  6. Bake until golden brown, 15-20 minutes, depending on size. Brush again with melted butter and serve immediately. 

Makes about 12 small or 6 large biscuits.

Adapted from Food Network

Zucchini Cornbread

May 15, 2020

Zucchini isn’t very popular around here. I’m alone in my love for it in our home. My kids definitely complain when it makes an appearance, unless it’s in a baked good (muffins, even cake!). I still make it and serve it every so often and am convinced they’ll eventually come around. I tried to sneak it into grilled cheese sandwiches once and now when I make grilled cheese my 4-year-old checks hers thoroughly for signs of zucchini before proceeding to eat. Haha. They might have questioned what little green specks were doing in their cornbread when I first made this one, but one bite and they no longer cared. This zucchini cornbread is delish!

This cornbread is super moist and just the right amount of sweet. It doesn’t need any toppings but adding a little butter and honey never hurts! It can be made with half white whole wheat flour for a heartier version. I’ve also made it with half cornmeal, half flour for a stronger cornmeal flavor.

Zucchini Cornbread

INGREDIENTS

1/2 cup yellow cornmeal
1 1/2 cups all-purpose flour*
1/3 cup sugar
2 tsp. baking powder
1/4 tsp. baking soda
3/4 tsp. salt
1 cup buttermilk or milk
2 eggs, lightly beaten
4 Tbsp. butter or coconut oil, melted
2 cups unpeeled shredded, drained zucchini (can also use yellow squash)

DIRECTIONS

  1. Preheat the oven to 350 F. Lightly grease a 9-inch square baking pan with cooking spray. Set aside.
  2. In a large bowl, stir together the cornmeal, flour, sugar, baking powder, baking soda, and salt.
  3. Make a well in the dry ingredients and add the buttermilk (or milk), eggs, and melted butter (or coconut oil) and zucchini. Stir just until combined.
  4. Spread the batter in the prepared pan and bake for 30-35 minutes until the top springs back lightly to the touch and/or a toothpick inserted in the center comes out clean.

*You can use half white whole wheat flour and half all-purpose flour, but you may need to add an extra 1-2 Tbsp. buttermilk/milk if the batter seems too thick.

To Make Muffins: Divide batter into 12 lightly greased muffin cups and bake for approx.15-20 min until a toothpick comes out clean.

Adapted from Mel’s Kitchen Cafe

No-Knead Buttermilk Dinner Rolls

April 29, 2020

I decided last minute that I wanted to rolls to serve with our Easter dinner. And since I had a pile of potatoes to julienne and pork and carrots to roast I wanted something easy. After a quick search I found this recipe and went for it. I didn’t expect too much because I’ve never made rolls with a no-knead method before (I figured no-knead doughs needed a long rise to develop properly). But the fact that I’m sharing this recipe today means I was pleasantly surprised… these rolls were soft and fluffy, especially delicious with a pat of butter and drizzle of honey, and my little family fought over them!

The original recipe below notes that it’s best to use buttermilk (not a substitute). I’ve learned to just keep buttermilk on hand because it’s inexpensive and I use it often in baking and breakfast foods (pancakes, waffles, even french toast). If I’ve had a jug of buttermilk open a few days and haven’t used it up I put the rest in the freezer and thaw it out as needed. Budget Bytes recommends freezing it in ice cube trays, but I usually just measure it by cup-fulls and freeze in ziplock freezer bags.

No Knead Buttermilk Dinner Rolls

INGREDIENTS

2 cups all-purpose flour
1 tsp. kosher salt (use less for table/sea salt)
1 Tbsp. sugar
1 1/8 tsp. instant yeast
1/2 cup boiling water
1/2 cup buttermilk
3 Tbsp. melted butter, divided
pinch of flakey salt (optional)

DIRECTIONS

  1. In a large bowl, whisk together the flour salt, sugar, and instant yeast.
  2. In a small bowl or liquid measuring cup, pour the boiling water over the buttermilk, stir to combine, and let cool for 10 minutes. The buttermilk may look curdled, but this is okay.
  3. Pour the buttermilk mixture and 2 Tbsp. of the melted butter over the flour mixture. Stir until a sticky ball of dough forms. Cover the dough in the bowl with a damp tea towel or plastic wrap and set aside in a warm place for 1.5 to 2 hours, or until doubled in bulk.
  4. Grease an 8-inch circle or square baking dish. Using two forks, deflate the dough by releasing it from the sides of the bowl and pulling it toward the center. Rotate the bowl quarter turns as you deflate, turning the mass into a rough ball.
  5. Liberally flour a work surface. Use the two forks to lift the sticky ball of dough out of the bowl and onto the floured surface. Using a bench scraper or sharp knife, cut the dough into 10-12 pieces. Using well floured hands, shape each piece roughly into a circle. It’s okay if each piece is a little misshapen. Place the dough balls into the prepared pan, spacing them evenly apart.
  6. Begin preheating the oven to 375ºF. Let the dough rise, uncovered, for 20-25 minutes, or until the dough pieces have puffed to almost fill the pan.
  7. Transfer the pan to the oven and bake for 20-25 minutes, or until golden brown. Remove them from the oven and immediately brush the surfaces with the remaining 1 Tbsp melted butter. Sprinkle a pinch of flakey salt over top. Let the rolls cool in the pan for 5 minutes, then turn it out onto cooling racks and invert onto a plate. Let the bread rest for 5 minutes before serving.

NOTE: I highly suggest using real buttermilk for this recipe instead of a milk and vinegar substitute. If you’re concerned about having leftover buttermilk, follow these instructions for freezing your buttermilk for later use.

Makes approx. 10-12 rolls (and can be easily doubled to make more).

Recipe from Budget Bytes