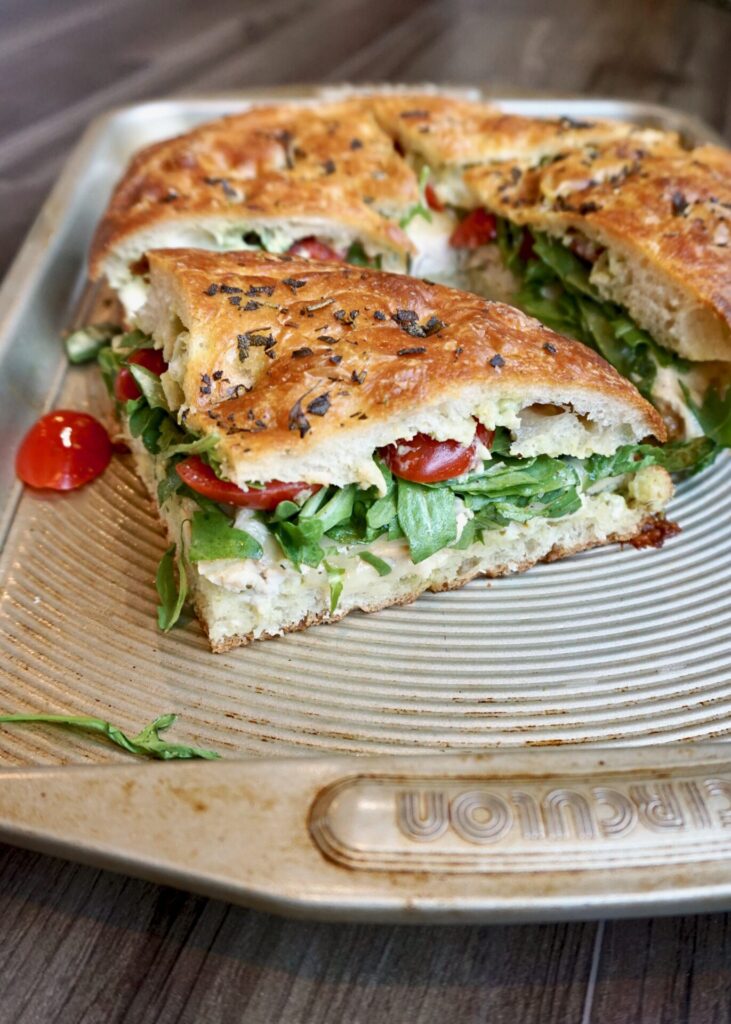
Pesto Turkey (Or Chicken) Sandwich

September 7, 2020

I’ve been making this sandwich combination of turkey/chicken with a creamy pesto mayo for years and it’s about time it made it to the site! There are lots of options for how to prepare it- crusty sliced sourdough, ciabatta, and herb focaccia (as pictured) are all favorite bread choices. You can add arugula and tomatoes as I’ve done. Sliced red onion and bacon are also a good idea. And pick a cheese that melts well as this sandwich is best served hot! You can make your own pesto (I linked to a recipe below) or I often buy it prepared (Costco has great pesto) and what I don’t use right away I stash in the freezer for later.

Pesto Turkey (Or Chicken) Sandwich

INGREDIENTS

thinly sliced or shredded turkey or chicken (here I used a rotisserie chicken)
crusty bread or rolls, sliced (here I used an herb Focaccia)
basil pesto
mayonnaise (can use half mayo and half plain Greek yogurt)
sliced cheese, such as Provolone (smoked Provolone is especially delicious), Fontina, Havarti, etc. 

optional add-ons:
thinly sliced red onion
arugula or baby spinach
sliced tomato or roasted red pepper
bacon

DIRECTIONS

  1. In a small bowl, miix equal parts mayo (can use half Greek yogurt) and basil pesto until well combined.
  2. Spread the pesto-mayo on one side of the top and bottom slices of bread/roll. Top with sliced cheese, turkey/chicken, and any optional add-ons (red onion, arugula, tomato/roasted red pepper, and/or bacon). Top with the second slice of bread (spread side down). Repeat to make as many sandwiches as needed. 
  3. To bake*, preheat oven to 350 F.  Place sandwiches on a baking sheet and cover with aluminum foil. Bake for 10-15 minutes, until the cheese has started to melt. Uncover and bake for 5 more minutes until the top is crisp and the sandwich is warmed throughout. Slice and serve. 

*Or sandwiches can be grilled on a pan/panini press or placed open-faced under the broiler (watch closely- they’ll go quick!) until the cheese is melted and the bread is toasted.

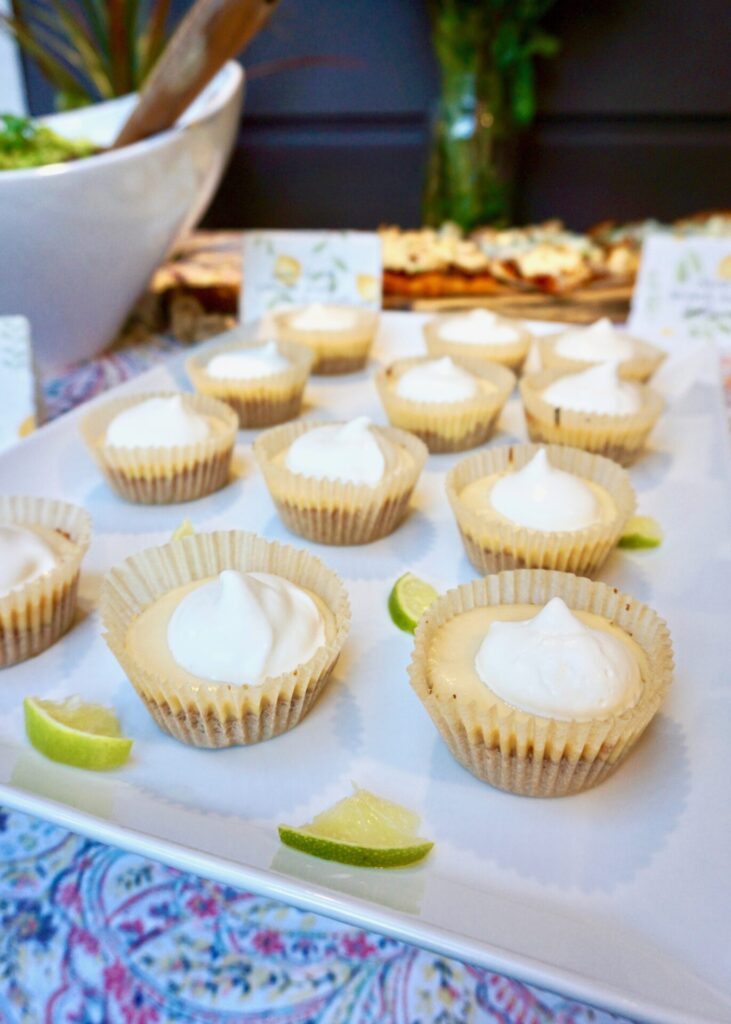
 

Mini Key Lime Pies

September 4, 2020

I’m loving mini desserts lately! Like these mini cheesecakes, these tiny key lime pies are quick to bake with my 3 small helpers and just the right size for one or two a piece. They’re tart yet sweet and perfect with a dollop of homemade whipped cream. (If you’d rather bake a full size pie, there are instructions included below the recipe.)

Mini Key Lime Pies

INGREDIENTS

1 1/2 cups graham cracker crumbs (about 10 full sheet graham crackers)
6 Tbsp. unsalted butter, melted
1/3 cup sugar

4 oz. full-fat cream cheese, softened to room temperature
4 large egg yolks
14 oz. can full-fat sweetened condensed milk
1/2 cup (120ml) key lime juice*
lime slices and whipped cream, for garnish (optional)

DIRECTIONS

  1. Preheat the oven to 350 F. Line a 12-count muffin pan with liners and a second 12-count muffin pan with only 4 (since this recipe makes only around 16). Set pans aside.
  2. Make the crust: Before you begin, here are all of my tips for a perfect graham cracker crust. If you’re starting out with full-sheet graham crackers, you can use a food processor or blender to grind them up. Or crush them in a zipped top bag with a rolling pin. Mix the graham cracker crumbs, melted butter, and granulated sugar together with a rubber spatula in a medium bowl until combined. The mixture will be thick, coarse, and sandy. Press a heaping tablespoon of mixture down into each liner, making sure the crust is tight and compact. You might have a little crust leftover. If so, press a little more into each liner—if desired! Pre-bake the crusts for 5 minutes. Remove from the oven.
  3. Make the filling: In a large bowl using a handheld or stand mixer fitted with a whisk attachment, beat the cream cheese on high speed until smooth, about 1 minute. On medium-high speed, beat in the egg yolks, scraping down the sides as needed. On high speed, beat in the sweetened condensed milk and lime juice until combined.
  4. Pour the filling evenly into each crust. Bake for 15-16 minutes or until the centers of the pies only slightly jiggle (I check this by wiggling the muffin pan—with an oven mitt on– while it’s still in the oven). Allow the pies to cool at room temperature in the pan set on a wire rack. Once completely cool, place the pan in the refrigerator for at least 2 hours and up to 1 day.
  5. Once chilled, serve the key lime pies cold with whipped cream and a lime slice if desired. Store leftover pies in the refrigerator (covered) for up to 1 week. If they last that long!

NOTES:

*Key Lime Juice: For the best flavor, make sure you use key lime juice. You can juice your own key limes or buy it from the store. It is usually with the regular lime and lemon juice in the juice aisle. I buy Nellie & Joe’s brand. In a pinch, you can use regular lime juice.

For a Full-Size Key Lime Pie: This is the same exact recipe I use for classic key lime pie (and sometimes I add the zest of 1 lime to the filling, which you can add to these mini pies as well). To make the pie, simply use this crust and filling recipe. Press crust into a 9-inch pie dish. Pre-bake for 12 minutes at 350 F. Pour in filling. Bake for 18 minutes, then allow to cool at room temperature before chilling in the refrigerator for 4 hours – overnight.

Makes ~16 mini key lime pies.

(Adapted from Sally’s Baking Addiction)

Zucchini Cheddar Frittata

September 2, 2020

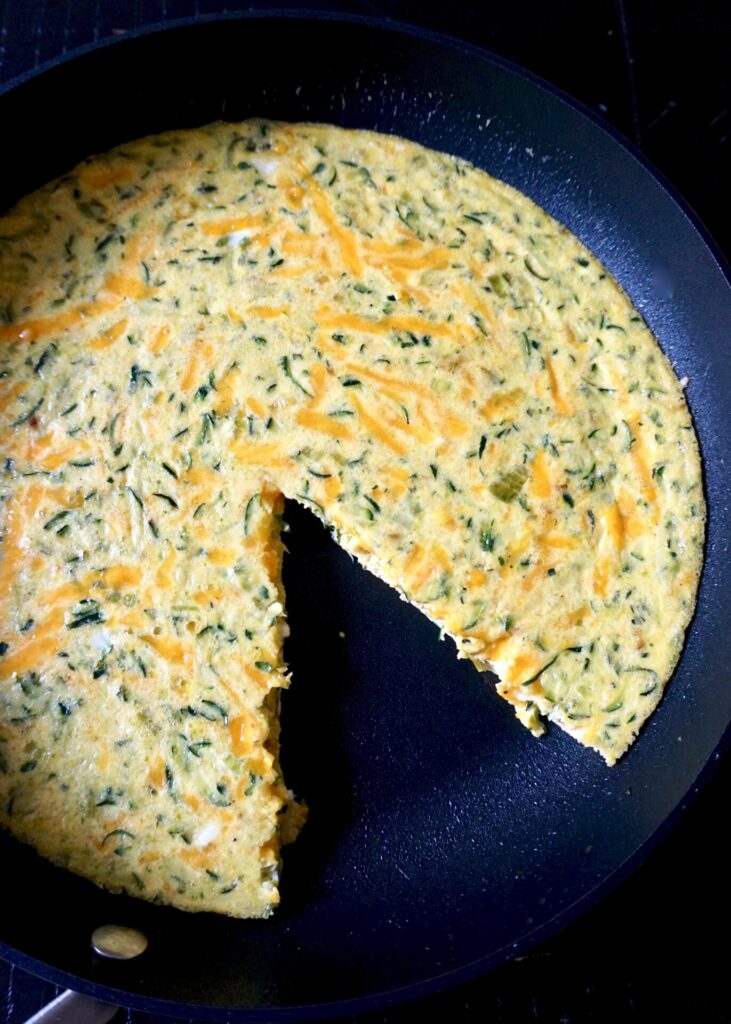
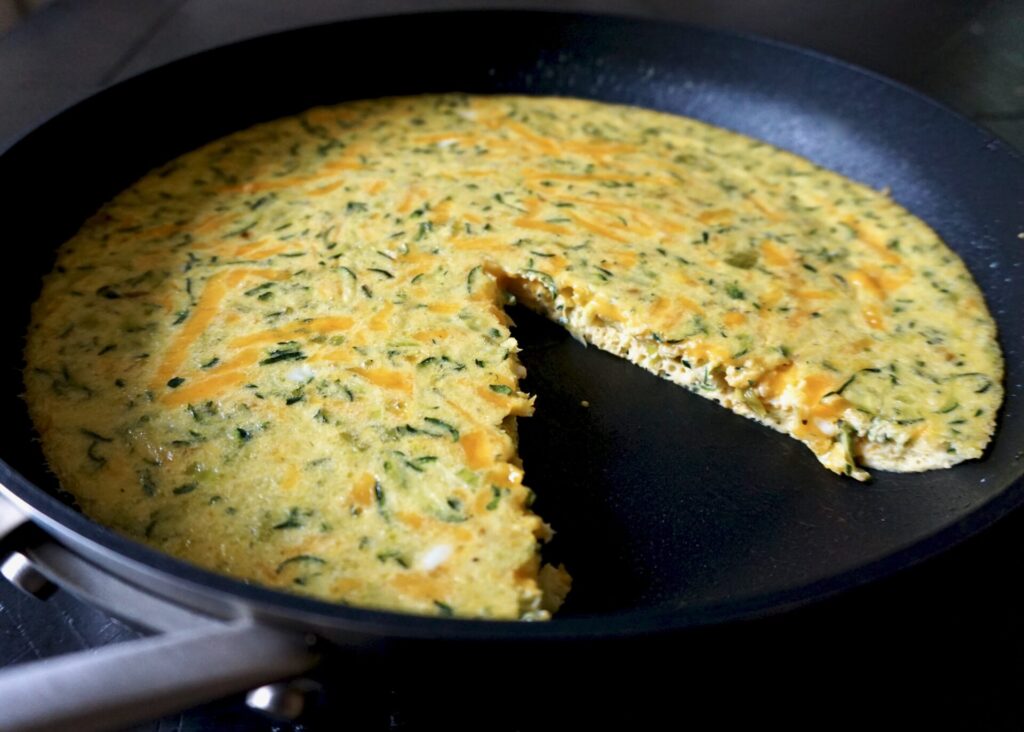
I have a hard time convincing anyone else around here to eat zucchini. (Unless it’s disguised in a baked good or this delicious cornbread.) So I didn’t have high hopes for this zucchini frittata, and was so surprised when all my kids and husband ate it without complaining! Consider it both zucchini-lover and zucchini-suspicious approved.

I think the secret to the success of this frittata is shredding the zucchini. It almost blends into the texture of the eggs and cheese. I used a sharp Cheddar and lightened it slightly by using half and half instead of cream (it was still plenty rich). This recipe is quick and flavorful and full of veggies- everything I like!

Zucchini Cheddar Frittata

INGREDIENTS

12 oz. zucchini (about 2 small zucchini)
2 Tbsp. unsalted butter
1/4 cup finely chopped shallots (or green onion)
3/4 tsp. salt, divided
6 large eggs
1/4 cup heavy cream (I used half and half)
1/4 tsp. freshly ground black pepper
3 oz. (about 1 cup) grated sharp Cheddar cheese

DIRECTIONS

  1. Preheat the oven to 325 F.
  2. Using a food processor or box grater, grate the zucchini. Place the grated zucchini on top of several layers of paper towels or inside a kitchen towel and wring dry. If necessary, repeat 1-2 times to remove any excess moisture.
  3. In an 8 or 10-inch ovenproof, nonstick sauté pan, melt the butter over medium heat. Add the shallot (or green onion), zucchini and 1/2 teaspoon salt and cook, stirring occasionally, until the moisture evaporates and the zucchini is tender, 6-7 minutes.
  4. Meanwhile, in a medium bowl, whisk together the eggs, heavy cream (or half and half), remaining 1/4 teaspoon salt and pepper.
  5. Add the cooked zucchini and grated cheese to the egg mixture and stir to combine. Pour the frittata mixture into the pan (no need to wash it), then place in the oven and bake until set, 20-23 minutes (I used a 10-inch pan and it cooked in 20 minutes). Carefully (remember the handle will be HOT!) remove the frittata from the oven and let sit several minutes before slicing to serve.

Serves 2-4.

(Adapted from Once Upon a Chef)

Field Fresh Chopped Salad with Sweet Basil Dressing

September 1, 2020

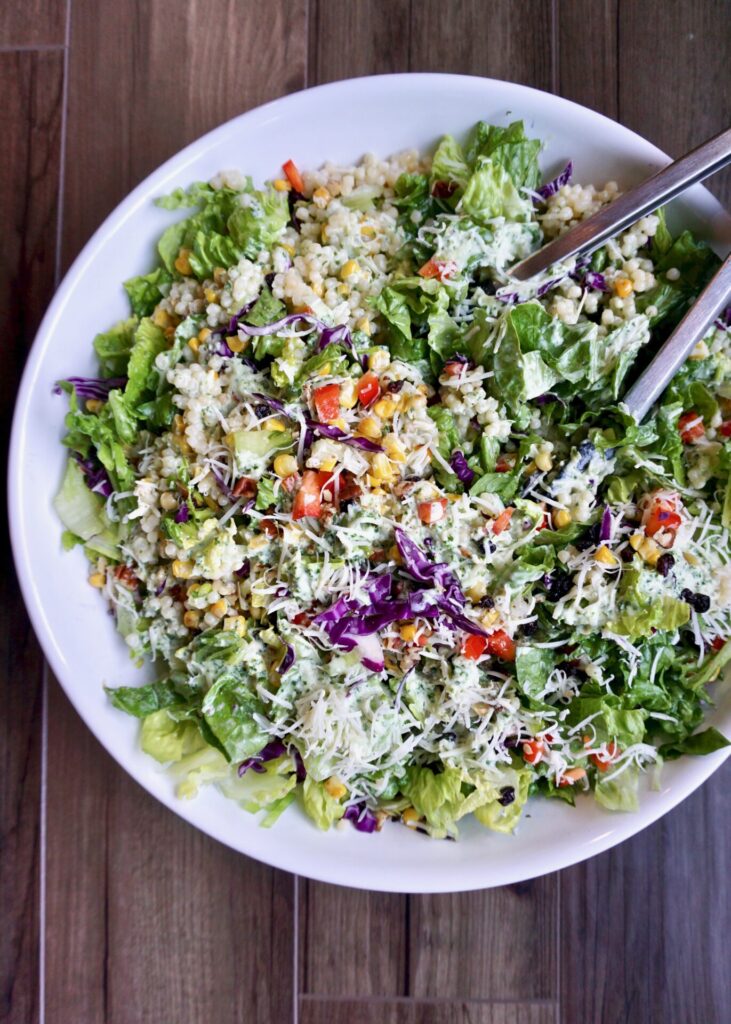
This salad is a copycat of one of my favorite prepared salads found at Trader Joes. The base is a mixture of romaine and cabbage and Israeli (also known as pearl) couscous. Then there’s sweet corn, diced red pepper, pecans, currants, Asiago cheese, and green onion. You can top it with chicken breast for extra protein. The best part though is the fresh basil dressing. It’s sweet and creamy and what makes this salad amazing. It’s definitely more work to make at home, but even better than the original!

Field Fresh Chopped Salad with Sweet Basil Dressing

INGREDIENTS

Field Fresh Chopped Salad:
romaine lettuce, chopped
red cabbage, shredded
Israeli (also known as pearl) couscous, prepared according to package directions (I buy mine at Trader Joes)
fresh corn, cooked and cut off the cob*
red bell pepper, diced
pecans, toasted and chopped
dried currants
Asiago cheese, grated
green onion, thinly sliced
cooked chicken breast, chopped (optional)

Sweet Basil Dressing:
1/2 cup mayo (or part Greek yogurt- I used 1/3rd Greek yogurt, 2/3rds mayo)
1 cup loosely packed fresh basil
2 tsp. honey
2 tsp. freshly squeezed lemon juice
1 tsp. apple cider vinegar
1/4 tsp. Dijon mustard
2 Tbsp. freshly grated Parmesan cheese
2 Tbsp. chopped shallot
1 tsp. minced garlic
salt and pepper, to taste
water to thin if necessary (you probably won’t need it if using part yogurt)

DIRECTIONS

  1. To make the dressing: place all the ingredients into a blender or food processor, blend until creamy. Add water if too thick or mayo if too runny. Adjust salt and pepper to taste.
  2. In a large bowl, toss all the salad ingredients together with basil dressing. Enjoy!

*Corn can be grilled on the cob and cut off or cut off and then toasted in a skillet over medium heat for a few minutes with some olive oil or butter and salt and pepper.

Dressing makes enough to serve ~4, can be doubled/tripled for a large party salad.

(Adapted from Mel’s Creative Corner)

Blueberries and Cream Angel Food Cake Trifle

August 28, 2020

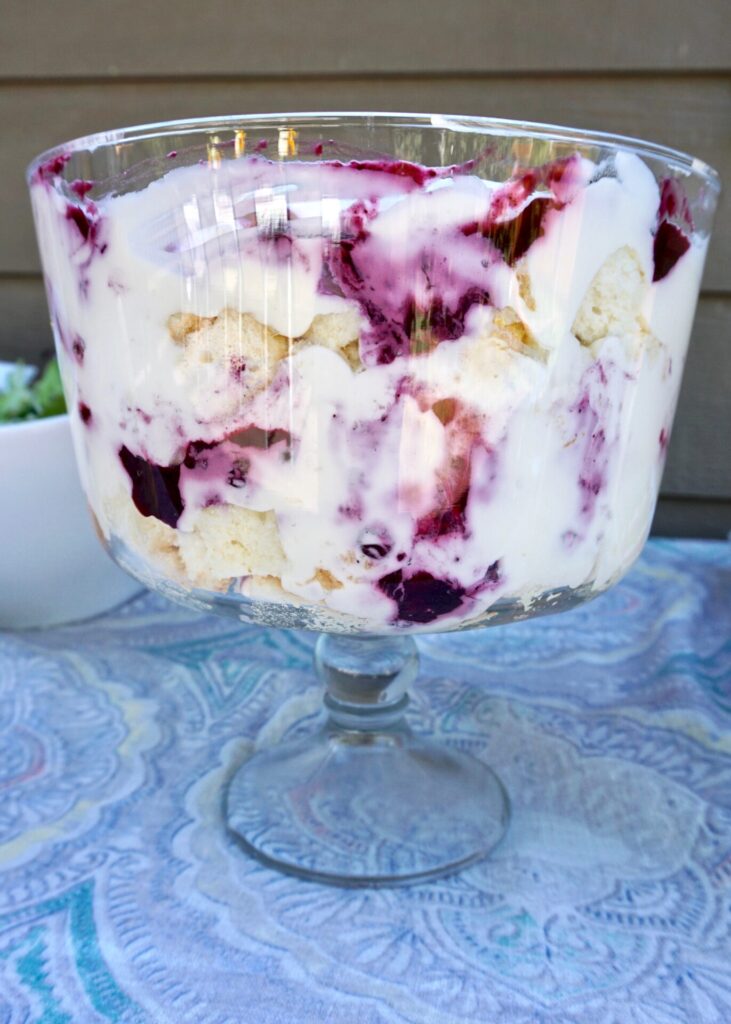
This light yet decadent trifle is the perfect summer dessert… It starts with a base of fluffy angel food cake (store-bought or use this amazingly easy recipe to make your own) which is layered with a cream cheese filling, blueberry sauce, and topped with sweetened whipped cream. I’ve got a freezer full of blueberries we picked this summer and so I used those, but I’ve also purchased the tiny wild frozen blueberries (easy to find at Trader Joes’s or Whole Foods) and especially love it made with those. The trifle dish is pretty, but not necessary. Any large bowl or casserole pan will work as well. Bonus if it’s clear so you can see those beautiful layers of cake, cream, and berries!

Blueberries and Cream Angel Food Cake Trifle

INGREDIENTS

Blueberry Filling:
18 oz. fresh or frozen blueberries (I’ve used both regular and wild blueberries)
3 Tbsp. sugar
2 Tbsp. cornstarch
1/3 cup. cold water
1 Tbsp. freshly squeezed lemon juice

Cream:
16 oz. cream cheese, softened to room temperature
2/3 cup half-and-half
2/3 cup sugar

Whipped Cream:
1 1/2 cups heavy cream
3 Tbsp. powdered sugar

1 angel food cake, cut into 1-inch cubes (store-bought or homemade)

DIRECTIONS

  1. For the blueberry filling, in a medium saucepan, combine the blueberries, sugar, cornstarch, water and lemon juice. Bring the mixture to a simmer and cook until thickened, 5-7 minutes, stirring often. Remove from the heat and let cool to room temperature.
  2. For the cream layer, in a blender or with an electric mixer (handheld or stand mixer), whip together the cream cheese, half-and-half, and sugar until smooth and creamy, 2-3 minutes.
  3. For the whipped cream, beat together the heavy cream and powdered sugar until soft peaks form.
  4. To assemble, in a trifle dish, a large glass bowl or a 9X13-inch (or slightly smaller) dish, spread half of the angel food cake cubes. Top with half of the cream, half of the blueberries, dolloping across the top, and then spread half of the whipped cream on top. Repeat the layers. The layers don’t have to be perfect. It’s going to be a little haphazard and messy.
  5. Cover and refrigerate at least 2 hours or up to 24 hours.

(Adapted from Mel’s Kitchen Cafe)