Category Archives: Chocolate

Triple Chocolate Trifle with Raspberries

August 3, 2012

My husband loves chocolate desserts. And I love anything with fruit. Add a little (or whole lot) of fresh whipped cream, even better. So when I stumbled upon this recipe I knew we had a winner. Decadent chocolate brownies layered with creamy chocolate custard, summer raspberries, lightly whipped cream, and bittersweet chocolate shavings. It was as awesome as it sounds. The original recipe called for cocoa in the whipped cream as well. For aesthetic reasons more than taste, I left it out. Technically its addition would make this a quadruple chocolate trifle and I think that might just be overdoing it. I also forgot to add the chocolate shavings between the layers, but didn’t miss them. I think a hearty sprinkling on top is just the right amount.

Triple Chocolate Trifle with Raspberries

INGREDIENTS

Brownies:
1 cup + 2 Tbsp. unsalted butter
3 oz. unsweetened chocolate, finely chopped (I used 3 oz. milk chocolate and reduced the sugar)
1/2 cup cocoa powder
2 1/2 cups sugar (I used 2 cups, see above)
3 eggs, beaten
1 Tbsp. pure vanilla extract
1 1/2 cups all-purpose flour
1/2 tsp. kosher salt

Chocolate Custard:
1/2 cup sugar
3 Tbsp. cocoa powder
2 Tbsp. cornstarch
pinch salt
1 3/4 cups whole milk
1/2 cup heavy cream
2 large egg yolks
10 oz. (2 cups) bittersweet chocolate (I used 60% dark), finely chopped
2 Tbsp. unsalted butter
1 tsp. pure vanilla extract

Whipped Cream:
2 cups heavy whipping cream
1/4 cup powdered sugar
5 Tbsp. cocoa powder (optional- I omitted)

1-2 pints fresh raspberries
bittersweet chocolate (I used 60% dark), shaved or roughly chopped for layers and/or topping

DIRECTIONS

1. To make brownies, preheat oven to 350 F. Grease a 9-by-13-inch baking pan.

2. In a large saucepan, melt butter. Remove pan from heat and stir in chopped chocolate until fully melted. Stir in cocoa and sugar until combined. Slowly add eggs, whisking chocolate mixture constantly, then whisk in vanilla. Fold in flour and salt.

3. Pour batter into prepared pan. Bake until just firm, about 20-25 minutes (do not overbake). Transfer pan to a rack to cool.

4. In a large bowl, mix together granulated sugar, 3 tablespoons cocoa powder, cornstarch and salt. Whisk in 3/4 cup milk. In a large saucepan, bring remaining 1 cup milk and 1/2 cup cream to a boil over medium heat. Whisk hot milk mixture slowly into cocoa mixture. Return to saucepan. Cook over medium heat, whisking gently, until slightly thickened, about 2 minutes. (A simmering bubble or two is O.K., but do not let it boil.)

5. In a medium heat-resistant bowl, whisk yolks. Whisking them constantly, very slowly dribble about half the cocoa-milk mixture into yolks until fully combined. Pour yolk mixture into saucepan with remaining cocoa-milk mixture, whisking constantly. Cook, whisking occasionally, over medium-low heat, until thickened, about 5 minutes. (Do not let mixture come to a simmer. If pan begins to steam thickly, remove from heat for a few moments and stir well before continuing.) Let cool slightly.

6. Melt 5 ounces chopped chocolate with butter. Stir until smooth. Stir in vanilla. Cool 5 minutes, then fold into thickened egg mixture. Place plastic wrap directly against pudding (to prevent a skin from forming), and chill until set, about 3 hours. (Pudding and brownies can be made up to 5 days ahead, and refrigerated.)

7. Just before assembling, in an electric mixer, beat remaining 2 cups cream with remaining 5 tablespoons cocoa powder and 1/4 cup confectioners’ sugar until it forms soft peaks. Scrape down sides and fold in any excess cocoa or sugar.

8. Cut brownies into 1-inch squares. Fit a layer of brownie squares in bottom of a 4-quart trifle, glass, or other bowl. Top with half the pudding, a third of the whipped cream, a third of the remaining chopped chocolate and a third of the raspberries. Repeat layering until all ingredients have been used. Serve immediately, or cover with plastic wrap and chill for up to 24 hours before serving.

Serves 8-10.

(Adapted from The New York Times)

Browned Butter Blondies

April 23, 2012

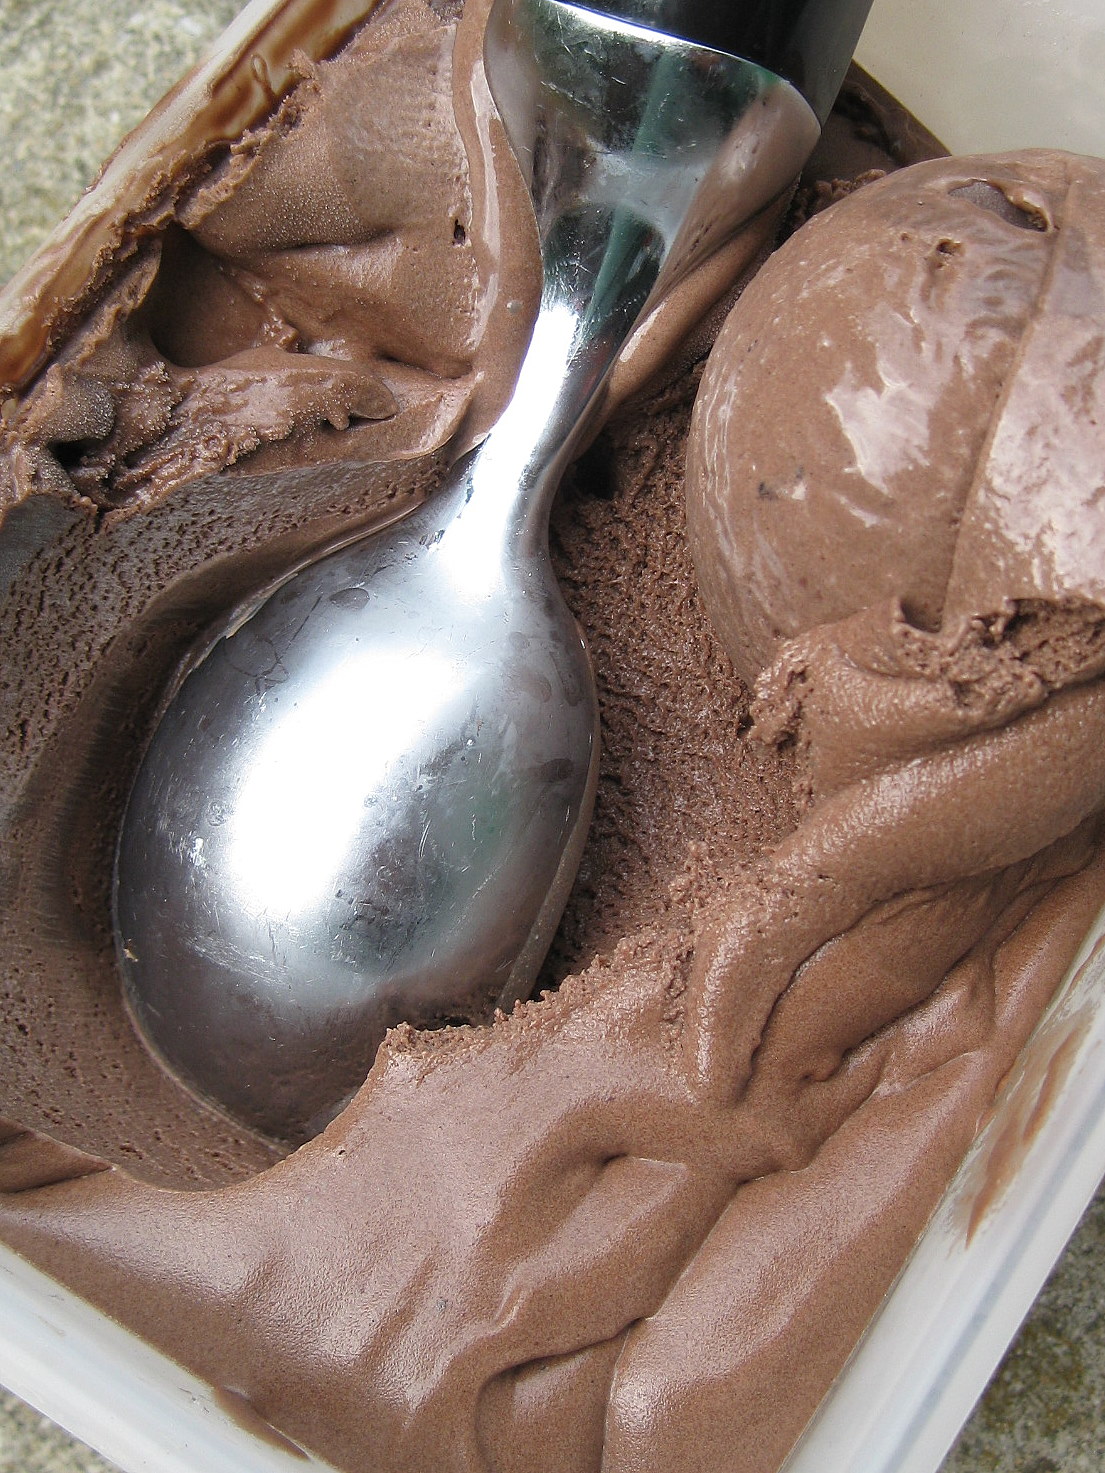
I’m sorry about all the sweets. I have the best of intentions to make some healthy savory dishes to share with you this week. (My last before baby girl is scheduled to arrive May 1st!) I’ve made plans to spend my dwindling moments of pregnancy shopping, napping, reading, movie-watching, cooking, and sneaking in a few more dates with just the two of us. All the things I’ll miss once parenthood sets in. Although I won’t complain if having a baby means more evenings in like last night- curled up on the futon with Netflix reruns and bowls of warm blondies and ice cream.

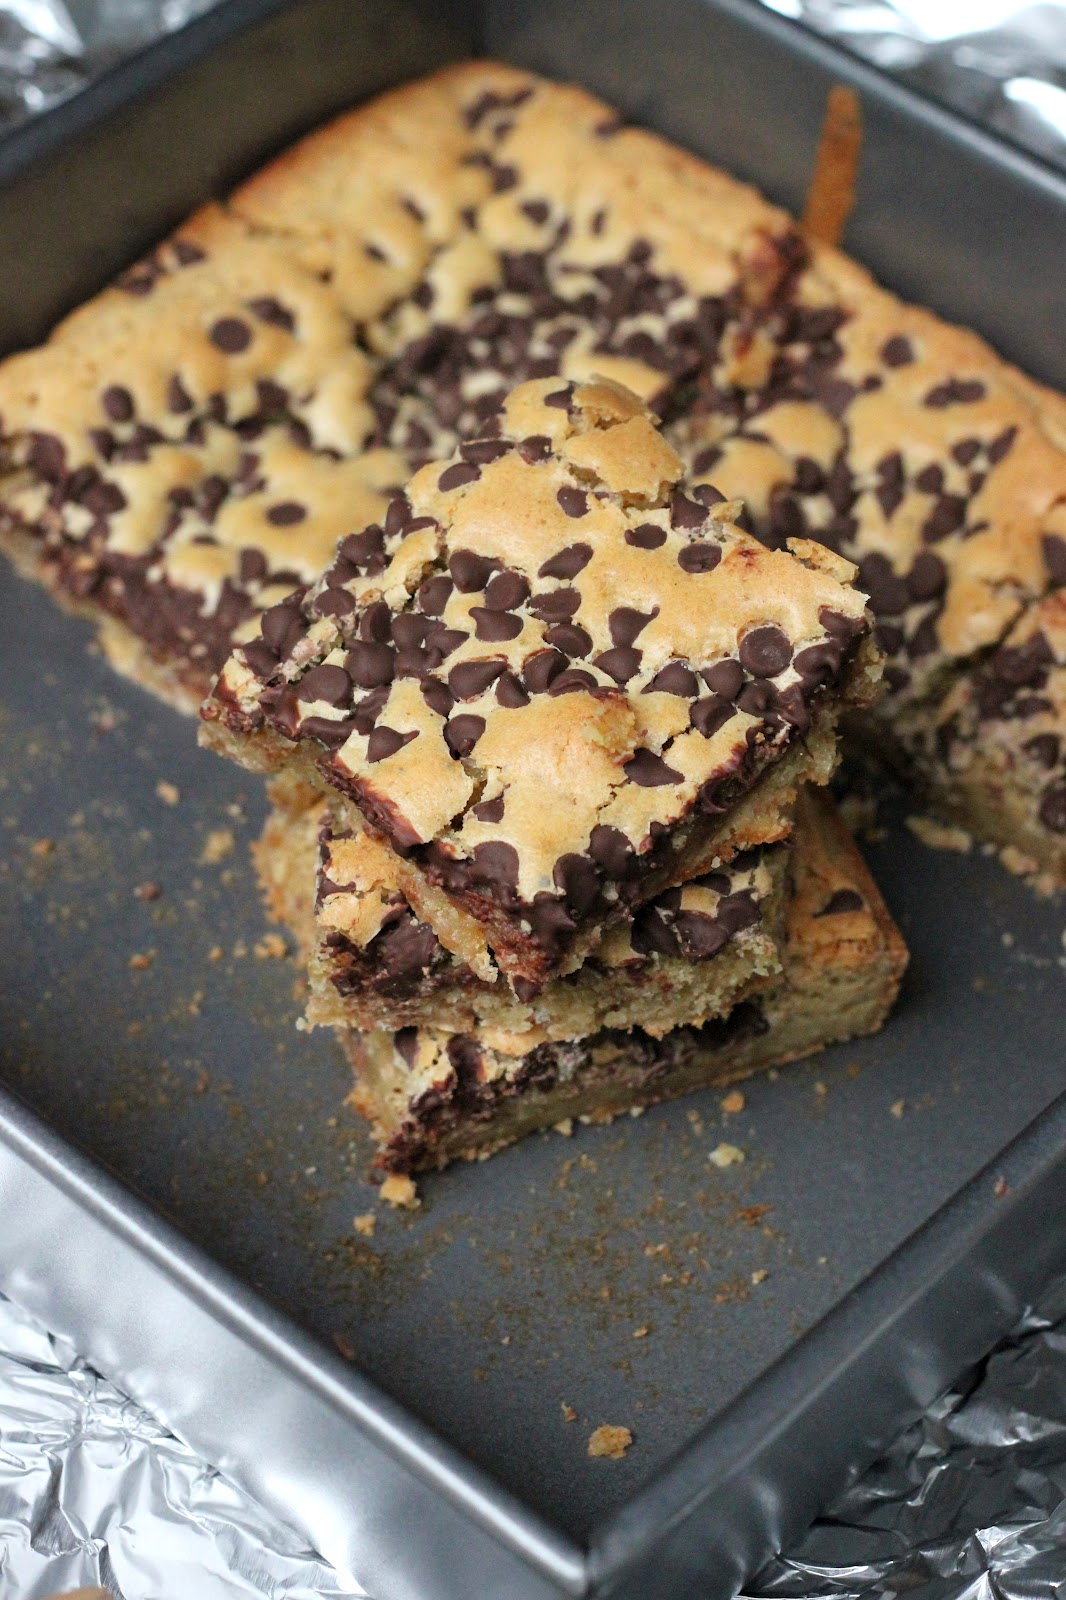
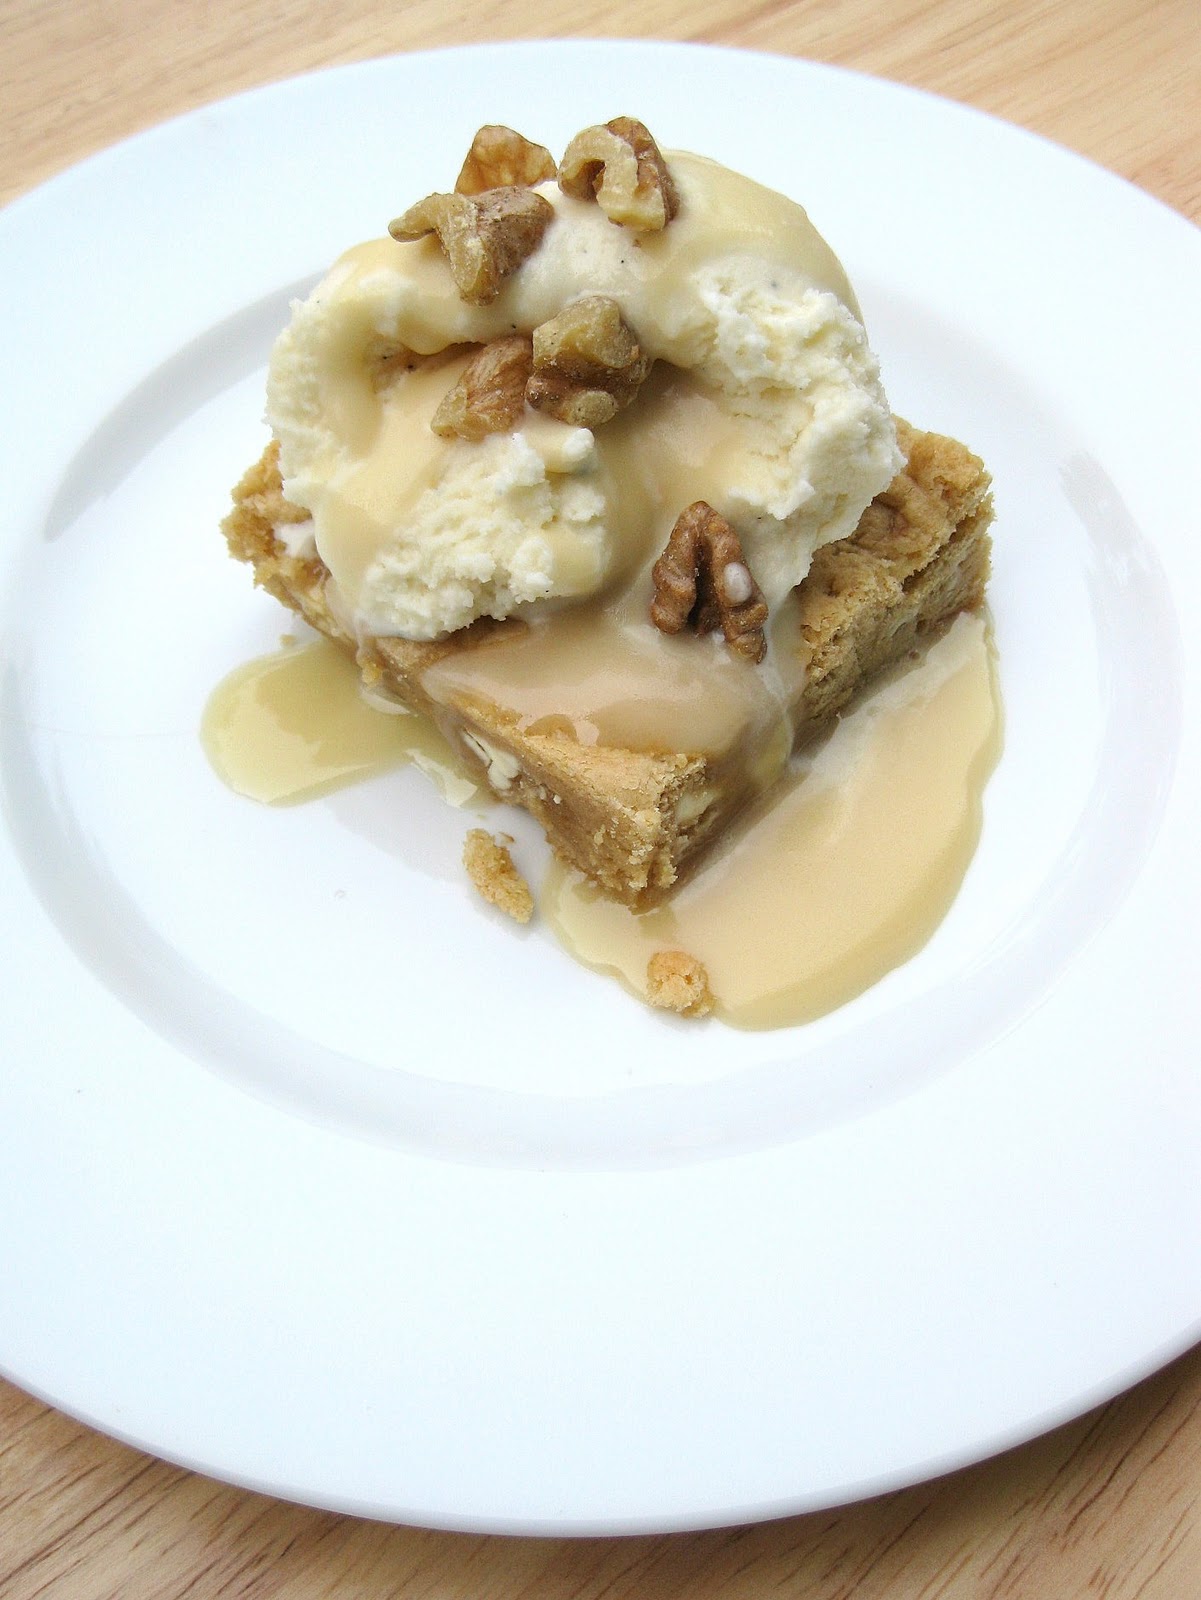
These were made on a last-minute whim and they exceeded expectations. Browning butter adds something marvelous to an otherwise ordinary recipe. I wanted to add some walnuts as well. Dustin wouldn’t let me. (But you should. I think it would be awesome.) The key to perfect blondies is leaving them every-so-slightly gooey in the center. And serving them right out of the oven, topped with melting ice cream.

Browned Butter Blondies

INGREDIENTS

6 Tbsp. unsalted butter
1 1/2 cups brown sugar
2 eggs
1 1/8 cups flour
1 tsp. baking powder
1/2 tsp. salt
1 tsp. pure vanilla extract
1/2 cup chocolate chips (I used mini semi-sweets)

DIRECTIONS

1. To brown butter, melt butter in a saucepan over medium heat. Cook, stirring frequently, until foam subsides and small brown flecks start to appear in the bottom of the pan. Once it has reached a nice brown color and nutty aroma, remove from the heat.

2. Preheat oven to 350 F. Lightly grease an 8×8 pan.

3. In a medium bowl, whisk to combine browned butter, sugar, and eggs until well mixed. Stir in the dry ingredients. Pour into the prepared baking dish and sprinkle with chocolate chips.

4. Bake in preheated oven for about 20 minutes, until the edges and top are just set and turning golden brown (don’t over bake- you want them slightly gooey in the center). Serve warm with a scoop of ice cream.

Makes an 8×8 pan.

(Adapted from The Little Red House)

Red Velvet Whoopie Pies with Cream Cheese Frosting

January 3, 2012

I’m back! With a recipe, finally! And hopefully there will be more to come over the next few months before baby girl arrives. I was in the mood to make something sweet to celebrate the New Year and found this recipe of Paula Deen’s. Red velvet has always intrigued me, so I decided to attempt an easy version of the classic cake in the form of a cookie (or actually whoopie pie). While the shape might be unusual, this recipe includes all of the traditional elements of red velvet- cocoa powder, buttermilk, and mounds of cream cheese frosting. My only complaint is that this recipe makes a bit too much frosting, if there is such a thing. I’m sure you’ll find a use for the excess though. Or just start by halving that part of the recipe and see how it goes. I thought these were delicious- the cake is soft and chewy, the filling is rich and creamy, and the toasted pecans added the perfect bit of crunch.

Red Velvet Whoopie Pies with Cream Cheese Frosting

INGREDIENTS

Red Velvet Whoopie Pies:
1 1/3 cups all-purpose flour
2 Tbsp. cocoa powder
1 tsp. baking powder
1/4 tsp. baking soda
1/2 tsp. salt
1/4 cup butter, room temperature
1 cup sugar
2 eggs
2 Tbsp. buttermilk
2 Tbsp. apple cider vinegar
1 tsp. vanilla extract
1 Tbsp. red food coloring

Cream Cheese Frosting:
16 oz. cream cheese, room temperature
1 cup (2 sticks) butter, room temperature
1 tsp. vanilla extract
4 cups powdered sugar
3/4 cup toasted pecans, finely chopped (optional)

DIRECTIONS

1. Preheat oven to 375 F. Line a large baking sheet with parchment paper.

2. In a small bowl, mix together the flour, cocoa powder, baking powder, baking soda, and salt. In a large bowl, cream the butter and sugar until light and fluffy, about 3 minutes. Add the eggs 1 at a time. Then beat in the buttermilk, vinegar, vanilla, and red food coloring. Once combined, add the dry ingredients to the wet and mix until thoroughly combined.

3. Drop batter into rounded mounds on the prepared baking sheet using a small ice cream/cookie scoop or a tablespoon. Bake in preheated oven for about 10 minutes, until set. (The cookies should be cake-like and light.) Remove cookies from the pan to a wire rack to cool completely.

4. To make the cream cheese frosting, in a large mixing bowl, beat the cream cheese, butter, and vanilla together until smooth. Add the sugar and on low speed, beat until incorporated. Increase the speed to high and mix until light and fluffy. Spread the frosting between two cooled cookies and roll the edges in pecans, if desired.

Makes 16-20 sandwich cookies.

(Recipe from Food Network)

Chocolate Ice Cream

July 16, 2011

Since Dustin just turned 30 and he loves chocolate (and since no birthday party would be complete without cake and ice cream), I chose this recipe. Out of my ice-cream machine came the most decadent, most intensely chocolatey frozen treat. Thick and rich and almost chewy (if you can imagine such a thing). I used Ghirardelli semi-sweet chocolate chips, but would probably choose bittersweet next time. The darker the better, I say. And while Dutch-processed cocoa powder is recommended, you can get away with regular (or a mixture in my case). I always churn my ice cream at least several hours ahead of when I want to eat it so that it has some time to set up in the freezer. But I won’t judge if you end up eating it straight out of the machine. One spoonful and you’ll lose all self-restraint.

Chocolate Ice Cream

INGREDIENTS

2 cups heavy cream
3 Tbsp. unsweetened Dutch-process cocoa powder (I used Hershey’s Special Dark- a blend of regular and Dutch-processed cocoa)
5 oz. bittersweet or semisweet chocolate
1 cup whole milk
3/4 cup sugar
pinch salt
5 large egg yolks
1/2 tsp. pure vanilla extract

DIRECTIONS

1. Warm 1 cup of the cream with the cocoa powder in a medium saucepan, whisking to thoroughly blend the cocoa. Bring to a boil, then reduce the heat and simmer at a very low boil for 30 seconds, whisking constantly. Remove from the heat and add the chopped chocolate, stirring until smooth. Then stir in the remaining 1 cup cream. Pour the mixture into a large bowl, scraping the saucepan as thoroughly as possible, and set a mesh strainer on top of the bowl.

2. Warm the milk, sugar, and salt in the same saucepan. In a separate medium bowl, whisk together the egg yolks. Slowly pour the warm milk into the egg yolks, whisking constantly, then scrape the warmed egg yolks back into the saucepan.

3. Stir the mixture constantly over the medium heat with a heatproof spatula, scraping the bottom as you stir, until the mixture thickens and coats the spatula (170 F on an instant-read thermometer). Pour the custard through the strainer and stir it into the chocolate mixture until smooth, then stir in the vanilla. Stir until cool over an ice bath. (I skipped the ice bath step.)

4. Chill the mixture thoroughly in the refrigerator, then freeze it in your ice cream maker according to the manufacturer’s instructions. (If the cold mixture is too thick to pour into your machine, whisk it vigorously to thin it out.)

Makes about 1 quart.

(Adapted from Brown Eyed Baker, originally from The Perfect Scoop by David Lebovitz)

White Chocolate Macadamia Nut Cookies

May 11, 2011

Today I get to scrub in for my first surgery! (Up to this point I’ve been watching from afar.) My goal for today is to stand next to the surgeon and assistants and not get in the way. And not touch anything unsterile. Sound easy? Not when you’re used to being able to move your arms freely or sit down or scratch your nose. One wrong move could get me in trouble. I’m curious to see how this goes…

My mind has been so focused on the operating room lately that I’ve had a hard time writing blog posts. I don’t have as much time to think about food. But over the weekend we celebrated Mother’s Day with my family and my sister and I cooked a big meal. We grilled chicken and vegetable kabobs and baked a creamy cauliflower gratin and homemade rolls (all previously posted recipes). And for dessert I made these cookies (as well as an attempt at fresh strawberry ice cream). The ice cream didn’t live up to my expectations, so I’ll be trying again in the future. But these cookies we loved! Soft and chewy, salty and sweet. With bits of crunchy macadamia and smooth white chocolate strewn throughout. Cookie perfection.

2/18/09: Feeling guilty for leaving Dustin alone the last few days (slaving away in school while I visited my family and got our car fixed, again), I decided to bake him a batch of cookies when I got home tonight! Macadamia nuts are a splurge, so these are a rare treat! In fact, he just walked in the door and exclaimed, “mhh…smells so good!” And now, he keeps repeating between bitefuls, “these are so good!” I predict these morsels of nutty perfection won’t be around for long. I’ll be making a double batch next time.

White Chocolate Macadamia Nut Cookies

INGREDIENTS

1 cup (2 sticks) unsalted butter, room temperature
1 1/2 cups white sugar
2 eggs
2 tsp. pure vanilla extract
2 1/2 cups all-purpose flour
1 tsp. baking soda
1 tsp. salt
1 1/2 cups white chocolate chips
6 oz. macadamia nuts, chopped

DIRECTIONS

1. Preheat oven to 375 F.

2. In a medium bowl, cream the butter and sugar with an electric mixer. Beat in the egg and vanilla. In a separate bowl, whisk to combine the flour, baking soda and salt. Add the flour mixture to the wet ingredients, mixing well. Fold in the white chocolate and nuts. Drop dough by heaping teaspoonfuls onto an ungreased cookie sheet.

3. Bake in preheated oven for 8-10 minutes, until the edges are lightly browned. Cool on wire racks.

Makes 2-3 dozen cookies, depending on size.

(Adapted from All Recipes)