Category Archives: Ice Cream

Berries and Cream Ice Cream

August 13, 2020

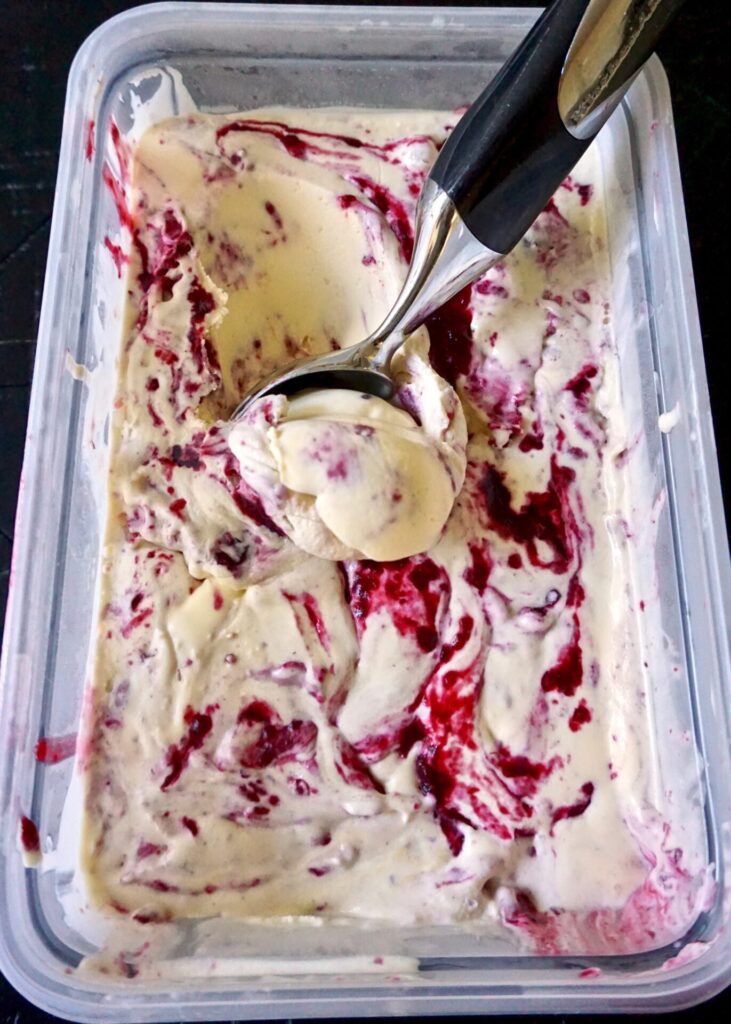
Lots of sunshine, days at the lake, and local berries are the best parts of summer around Seattle. We’ve visited farms and picked our own strawberries, blueberries, and raspberries this season. And we can find blackberries growing wild just about anywhere we walk this month. (Including blackberry vines creeping under/over/through our fence!) When we pick berries I always freeze a few so we can enjoy them year round. This ice cream uses fresh or frozen berries to make a berry sauce that gets swirled in a vanilla custard base for a creamy decadent treat!

Homemade ice cream is not hard. It just takes some time and preparation. First, make sure the bowl of your ice cream maker is frozen. That step is essential. Then you’ll need to prepare the custard base and berry sauce the day, or at least morning ahead so it has time to chill. And after the ice cream is churned it needs another 4 or so hours in the freezer to set. You can eat it straight out of the ice cream machine but it’ll be very soft and melt almost instantly. By all means sneak a taste (or lick the bowl clean like my kids always request to) but I recommend letting it firm up in the freezer before serving so it’s scoop-able.

NOTE: The addition of vanilla or almond extract here is optional. I went with vanilla but almond and berries are a heavenly combination. If you leave the extract out even more of that berry flavor will shine through!

Berries and Cream Ice Cream

INGREDIENTS

2 cups heavy cream
1 cup whole milk (2% also works)
1 1/4 cups sugar
6 egg yolks
1 tsp. vanilla extra OR 1/4 tsp. almond extract (optional)
16 oz. fresh or frozen berries (I used approx. equal parts strawberries, raspberries, blackberries, and blueberries)
1 Tbsp. cornstarch + 1 Tbsp. water
1/2 cup brown sugar
squeeze lemon juice

DIRECTIONS

  1. In a saucepan over medium low heat, combine the heavy cream, milk, and sugar. Stir occasionally, heating the mixture until bubbles form around the edges. Remove from heat.
  2. Meanwhile, whisk 6 egg yolks together in a bowl vigorously until pale yellow. After you have removed the cream mixture from heat, remove a few tablespoons of the hot cream mixture from the pan, and slowly, whisking constantly, pour the hot cream mixture into the eggs. Do not add the eggs straight or they will scramble at the bottom. Once you have added about 3 tablespoons of the hot mixture return the pan with the cream mixture to medium-low heat and slowly whisk in the entire egg mixture. Heat, stirring constantly, until thickened. (You should be able to dip the back of a spoon into the mixture and the cream should coat the back of the spoon. You can test this by dragging your finger through the cream on the back of the spoon and if it leaves a trail you’re done.) Don’t cook hotter than 160 degrees.
  3. Remove from heat and chill in the refrigerator (for several hours or overnight).
    Once the mixture is chilled, freeze according to your ice cream maker’s instructions (a 4-5 quart machine).
  4. To make the berry mixture, add the berries, brown sugar, and a squeeze of lemon juice to a sauce pan and cook on medium low heat until the berries break down slightly. Combine the cornstarch and water in a small bowl and add to the berry mixture. Continue to simmer until the berries thicken to a sauce. Remove from a saucepan to a bowl and refrigerate until completely cool (for several hours or overnight). 
  5. When the ice cream is almost done churning, take a spoonful of berry mixture and drizzle it into the ice cream machine. Repeat with about half of the mixture (you can add as much or as little berry mixture as you want, the remainder can be served alongside or saved for pancakes/waffles/etc!).
  6. Transfer to a freezer-safe container a few scoops at a time, and freeze for at least four hours before serving. 

Adapted from Oh Sweet Basil

Easy 5 Layer Ice Cream Cake

July 31, 2020

I’ve probably mentioned before that Dustin (my husband) has slightly kiddish taste when it comes to dessert. He’ll try any treat I make (unless he spies a raisin), and sometimes often thinks it’s delicious. But he’ll still complain (or at least hint at the fact) that he’d rather it was a chocolate chip cookie or brownie. Frosting better be buttercream. And when it comes to cake, ice cream cake is the superior choice in his opinion.

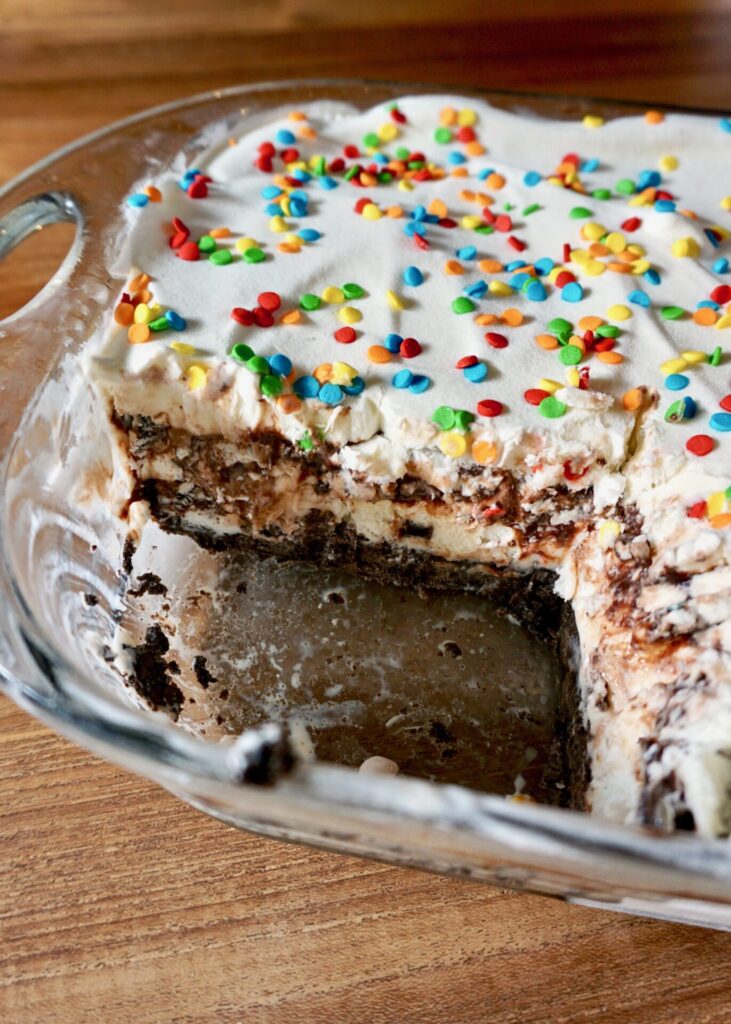
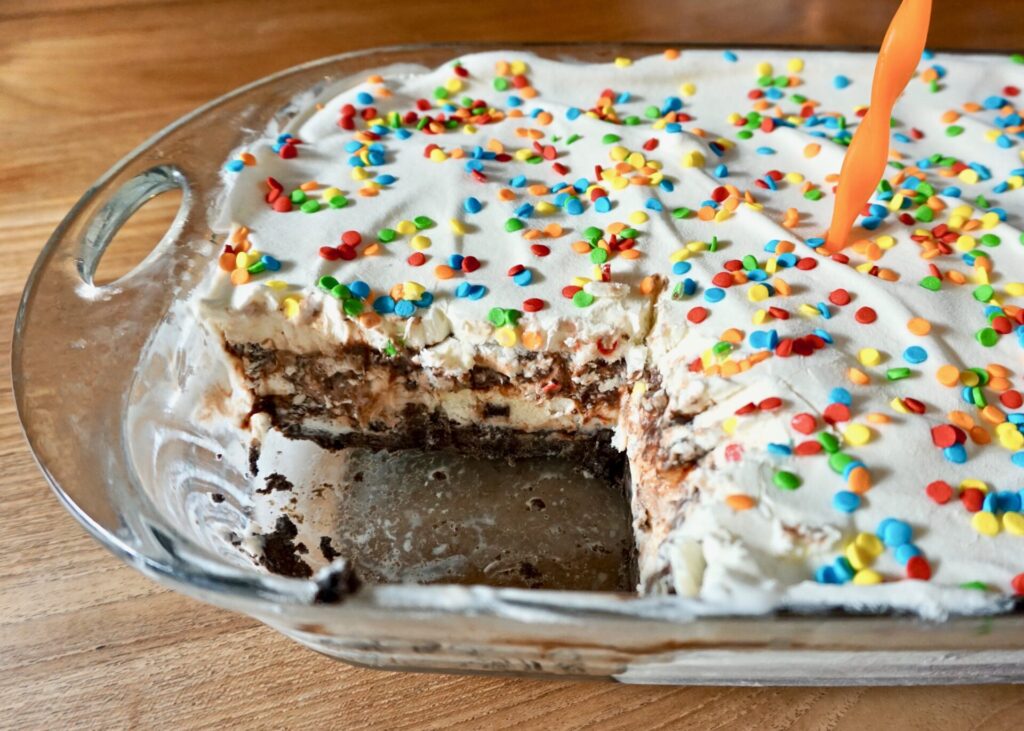
I make a lot of fruit desserts- especially in the summer- because that’s what I love most. But when Dustin’s birthday rolled around earlier this month I had to make something to please just him, and this ice cream cake was perfect! And it’s super easy. No fancy molding of ice cream into cake layers required. It consists of a crushed oreo + butter bottom crust, two layers of ice cream (flavors your choice!), a thick spread of fudge (I went the homemade route with this recipe… yum!), and a whipped cream + sprinkle topping. It does require dirtying quite a few bowls and some time in the freezer between each step but once the cake is assembled it can be stashed away and ready to serve when it’s party time! My husband and kids were super impressed and I have a feeling they’ll be requesting this one for many birthdays to come!

Easy 5 Layer Ice Cream Cake

INGREDIENTS

36 Oreos (1 standard package)
1/2 cup unsalted butter, melted
1 quart* chocolate ice cream, softened (I used chocolate ice cream on half and vanilla ice cream on the other half)
1 quart* your choice flavor ice cream, softened (I used cookie dough ice cream)
1 1/2 cups hot fudge (store-bought or homemade)

Whipped Cream:
1 cup heavy cream
2 Tbsp. powdered sugar
1/2 tsp. pure vanilla extract
sprinkles

DIRECTIONS

  1. Make the crust: In a food processor or blender, pulse the whole Oreos into a fine crumb. Stir the cookie crumbs and melted butter together, then press into a 9×13 pan. (No need to grease the pan prior.) Make sure it is very tightly packed– I use the back of a spatula to firmly press it in. Freeze for 15 minutes.
  2. During that time, place the softened chocolate (and/or vanilla) ice cream in a bowl and give it a good stir to rid any frozen lumps. You want a nice smooth, soft ice cream. Spread it on top of the frozen crust. Freeze for 15-30 minutes. (Closer to 30 minutes is ideal.)
  3. During that time, place the 2nd ice cream flavor into a bowl and stir it until it is smooth and very soft. Carefully spread on top of the chocolate ice cream. Freeze for 15-30 minutes. (Closer to 30 minutes is ideal.)
  4. Make sure the hot fudge is spreadable consistency. You may have to slightly heat it. Spread it on top of the ice cream as best you can. Because it is not as cold as the ice cream layer, the two will slightly mesh together as you spread. That’s ok. Freeze for 15-30 minutes. (Closer to 30 minutes is ideal.)
  5. Make the whipped cream: Using a hand mixer or a stand mixer fitted with a whisk attachment, beat the heavy cream, confectioners’ sugar, and vanilla on medium-high speed until stiff peaks form, about 4-5 minutes. Spread on top of hot fudge layer, then top with sprinkles. Cover with aluminum foil and freeze for at least 12 hours before serving (and up to a few days!).
  6. Use a very sharp knife to cut, making sure you are cutting into the crust. Keep leftovers in the freezer.

*Ice Cream: 1 quart of ice cream is 2/3 of a standard 1.5 quart container. So you’ll use a little more than half of the container for each ice cream layer.

Makes a 9×13 ice cream cake.

Adapted from Sally’s Baking Addiction

Fresh Strawberry Gelato

June 26, 2020

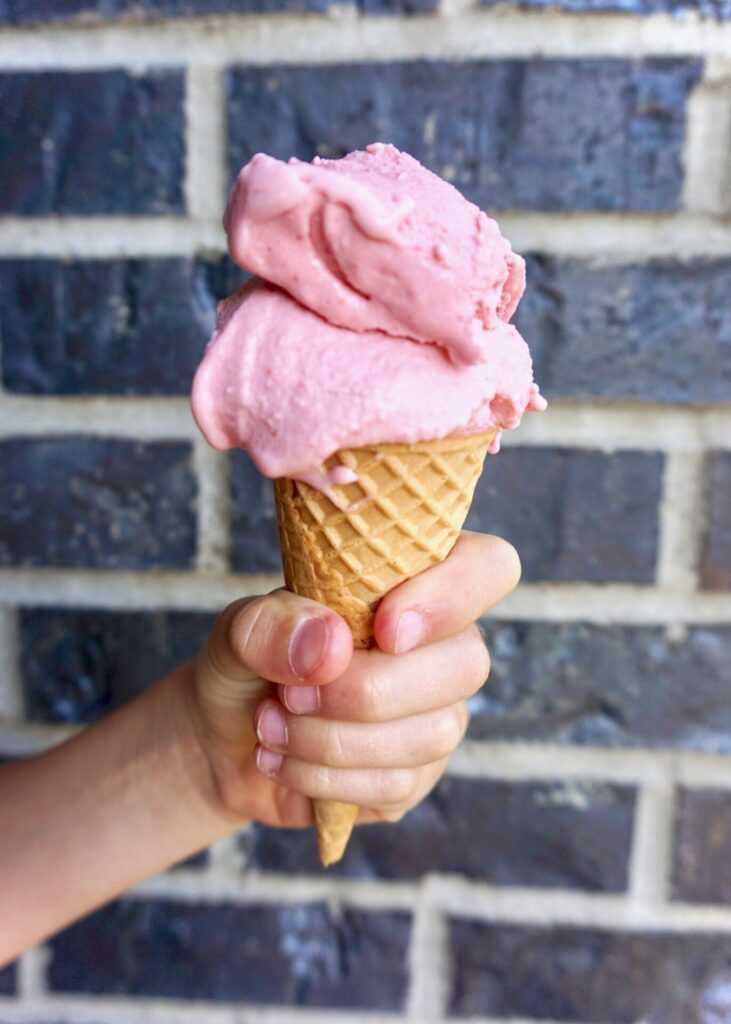
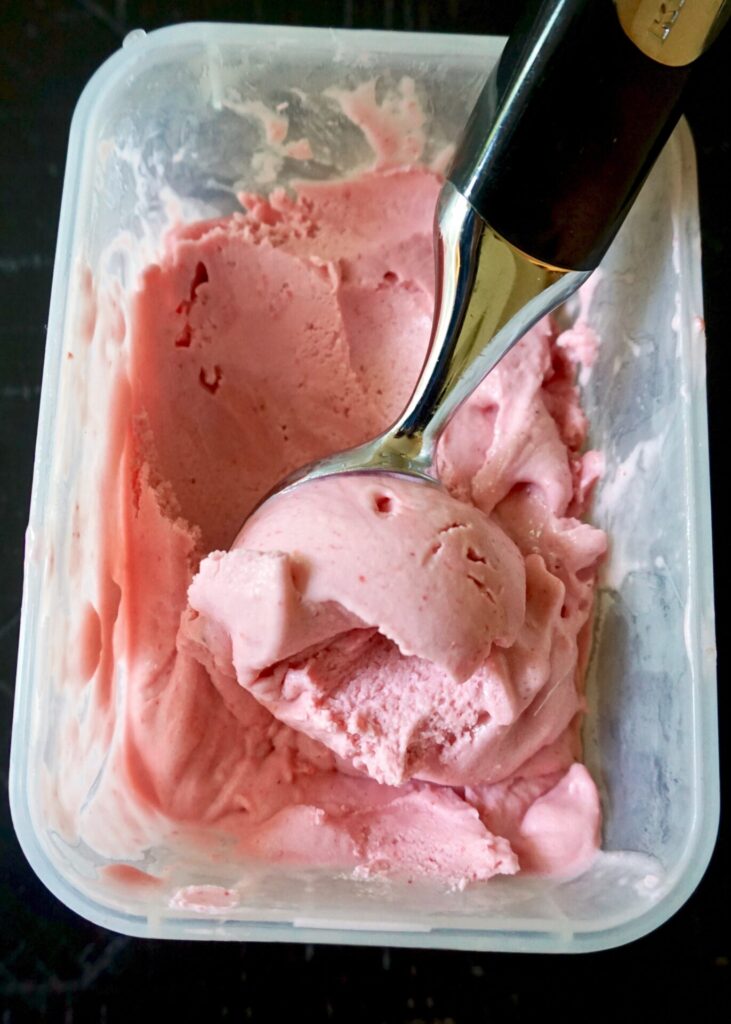
It’s strawberry season here now! The first thing we made with our piles of fresh berries was this strawberry gelato, which has become a summer tradition. I’m not sure what makes this recipe gelato (vs regular ice cream), but I know it’s absolutely delicious. It’s also one of the easier ice cream recipes I’ve made.

Don’t skip the step of straining the strawberries to get all the seeds out, it makes it much creamier/smoother. I’ve used both fresh picked strawberries and ones that we’ve frozen first. Just make sure whatever you use is really ripe for the best flavor.

Fresh Strawberry Gelato

INGREDIENTS

3/4 cup sugar
1 Tbsp. cornstarch
1 cup whole milk
3/4 cup heavy whipping cream
1/2 tsp. pure vanilla extract
2 1/2 cups sliced very ripe, fresh strawberries

DIRECTIONS

  1. In a medium saucepan, whisk together the sugar and cornstarch. Gradually whisk in the milk and whipping cream.
  2. Place the pan over medium heat and cook, whisking constantly, until the mixture begins to bubble and thickens, 5-10 minutes. Remove from the heat and stir in the vanilla.
  3. Pour the mixture into a bowl and cool completely (either by pressing plastic wrap directly on the surface and refrigerating or nesting the bowl in a larger bowl filled with ice and stirring until it is cool to the touch).
  4. Puree the strawberries in a blender until the mixture is very smooth.
  5. Once the gelato base has cooled completely, strain the strawberry mixture through a fine mesh strainer into the creamy mixture. Use a rubber spatula or the back of a large spoon to press the strawberry puree through the strainer so all the pretty strawberry liquid gets strained into the gelato but the seeds are left behind. Stir well.
  6. Cover the gelato by pressing plastic wrap directly on the surface. Refrigerate 3 hours or up 24 hours.
  7. Process the gelato in your ice cream maker following the manufacturer’s instructions. Scrape the ice cream into a container, cover and freeze for at least two hours or longer before serving.

Adapted from Epicurious via Mel’s Kitchen Cafe

Salted Caramel Ice Cream

February 12, 2020

I wish I could claim this recipe was quick and easy. But unless you’re a professional candy-maker (not me), it’s a bit tricky. First, you have to make the caramel. I’m not talking about melting little candy squares- I mean the old-fashioned way with sugar and cream and heat. This part was the most stressful for me. Then you have to make the custard, which requires tempering (not scrambling) the eggs and thickening the mixture without boiling it. This I had done before, but it makes me nervous every time. Several times during the process I thought for sure my caramel was ruined (is it supposed to clump and harden like that?!). But I kept going, with the faint hope that I wasn’t going to have to pour such precious ingredients down the drain.

And then worst of all, you have to wait. After all of this work, you can’t enjoy the results of your effort until the next day. The custard must chill overnight (or the better part of a day) before churning. But you know what? Despite a few glitches, it somehow worked. And it was worth all the trouble and the patience. I ended up with intensely rich, smooth, creamy caramel ice cream. With a touch of salt to offset the sweet. This is the type of recipe that makes you truly proud (and relieved) when you’re done. My own frozen masterpiece.

Salted Caramel Ice Cream

INGREDIENTS

1 1/4 cups sugar, divided
2 1/4 cups heavy cream, divided
1/2 tsp. flaky sea salt such as Maldon (I used kosher salt)
1/2 tsp. pure vanilla extract
1 cup whole milk
3 large eggs

DIRECTIONS

1. Heat 1 cup sugar in a dry 10-inch heavy skillet over medium heat, stirring with a fork to heat sugar evenly, until it starts to melt, then stop stirring and cook, swirling skillet occasionally so sugar melts evenly, until it is dark amber.

2. Add 1 1/4 cups cream (mixture will spatter) and cook, stirring, until all of caramel has dissolved. Transfer to a bowl and stir in sea salt and vanilla. Cool to room temperature.
3. Meanwhile, bring milk, remaining cup cream, and remaining 1/4 cup sugar just to a boil in a small heavy saucepan, stirring occasionally.
4. Lightly whisk eggs in a medium bowl, then add half of hot milk mixture in a slow stream, whisking constantly. Pour back into saucepan and cook over medium heat, stirring constantly with a wooden spoon, until custard coats back of spoon and registers 170°F on an instant-read thermometer (do not let boil). Pour custard through a fine-mesh sieve into a large bowl, then stir in cooled caramel.
5. Chill custard, stirring occasionally, until very cold, 3 to 6 hours. Freeze custard in ice cream maker (it will still be quite soft), then transfer to an airtight container and put in freezer to firm up.

Makes about 1 quart.

(Recipe from Gourmet)

Homemade Butterscotch Ice Cream

March 6, 2012

This ice cream was devoured before I could snap a picture of it. So I’m posting the recipe photo-less, since it was too good not to be shared. My family was visiting for the weekend and my mom baked my favorite German Chocolate Cake (an early birthday celebration). And I picked this ice cream to accompany it. It was the perfect duo. Rich chocolate cake with boiled coconut-pecan frosting and light creamy butterscotch delight. It was excellent served soft right from the ice cream machine as well as spooned from the freezer a few days later.

Butterscotch Ice Cream

INGREDIENTS

1 cup brown sugar
2 Tbsp. butter
1 Tbsp. pure vanilla extract
1 1/2 cups whipping cream
2 cups half and half
6 large egg yolks

DIRECTIONS

1. In a saucepan over medium heat, stir brown sugar, butter, and vanilla until butter is melted, sugar is dissolved, and mixture is bubbly, 3 to 4 minutes. Whisk in 1/2 cup whipping cream until smooth; remove butterscotch mixture from heat.

2. In a separate saucepan over medium-high heat, combine remaining 1 cup whipping cream and the half-and-half; bring to a simmer.

3. Meanwhile, in a bowl, beat egg yolks to blend. Whisk 1/2 cup of the warm cream mixture into egg yolks, then pour egg yolk mixture into pan with cream. Stir constantly over low heat just until mixture is slightly thickened, 2 to 4 minutes. Immediately remove from heat.

4. Pour through a fine strainer into a clean bowl and whisk in butterscotch mixture. Chill until cold, stirring occasionally, about 2 hours; or cover and chill up to 1 day.

5. Freeze mixture in an ice cream maker according to manufacturer’s instructions. Serve softly frozen, or transfer ice cream to an airtight container and freeze until firm, at least 6 hours or up to 1 week.

Makes about 1 quart.

(Adapted from Sunset via Smitten Kitchen)