Category Archives: Fruit

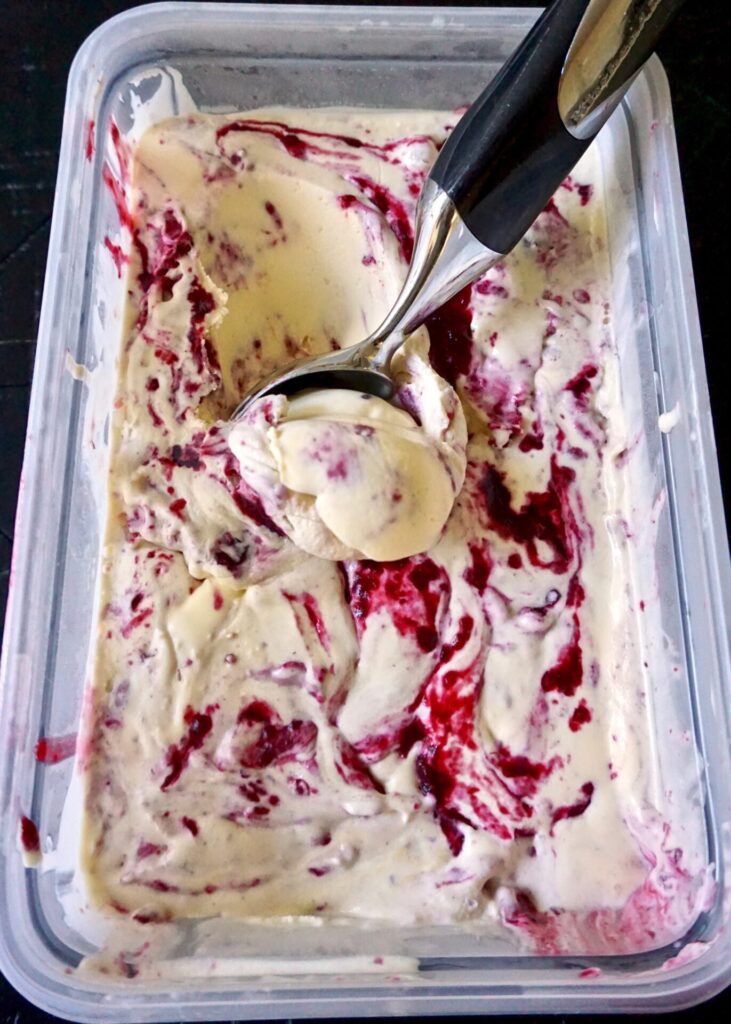
Berries and Cream Ice Cream

August 13, 2020

Lots of sunshine, days at the lake, and local berries are the best parts of summer around Seattle. We’ve visited farms and picked our own strawberries, blueberries, and raspberries this season. And we can find blackberries growing wild just about anywhere we walk this month. (Including blackberry vines creeping under/over/through our fence!) When we pick berries I always freeze a few so we can enjoy them year round. This ice cream uses fresh or frozen berries to make a berry sauce that gets swirled in a vanilla custard base for a creamy decadent treat!

Homemade ice cream is not hard. It just takes some time and preparation. First, make sure the bowl of your ice cream maker is frozen. That step is essential. Then you’ll need to prepare the custard base and berry sauce the day, or at least morning ahead so it has time to chill. And after the ice cream is churned it needs another 4 or so hours in the freezer to set. You can eat it straight out of the ice cream machine but it’ll be very soft and melt almost instantly. By all means sneak a taste (or lick the bowl clean like my kids always request to) but I recommend letting it firm up in the freezer before serving so it’s scoop-able.

NOTE: The addition of vanilla or almond extract here is optional. I went with vanilla but almond and berries are a heavenly combination. If you leave the extract out even more of that berry flavor will shine through!

Berries and Cream Ice Cream

INGREDIENTS

2 cups heavy cream
1 cup whole milk (2% also works)
1 1/4 cups sugar
6 egg yolks
1 tsp. vanilla extra OR 1/4 tsp. almond extract (optional)
16 oz. fresh or frozen berries (I used approx. equal parts strawberries, raspberries, blackberries, and blueberries)
1 Tbsp. cornstarch + 1 Tbsp. water
1/2 cup brown sugar
squeeze lemon juice

DIRECTIONS

  1. In a saucepan over medium low heat, combine the heavy cream, milk, and sugar. Stir occasionally, heating the mixture until bubbles form around the edges. Remove from heat.
  2. Meanwhile, whisk 6 egg yolks together in a bowl vigorously until pale yellow. After you have removed the cream mixture from heat, remove a few tablespoons of the hot cream mixture from the pan, and slowly, whisking constantly, pour the hot cream mixture into the eggs. Do not add the eggs straight or they will scramble at the bottom. Once you have added about 3 tablespoons of the hot mixture return the pan with the cream mixture to medium-low heat and slowly whisk in the entire egg mixture. Heat, stirring constantly, until thickened. (You should be able to dip the back of a spoon into the mixture and the cream should coat the back of the spoon. You can test this by dragging your finger through the cream on the back of the spoon and if it leaves a trail you’re done.) Don’t cook hotter than 160 degrees.
  3. Remove from heat and chill in the refrigerator (for several hours or overnight).
    Once the mixture is chilled, freeze according to your ice cream maker’s instructions (a 4-5 quart machine).
  4. To make the berry mixture, add the berries, brown sugar, and a squeeze of lemon juice to a sauce pan and cook on medium low heat until the berries break down slightly. Combine the cornstarch and water in a small bowl and add to the berry mixture. Continue to simmer until the berries thicken to a sauce. Remove from a saucepan to a bowl and refrigerate until completely cool (for several hours or overnight). 
  5. When the ice cream is almost done churning, take a spoonful of berry mixture and drizzle it into the ice cream machine. Repeat with about half of the mixture (you can add as much or as little berry mixture as you want, the remainder can be served alongside or saved for pancakes/waffles/etc!).
  6. Transfer to a freezer-safe container a few scoops at a time, and freeze for at least four hours before serving. 

Adapted from Oh Sweet Basil

Blueberry Pie Crumb Bars

July 17, 2020

Bring on the summer berries! We had plans to pick raspberries with friends yesterday but we had our first cat crisis (she swallowed a nice long string of yarn) resulting in a trip to the emergency vet (she’s doing fine now!) so we didn’t make it to the berry farm. Our sweet friends brought us some fresh-picked raspberries to console us though and they were so so good. Blueberry picking is coming soon and we can’t wait!

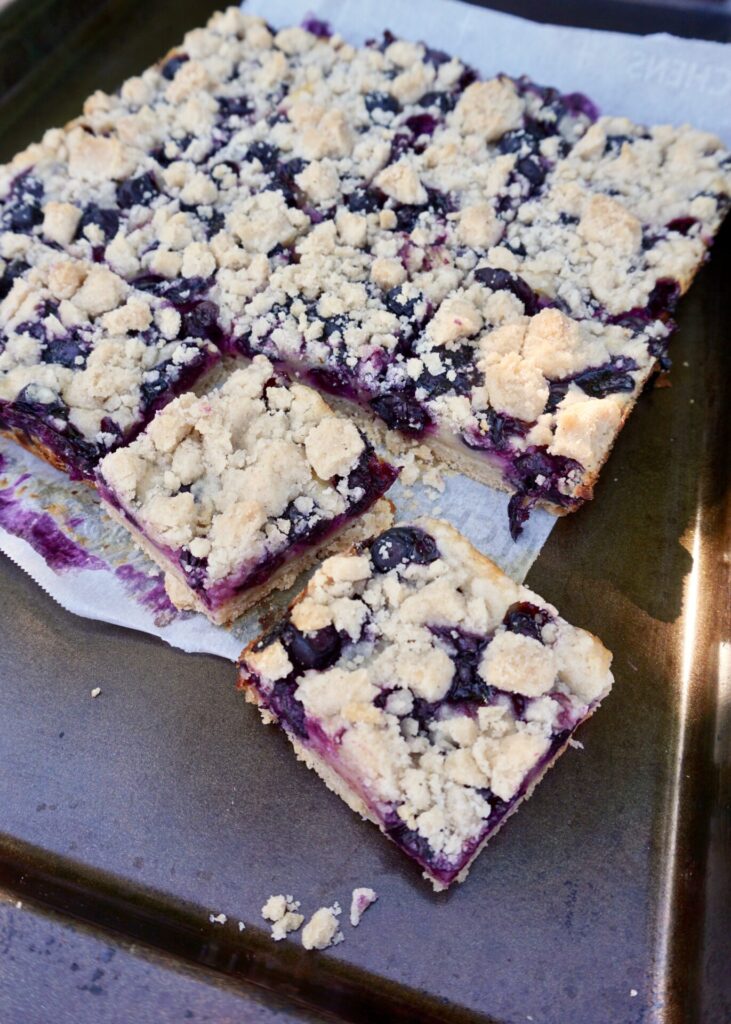
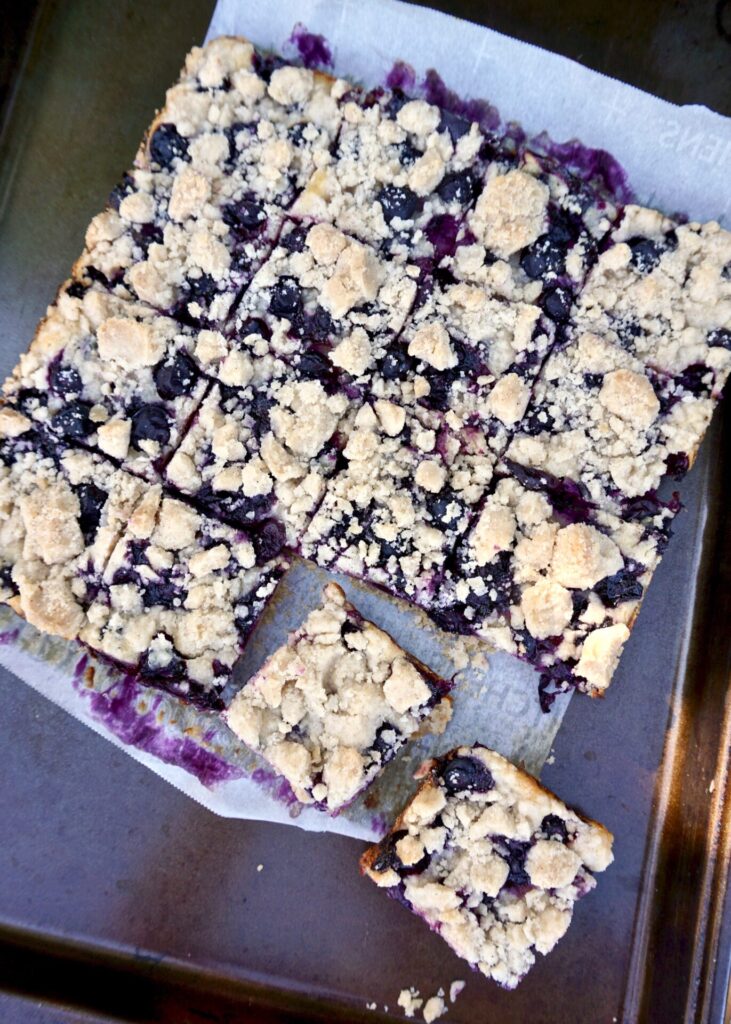
This year I made these blueberry pies bars for the 4th of July. We were in Utah with Dustin’s family and everyone LOVED them. The sour-cream based custard filling is what makes them creamy/tangy/unique. And it takes a lot of self-restraint to not eat all that cookie crumble right off the top! I’ve made them a few times now… even once with frozen berries- don’t bother thawing them, but do add some extra flour and cornstarch so they thicken up. You can double the recipe to fit a 9×13 pan but you’ll have to increase the baking time quite a bit (I would start checking them around an hour in case your oven is extra hot). Let the bars cool before cutting so they can set. I find them most irresistible with a scoop of vanilla ice cream!

Blueberry Pie Crumb Bars

INGREDIENTS

1/2 cup unsalted butter, chilled
3/4 cup sugar
1 1/2 cups all-purpose flour
1/2 tsp. ground cinnamon
Pinch kosher salt

Filling:
1 egg
1/2 heaping cup sour cream
1/3 cup sugar
2 Tbsp. lemon juice
1 Tbsp. all-purpose flour
4 tsp. cornstarch
1/2 tsp. cinnamon. (optional- I only use the cinnamon in the crust)
2 tsp. vanilla extract (or 1 tsp. vanilla extract and 1/4 tsp. almond extract)
2 cups blueberries

DIRECTIONS

  1. Preheat the oven to 350 F. Spray an 8×8-inch baking pan with cooking spray. Line the pan with parchment paper so that it hangs over on two sides. Spray the parchment.
  2. For the crust: In the bowl of a food processor, combine the butter, sugar, flour, cinnamon and salt. Process until the mixture starts to come together and clump, 1 minute. Remove 3/4 cup and reserve; press the remaining crust mixture evenly into the prepared baking pan. Set aside.
  3. For the filling: In a medium bowl, whisk together the egg, sour cream, sugar, lemon juice, flour, cornstarch, vanilla (and almond, if using) extract and cinnamon (if using) until smooth. Mix in 1 cup of the blueberries. Pour the filling mixture over the crust, shaking the pan gently to settle the custard and berries. Pour the remaining 1 cup blueberries over the top, spreading them evenly.
  4. Take the reserved crust and sprinkle it over the top of the berries, squeezing the mixture in your hands to encourage large lumps.
  5. Bake for ~1 hour. Let cool. Remove the bars from the pan and cut into 9 pieces. Refrigerate until ready to serve.

Makes an 8×8 pan of bars. 

Adapted from Food Network

Arugula, Apple, and Manchego Salad

July 10, 2020

If you’re not familiar with Manchego, let me introduce you to my favorite cheese! Machego is a Spanish sheep’s milk cheese that is semi-firm and buttery while slightly sweet and nutty. It melts well (think grilled cheese) and is delicious with fruit and nuts, meats (in Spain they often serve it with Serrano ham), or bread/crackers on a cheese board or in a salad. Trader Joe’s and Costco carry versions, but you should be able to find it at most local supermarkets. If you’re looking for more ways to use it I have a handful of other recipes with Manchego here.

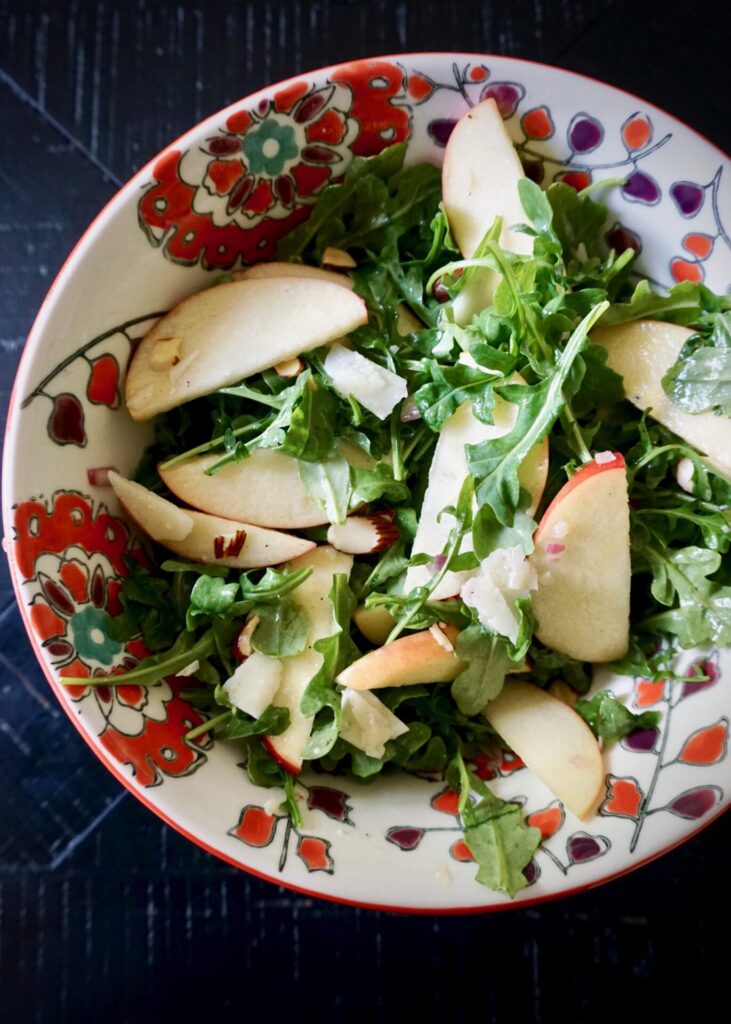
This arugula salad was meant as a side dish, but I ended up devouring most of it before dinner made it to the table (and spoiling my appetite hah)! Arugula, crisp apple, toasted sliced almonds, and Manchego are tossed with a light cider-maple vinaigrette. It’s simple and so delicious.

Arugula, Apple, and Manchego Salad

INGREDIENTS

Salad:
5 ounces arugula/baby arugula
1 crisp apple (such as Honey-crisp)
3.5 oz. Manchego, thinly sliced or grated
1/2 cup sliced almonds, lightly toasted

Vinaigrette:
1 Tbsp. cider vinegar
3 Tbsp. vegetable oil (I used grape-seed oil)
1 Tbsp. maple syrup
1/2 tsp. Dijon mustard
1/2 Tbsp. finely chopped shallot
~1/8 tsp. salt
~1/8 tsp. freshly ground black pepper

DIRECTIONS

  1. Make the vinaigrette by whisking all of the ingredients together in a small bowl. Set aside.
  2. Place the arugula in a serving bowl. Whisk the vinaigrette again until well combined, then add to the salad, little by little, until the greens are well dressed. Right before serving, cut the apple into thin slices and toss into the salad along with the Manchego and almonds. Taste and adjust seasoning, then serve immediately.

Serves 2-4 (but can be easily doubled, tripled, etc!).

Adapted from Once Upon a Chef

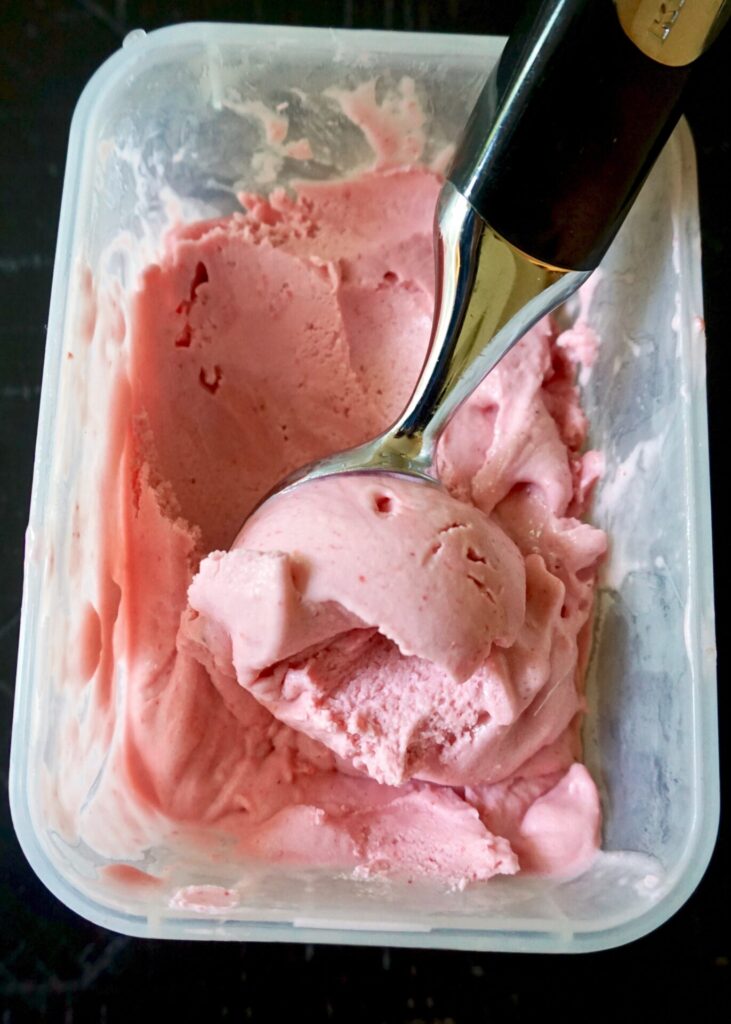
Fresh Strawberry Gelato

June 26, 2020

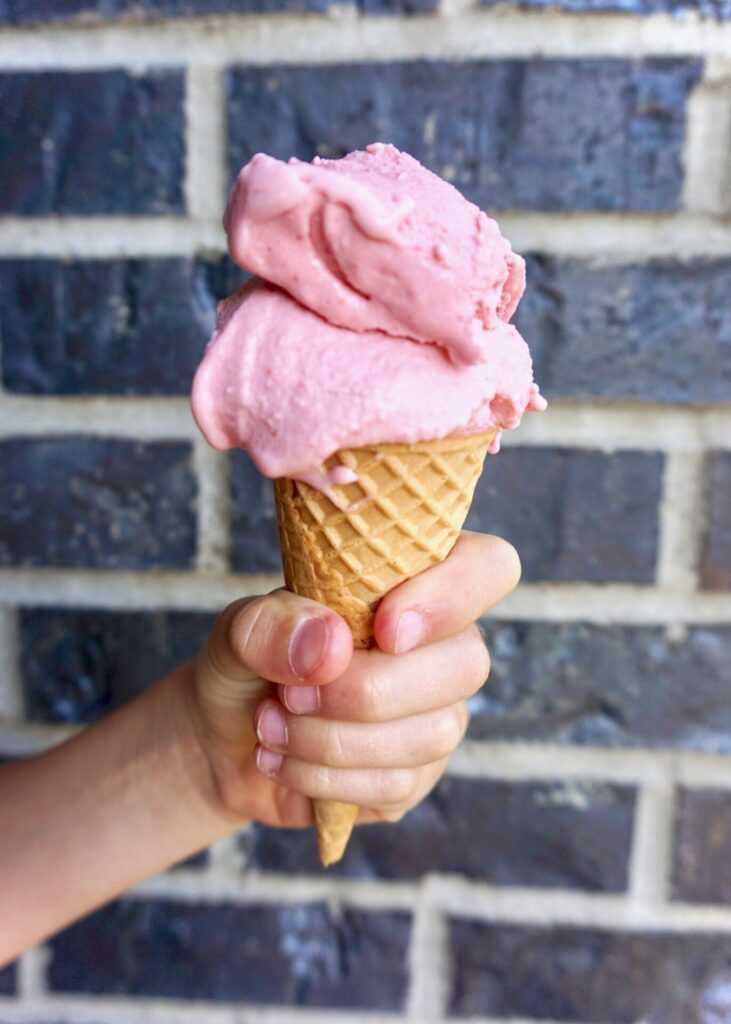
It’s strawberry season here now! The first thing we made with our piles of fresh berries was this strawberry gelato, which has become a summer tradition. I’m not sure what makes this recipe gelato (vs regular ice cream), but I know it’s absolutely delicious. It’s also one of the easier ice cream recipes I’ve made.

Don’t skip the step of straining the strawberries to get all the seeds out, it makes it much creamier/smoother. I’ve used both fresh picked strawberries and ones that we’ve frozen first. Just make sure whatever you use is really ripe for the best flavor.

Fresh Strawberry Gelato

INGREDIENTS

3/4 cup sugar
1 Tbsp. cornstarch
1 cup whole milk
3/4 cup heavy whipping cream
1/2 tsp. pure vanilla extract
2 1/2 cups sliced very ripe, fresh strawberries

DIRECTIONS

  1. In a medium saucepan, whisk together the sugar and cornstarch. Gradually whisk in the milk and whipping cream.
  2. Place the pan over medium heat and cook, whisking constantly, until the mixture begins to bubble and thickens, 5-10 minutes. Remove from the heat and stir in the vanilla.
  3. Pour the mixture into a bowl and cool completely (either by pressing plastic wrap directly on the surface and refrigerating or nesting the bowl in a larger bowl filled with ice and stirring until it is cool to the touch).
  4. Puree the strawberries in a blender until the mixture is very smooth.
  5. Once the gelato base has cooled completely, strain the strawberry mixture through a fine mesh strainer into the creamy mixture. Use a rubber spatula or the back of a large spoon to press the strawberry puree through the strainer so all the pretty strawberry liquid gets strained into the gelato but the seeds are left behind. Stir well.
  6. Cover the gelato by pressing plastic wrap directly on the surface. Refrigerate 3 hours or up 24 hours.
  7. Process the gelato in your ice cream maker following the manufacturer’s instructions. Scrape the ice cream into a container, cover and freeze for at least two hours or longer before serving.

Adapted from Epicurious via Mel’s Kitchen Cafe

Blueberry Dutch Baby (Puff Pancake)

June 5, 2020

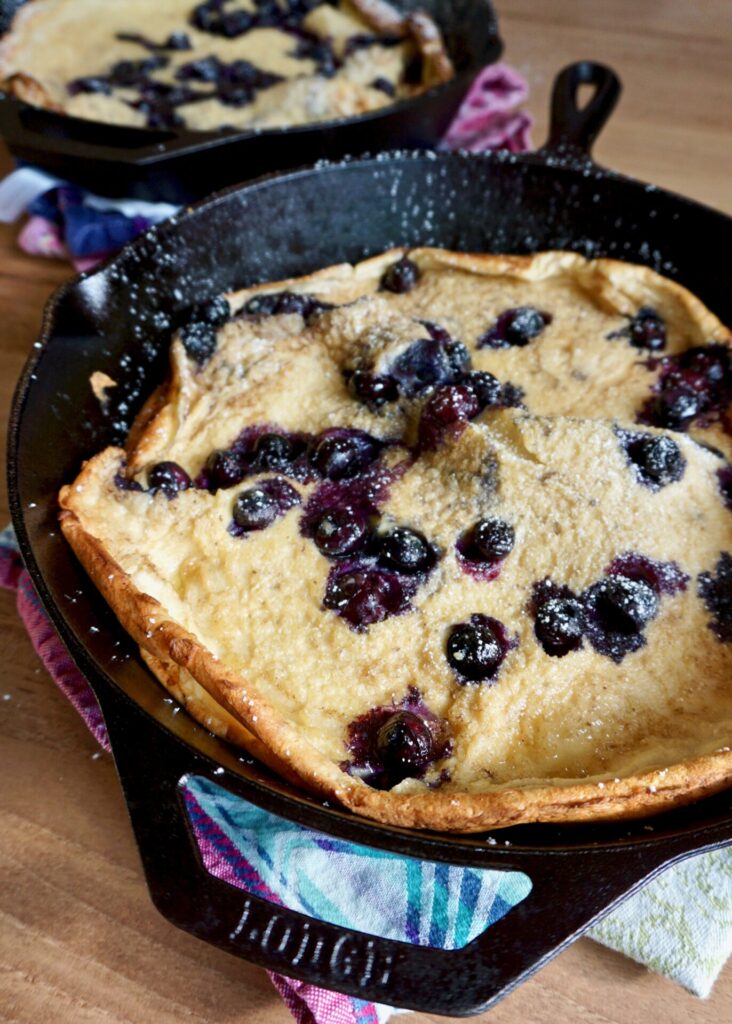
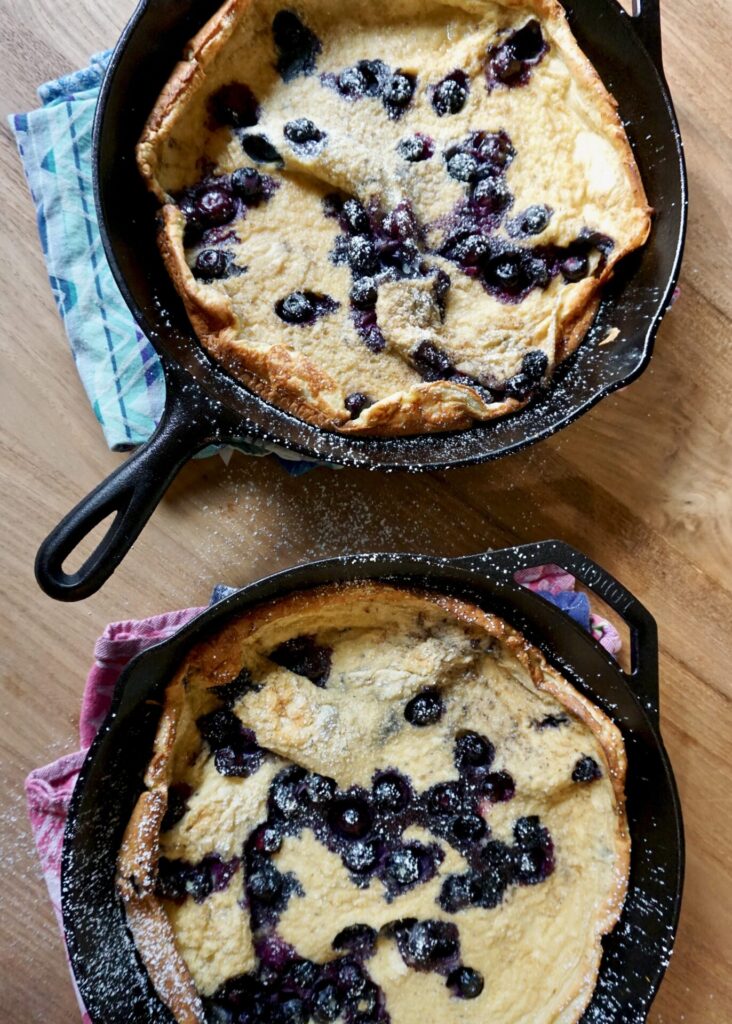
We’ve been making this sweet blueberry Dutch baby on repeat the last few months. Since it’s not blueberry season in Washington yet (it’s coming… and it’s my favorite time of the year here!), I’ve also used frozen blueberries- the tiny wild ones are the best. We usually top our puff pancakes with Ellenos Greek Yogurt. Ellenos is another one of my favorite things about living near Seattle- it’s the most amazing Greek yogurt you’ll ever taste! It’s comes in so many flavors, but vanilla, lemon, Marionberry, and honey are all great choices here. They’ve started selling select flavors at some stores nationwide- hooray!- and when you’re visiting Pike Place Market you must stop and experience it yourself (the crumbles can’t be missed)!

This blueberry dutch baby can also be served with maple syrup, powdered sugar, a squeeze of lemon, fruit, jam, whipped cream, or even ice cream! It’s best made in a cast iron skillet but if you don’t have one, use a 9×13 baking dish (preheat in the oven to melt the butter as directed, being careful to not touch the hot pan as you’re pouring the batter in). The pancake will deflate once it’s removed from the oven but keep its crisp edges and ruffled center.

Blueberry Dutch Baby (Puff Pancake)

INGREDIENTS

3/4 cup whole milk
3 large eggs
2 Tbsp. maple syrup (or light brown sugar)
1 tsp. pure vanilla extract
3/4 cup all-purpose flour
1/4 tsp. salt
3 Tbsp. unsalted butter, sliced
3/4 cup blueberries (I’ve used both fresh blueberries and wild frozen blueberries)
powdered sugar, for dusting (optional)

DIRECTIONS

  1. In a bowl whisk together the whole milk, eggs, maple syrup, and vanilla extract. Add the flour and salt and whisk in until there is no dry flour. Set aside.
  2. Heat the oven to 425 F. Place a 12 inch cast iron skillet in the oven as it heats.
    Add the butter and blueberries to the skillet and put it back in the oven for 1-2 minutes, or until the butter is fully melted. Swirl the skillet to make sure the whole bottom is coated with butter.
  3. Pour the batter into the skillet and give it a stir to distribute the berries.
  4. Bake the Dutch baby for about 15 minutes, until it has puffed, the edges are golden, and the center is set.
  5. Remove from the oven and dust with powdered sugar (optional). Other toppings can include blueberry (or other) jam, whipped cream, lemon juice, Greek yogurt, maple syrup, even ice cream!

Makes 1 large (12 inch round) puff pancake.

Adapted from Just a Little Bit of Bacon