Category Archives: Dessert

Blueberries and Cream Angel Food Cake Trifle

August 28, 2020

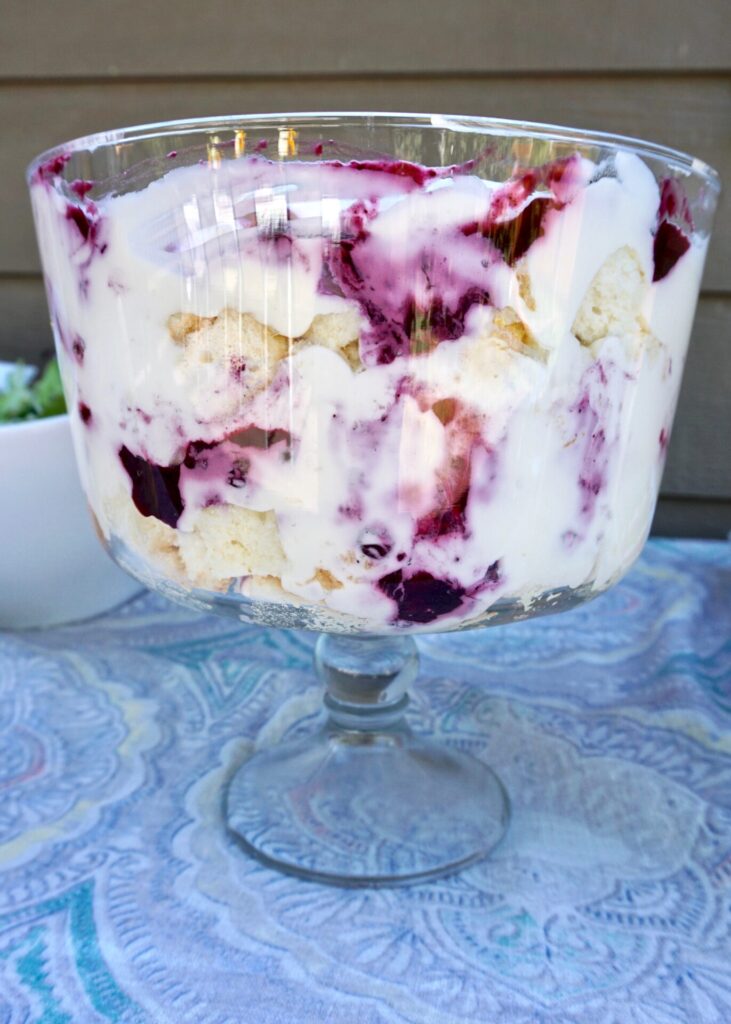
This light yet decadent trifle is the perfect summer dessert… It starts with a base of fluffy angel food cake (store-bought or use this amazingly easy recipe to make your own) which is layered with a cream cheese filling, blueberry sauce, and topped with sweetened whipped cream. I’ve got a freezer full of blueberries we picked this summer and so I used those, but I’ve also purchased the tiny wild frozen blueberries (easy to find at Trader Joes’s or Whole Foods) and especially love it made with those. The trifle dish is pretty, but not necessary. Any large bowl or casserole pan will work as well. Bonus if it’s clear so you can see those beautiful layers of cake, cream, and berries!

Blueberries and Cream Angel Food Cake Trifle

INGREDIENTS

Blueberry Filling:
18 oz. fresh or frozen blueberries (I’ve used both regular and wild blueberries)
3 Tbsp. sugar
2 Tbsp. cornstarch
1/3 cup. cold water
1 Tbsp. freshly squeezed lemon juice

Cream:
16 oz. cream cheese, softened to room temperature
2/3 cup half-and-half
2/3 cup sugar

Whipped Cream:
1 1/2 cups heavy cream
3 Tbsp. powdered sugar

1 angel food cake, cut into 1-inch cubes (store-bought or homemade)

DIRECTIONS

  1. For the blueberry filling, in a medium saucepan, combine the blueberries, sugar, cornstarch, water and lemon juice. Bring the mixture to a simmer and cook until thickened, 5-7 minutes, stirring often. Remove from the heat and let cool to room temperature.
  2. For the cream layer, in a blender or with an electric mixer (handheld or stand mixer), whip together the cream cheese, half-and-half, and sugar until smooth and creamy, 2-3 minutes.
  3. For the whipped cream, beat together the heavy cream and powdered sugar until soft peaks form.
  4. To assemble, in a trifle dish, a large glass bowl or a 9X13-inch (or slightly smaller) dish, spread half of the angel food cake cubes. Top with half of the cream, half of the blueberries, dolloping across the top, and then spread half of the whipped cream on top. Repeat the layers. The layers don’t have to be perfect. It’s going to be a little haphazard and messy.
  5. Cover and refrigerate at least 2 hours or up to 24 hours.

(Adapted from Mel’s Kitchen Cafe)

Blackberry Cobbler

August 21, 2020

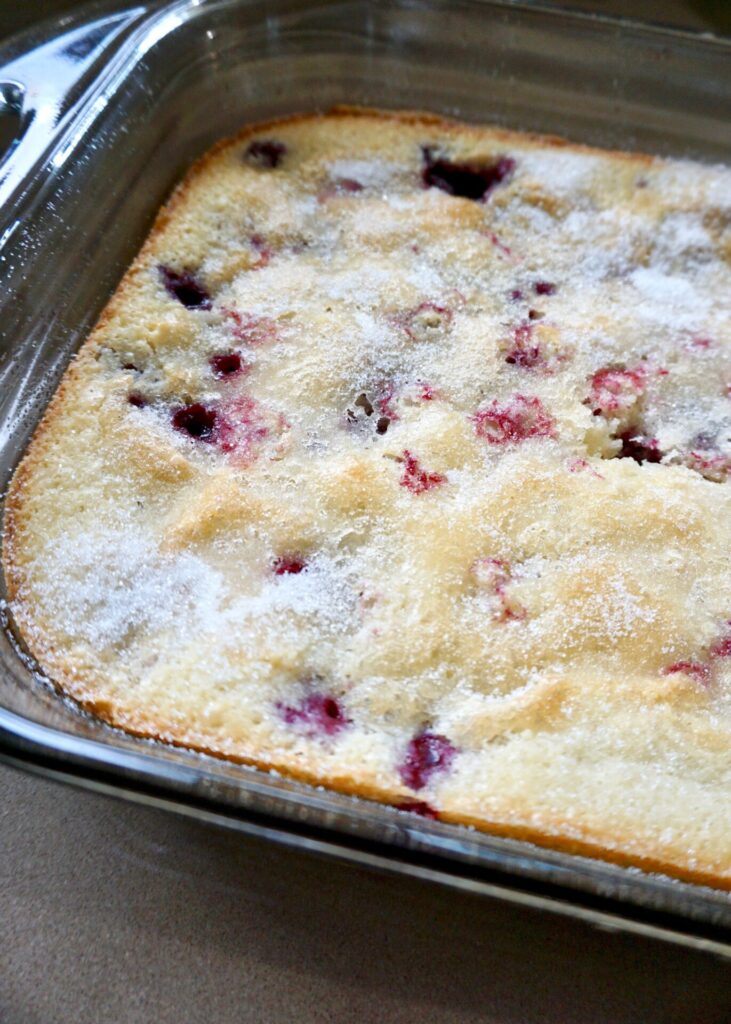
It’s that time of year when we find blackberries growing all over the wild here. My kids love summer walks when we can scavenge for and snack on summer berries. Most of us don’t have to leave our backyards to find a few! This past weekend Dustin’s parents were visiting and we picked up a few box-fulls of berries at the farmers market and so we made cobbler.

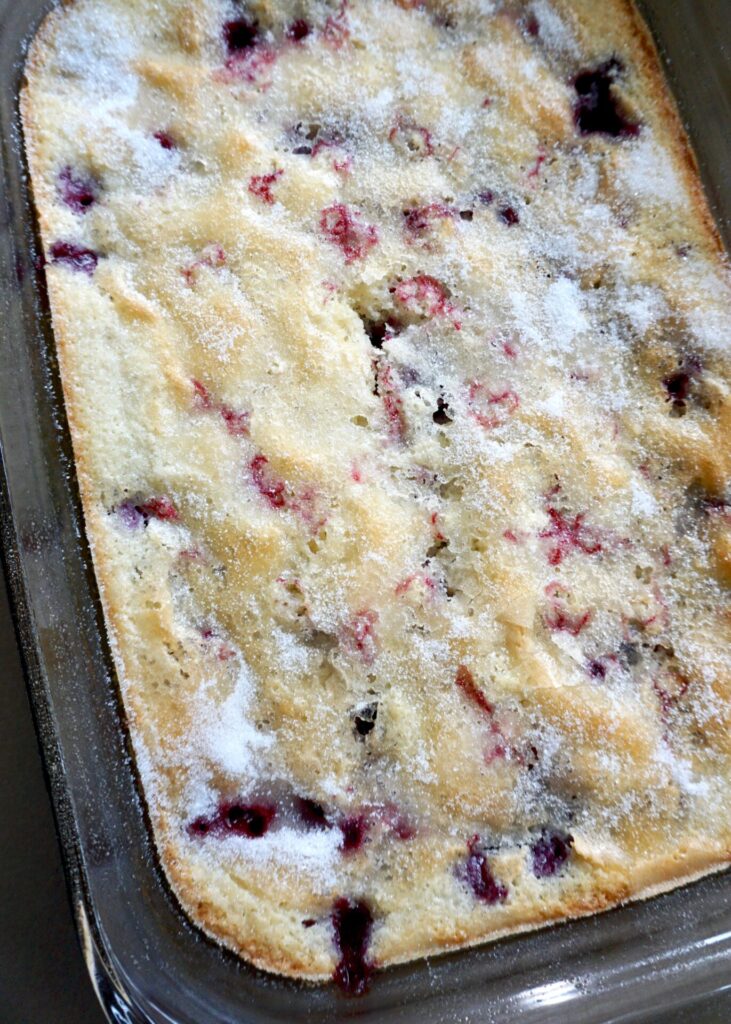
This blackberry cobbler is super simple. You whisk together some melted butter, flour (+ baking powder + salt if like me you’ve never bought self-rising flour in your life!) , sugar, and milk, then pour it in a buttered pan and sprinkle the blackberries on top. Then you dust it with more sugar which will create an irresistible crunchy crust as it bakes. You can add even more sugar to caramelize during the last few minutes in the oven. (I did, because Paula Dean told me to. Though this last bit probably isn’t necessary because there was already A LOT of sugar.) Serve slightly warm with a scoop or vanilla ice cream (or homemade whipped cream)!

Blackberry Cobbler

INGREDIENTS

1/2 stick (1/4 cup) butter, melted + extra for greasing pan
1 1/4 cups + 2 Tbsp. sugar, divided
1 cup self-rising flour (or 1 cup all-purpose flour + 1 1/2 tsp. baking powder + 1/4 tsp. salt)
1 cup whole milk
2 cups fresh (or frozen) blackberries (I added a few extra ~2 1/2 cups total)
whipped cream and/or vanilla ice cream, for serving

DIRECTIONS

  1. Preheat the oven to 350 degrees F. Grease a 3-quart (9×13) baking dish with butter.
  2. In a medium bowl, whisk 1 cup sugar with the flour and milk. Whisk in the melted butter.
  3. Rinse the blackberries and pat them dry. Pour the batter into the baking dish. Sprinkle the blackberries evenly over the top of the batter. Sprinkle 1/4 cup sugar over the blackberries. Bake until golden brown and bubbly, about 1 hour. When 10 minutes of the cooking time remains, sprinkle the remaining 2 tablespoons sugar over the top. Serve warm or at room temperature. Top with whipped cream or ice cream . . . or both!

Makes a 9×13 pan.

Adapted from Food Network

Berries and Cream Ice Cream

August 13, 2020

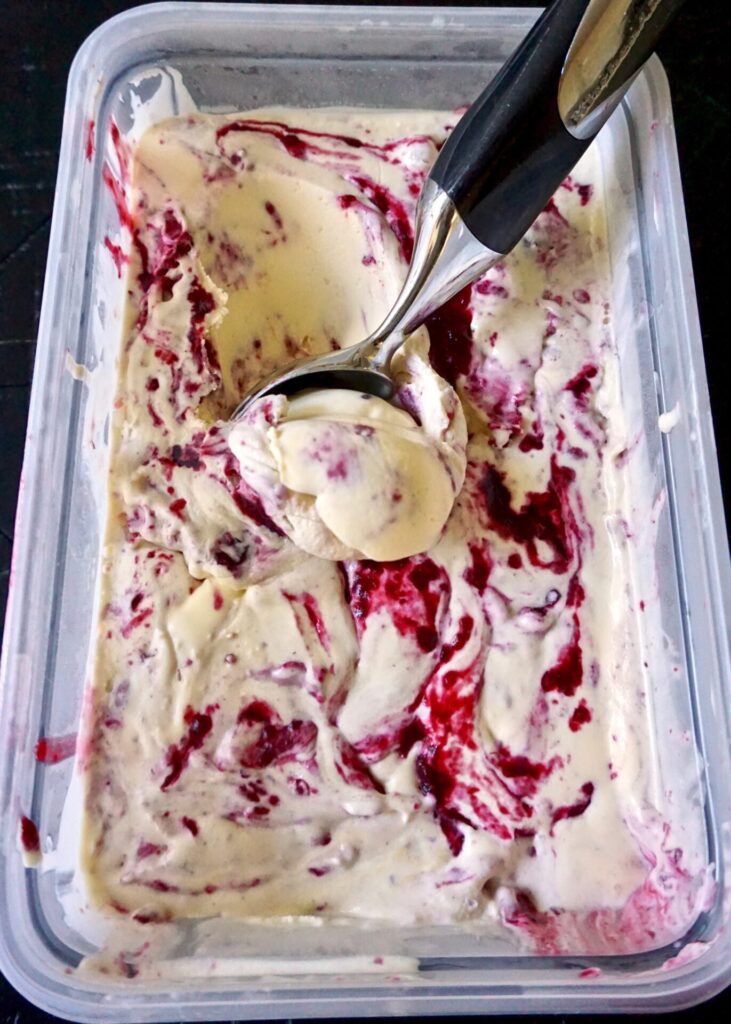
Lots of sunshine, days at the lake, and local berries are the best parts of summer around Seattle. We’ve visited farms and picked our own strawberries, blueberries, and raspberries this season. And we can find blackberries growing wild just about anywhere we walk this month. (Including blackberry vines creeping under/over/through our fence!) When we pick berries I always freeze a few so we can enjoy them year round. This ice cream uses fresh or frozen berries to make a berry sauce that gets swirled in a vanilla custard base for a creamy decadent treat!

Homemade ice cream is not hard. It just takes some time and preparation. First, make sure the bowl of your ice cream maker is frozen. That step is essential. Then you’ll need to prepare the custard base and berry sauce the day, or at least morning ahead so it has time to chill. And after the ice cream is churned it needs another 4 or so hours in the freezer to set. You can eat it straight out of the ice cream machine but it’ll be very soft and melt almost instantly. By all means sneak a taste (or lick the bowl clean like my kids always request to) but I recommend letting it firm up in the freezer before serving so it’s scoop-able.

NOTE: The addition of vanilla or almond extract here is optional. I went with vanilla but almond and berries are a heavenly combination. If you leave the extract out even more of that berry flavor will shine through!

Berries and Cream Ice Cream

INGREDIENTS

2 cups heavy cream
1 cup whole milk (2% also works)
1 1/4 cups sugar
6 egg yolks
1 tsp. vanilla extra OR 1/4 tsp. almond extract (optional)
16 oz. fresh or frozen berries (I used approx. equal parts strawberries, raspberries, blackberries, and blueberries)
1 Tbsp. cornstarch + 1 Tbsp. water
1/2 cup brown sugar
squeeze lemon juice

DIRECTIONS

  1. In a saucepan over medium low heat, combine the heavy cream, milk, and sugar. Stir occasionally, heating the mixture until bubbles form around the edges. Remove from heat.
  2. Meanwhile, whisk 6 egg yolks together in a bowl vigorously until pale yellow. After you have removed the cream mixture from heat, remove a few tablespoons of the hot cream mixture from the pan, and slowly, whisking constantly, pour the hot cream mixture into the eggs. Do not add the eggs straight or they will scramble at the bottom. Once you have added about 3 tablespoons of the hot mixture return the pan with the cream mixture to medium-low heat and slowly whisk in the entire egg mixture. Heat, stirring constantly, until thickened. (You should be able to dip the back of a spoon into the mixture and the cream should coat the back of the spoon. You can test this by dragging your finger through the cream on the back of the spoon and if it leaves a trail you’re done.) Don’t cook hotter than 160 degrees.
  3. Remove from heat and chill in the refrigerator (for several hours or overnight).
    Once the mixture is chilled, freeze according to your ice cream maker’s instructions (a 4-5 quart machine).
  4. To make the berry mixture, add the berries, brown sugar, and a squeeze of lemon juice to a sauce pan and cook on medium low heat until the berries break down slightly. Combine the cornstarch and water in a small bowl and add to the berry mixture. Continue to simmer until the berries thicken to a sauce. Remove from a saucepan to a bowl and refrigerate until completely cool (for several hours or overnight). 
  5. When the ice cream is almost done churning, take a spoonful of berry mixture and drizzle it into the ice cream machine. Repeat with about half of the mixture (you can add as much or as little berry mixture as you want, the remainder can be served alongside or saved for pancakes/waffles/etc!).
  6. Transfer to a freezer-safe container a few scoops at a time, and freeze for at least four hours before serving. 

Adapted from Oh Sweet Basil

Easy 5 Layer Ice Cream Cake

July 31, 2020

I’ve probably mentioned before that Dustin (my husband) has slightly kiddish taste when it comes to dessert. He’ll try any treat I make (unless he spies a raisin), and sometimes often thinks it’s delicious. But he’ll still complain (or at least hint at the fact) that he’d rather it was a chocolate chip cookie or brownie. Frosting better be buttercream. And when it comes to cake, ice cream cake is the superior choice in his opinion.

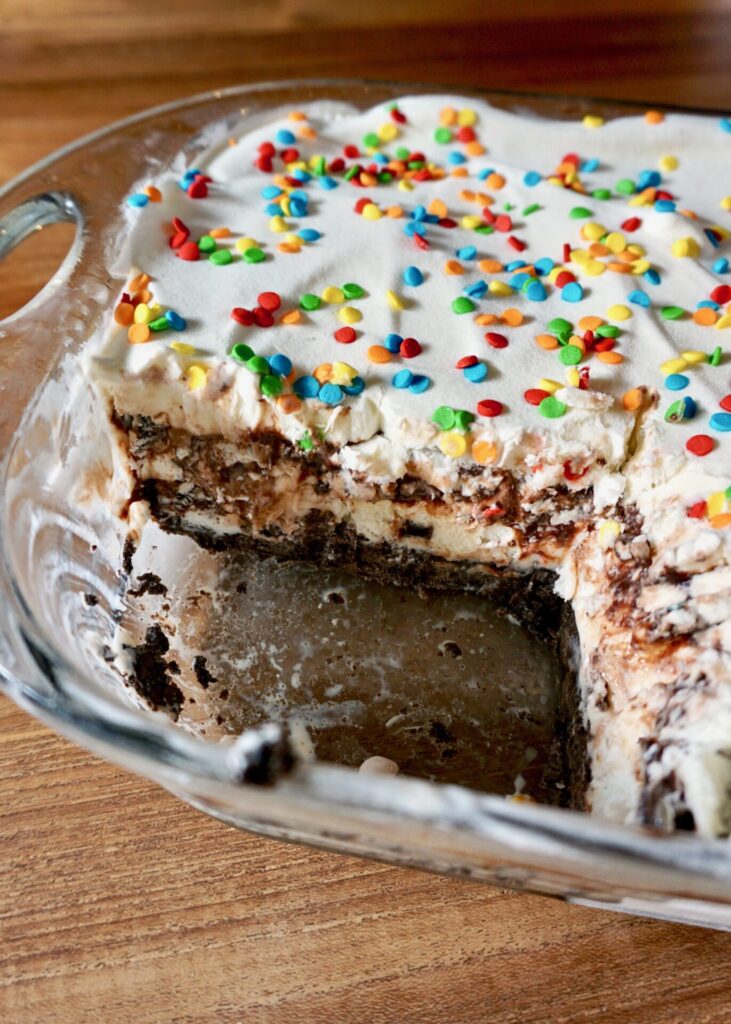
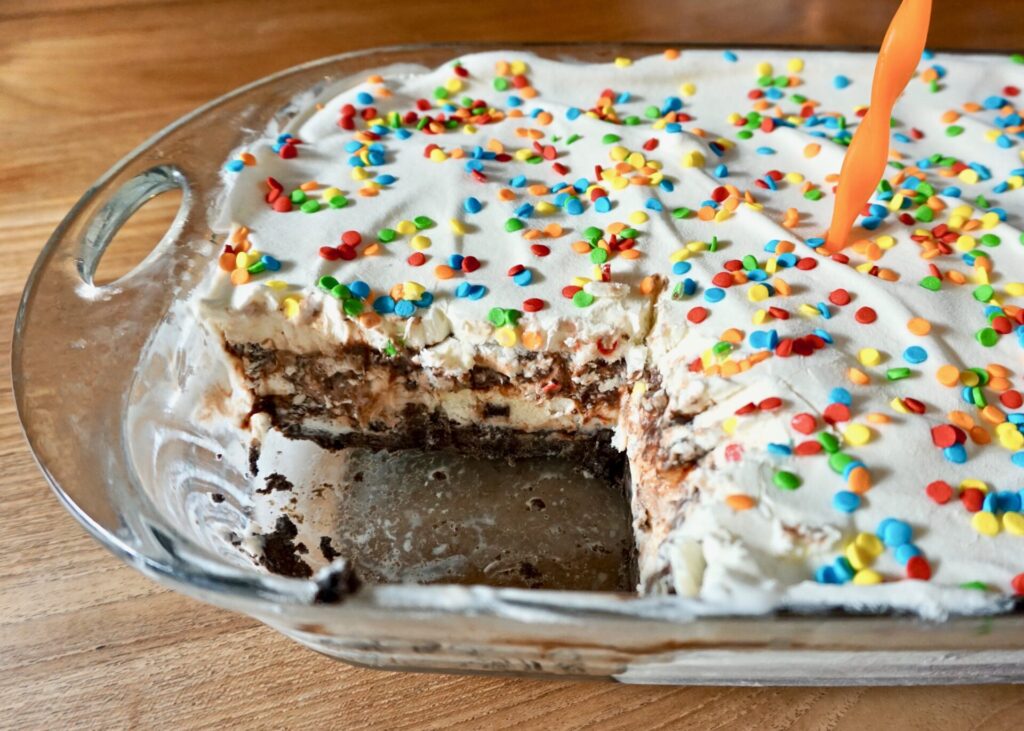
I make a lot of fruit desserts- especially in the summer- because that’s what I love most. But when Dustin’s birthday rolled around earlier this month I had to make something to please just him, and this ice cream cake was perfect! And it’s super easy. No fancy molding of ice cream into cake layers required. It consists of a crushed oreo + butter bottom crust, two layers of ice cream (flavors your choice!), a thick spread of fudge (I went the homemade route with this recipe… yum!), and a whipped cream + sprinkle topping. It does require dirtying quite a few bowls and some time in the freezer between each step but once the cake is assembled it can be stashed away and ready to serve when it’s party time! My husband and kids were super impressed and I have a feeling they’ll be requesting this one for many birthdays to come!

Easy 5 Layer Ice Cream Cake

INGREDIENTS

36 Oreos (1 standard package)
1/2 cup unsalted butter, melted
1 quart* chocolate ice cream, softened (I used chocolate ice cream on half and vanilla ice cream on the other half)
1 quart* your choice flavor ice cream, softened (I used cookie dough ice cream)
1 1/2 cups hot fudge (store-bought or homemade)

Whipped Cream:
1 cup heavy cream
2 Tbsp. powdered sugar
1/2 tsp. pure vanilla extract
sprinkles

DIRECTIONS

  1. Make the crust: In a food processor or blender, pulse the whole Oreos into a fine crumb. Stir the cookie crumbs and melted butter together, then press into a 9×13 pan. (No need to grease the pan prior.) Make sure it is very tightly packed– I use the back of a spatula to firmly press it in. Freeze for 15 minutes.
  2. During that time, place the softened chocolate (and/or vanilla) ice cream in a bowl and give it a good stir to rid any frozen lumps. You want a nice smooth, soft ice cream. Spread it on top of the frozen crust. Freeze for 15-30 minutes. (Closer to 30 minutes is ideal.)
  3. During that time, place the 2nd ice cream flavor into a bowl and stir it until it is smooth and very soft. Carefully spread on top of the chocolate ice cream. Freeze for 15-30 minutes. (Closer to 30 minutes is ideal.)
  4. Make sure the hot fudge is spreadable consistency. You may have to slightly heat it. Spread it on top of the ice cream as best you can. Because it is not as cold as the ice cream layer, the two will slightly mesh together as you spread. That’s ok. Freeze for 15-30 minutes. (Closer to 30 minutes is ideal.)
  5. Make the whipped cream: Using a hand mixer or a stand mixer fitted with a whisk attachment, beat the heavy cream, confectioners’ sugar, and vanilla on medium-high speed until stiff peaks form, about 4-5 minutes. Spread on top of hot fudge layer, then top with sprinkles. Cover with aluminum foil and freeze for at least 12 hours before serving (and up to a few days!).
  6. Use a very sharp knife to cut, making sure you are cutting into the crust. Keep leftovers in the freezer.

*Ice Cream: 1 quart of ice cream is 2/3 of a standard 1.5 quart container. So you’ll use a little more than half of the container for each ice cream layer.

Makes a 9×13 ice cream cake.

Adapted from Sally’s Baking Addiction

Blueberry Pie Crumb Bars

July 17, 2020

Bring on the summer berries! We had plans to pick raspberries with friends yesterday but we had our first cat crisis (she swallowed a nice long string of yarn) resulting in a trip to the emergency vet (she’s doing fine now!) so we didn’t make it to the berry farm. Our sweet friends brought us some fresh-picked raspberries to console us though and they were so so good. Blueberry picking is coming soon and we can’t wait!

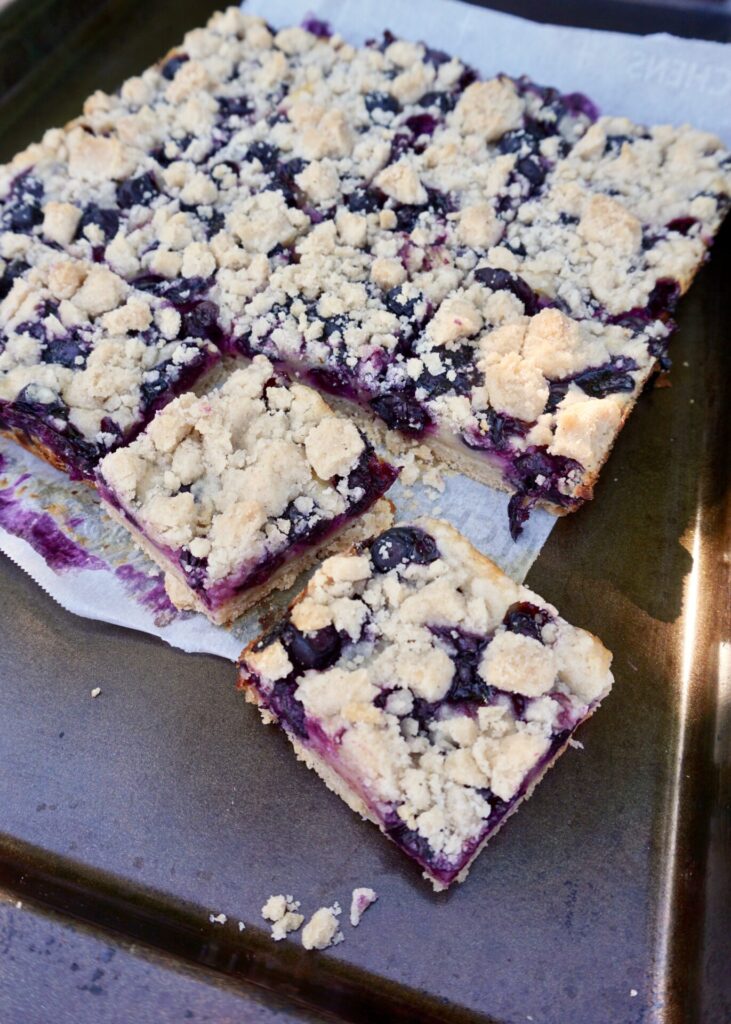
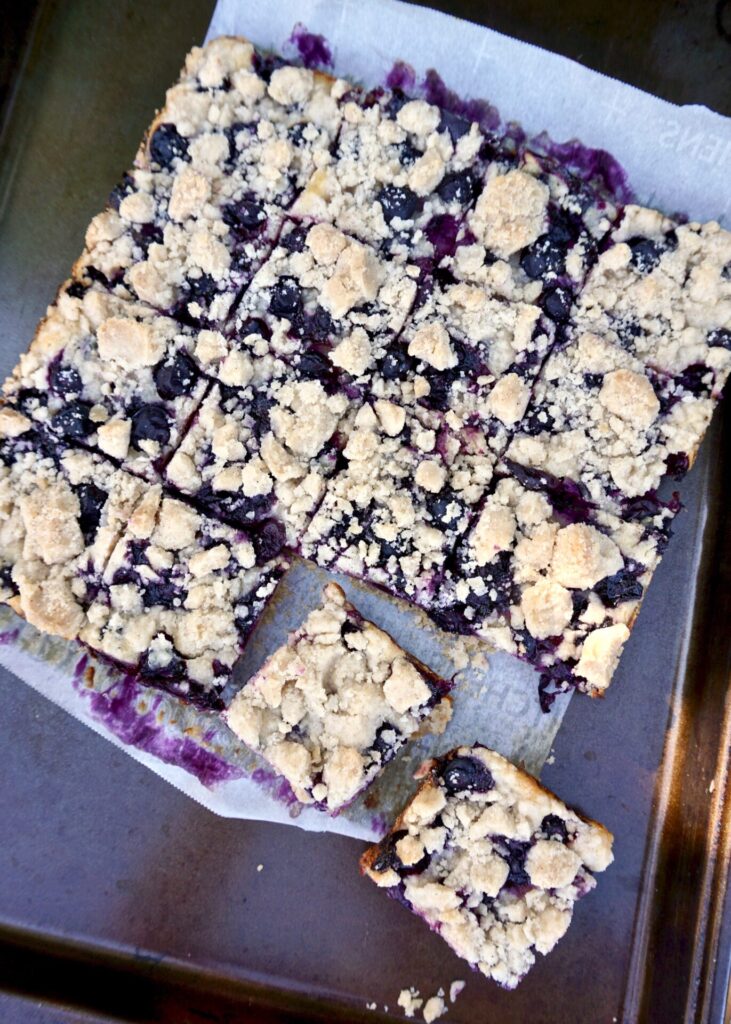
This year I made these blueberry pies bars for the 4th of July. We were in Utah with Dustin’s family and everyone LOVED them. The sour-cream based custard filling is what makes them creamy/tangy/unique. And it takes a lot of self-restraint to not eat all that cookie crumble right off the top! I’ve made them a few times now… even once with frozen berries- don’t bother thawing them, but do add some extra flour and cornstarch so they thicken up. You can double the recipe to fit a 9×13 pan but you’ll have to increase the baking time quite a bit (I would start checking them around an hour in case your oven is extra hot). Let the bars cool before cutting so they can set. I find them most irresistible with a scoop of vanilla ice cream!

Blueberry Pie Crumb Bars

INGREDIENTS

1/2 cup unsalted butter, chilled
3/4 cup sugar
1 1/2 cups all-purpose flour
1/2 tsp. ground cinnamon
Pinch kosher salt

Filling:
1 egg
1/2 heaping cup sour cream
1/3 cup sugar
2 Tbsp. lemon juice
1 Tbsp. all-purpose flour
4 tsp. cornstarch
1/2 tsp. cinnamon. (optional- I only use the cinnamon in the crust)
2 tsp. vanilla extract (or 1 tsp. vanilla extract and 1/4 tsp. almond extract)
2 cups blueberries

DIRECTIONS

  1. Preheat the oven to 350 F. Spray an 8×8-inch baking pan with cooking spray. Line the pan with parchment paper so that it hangs over on two sides. Spray the parchment.
  2. For the crust: In the bowl of a food processor, combine the butter, sugar, flour, cinnamon and salt. Process until the mixture starts to come together and clump, 1 minute. Remove 3/4 cup and reserve; press the remaining crust mixture evenly into the prepared baking pan. Set aside.
  3. For the filling: In a medium bowl, whisk together the egg, sour cream, sugar, lemon juice, flour, cornstarch, vanilla (and almond, if using) extract and cinnamon (if using) until smooth. Mix in 1 cup of the blueberries. Pour the filling mixture over the crust, shaking the pan gently to settle the custard and berries. Pour the remaining 1 cup blueberries over the top, spreading them evenly.
  4. Take the reserved crust and sprinkle it over the top of the berries, squeezing the mixture in your hands to encourage large lumps.
  5. Bake for ~1 hour. Let cool. Remove the bars from the pan and cut into 9 pieces. Refrigerate until ready to serve.

Makes an 8×8 pan of bars. 

Adapted from Food Network