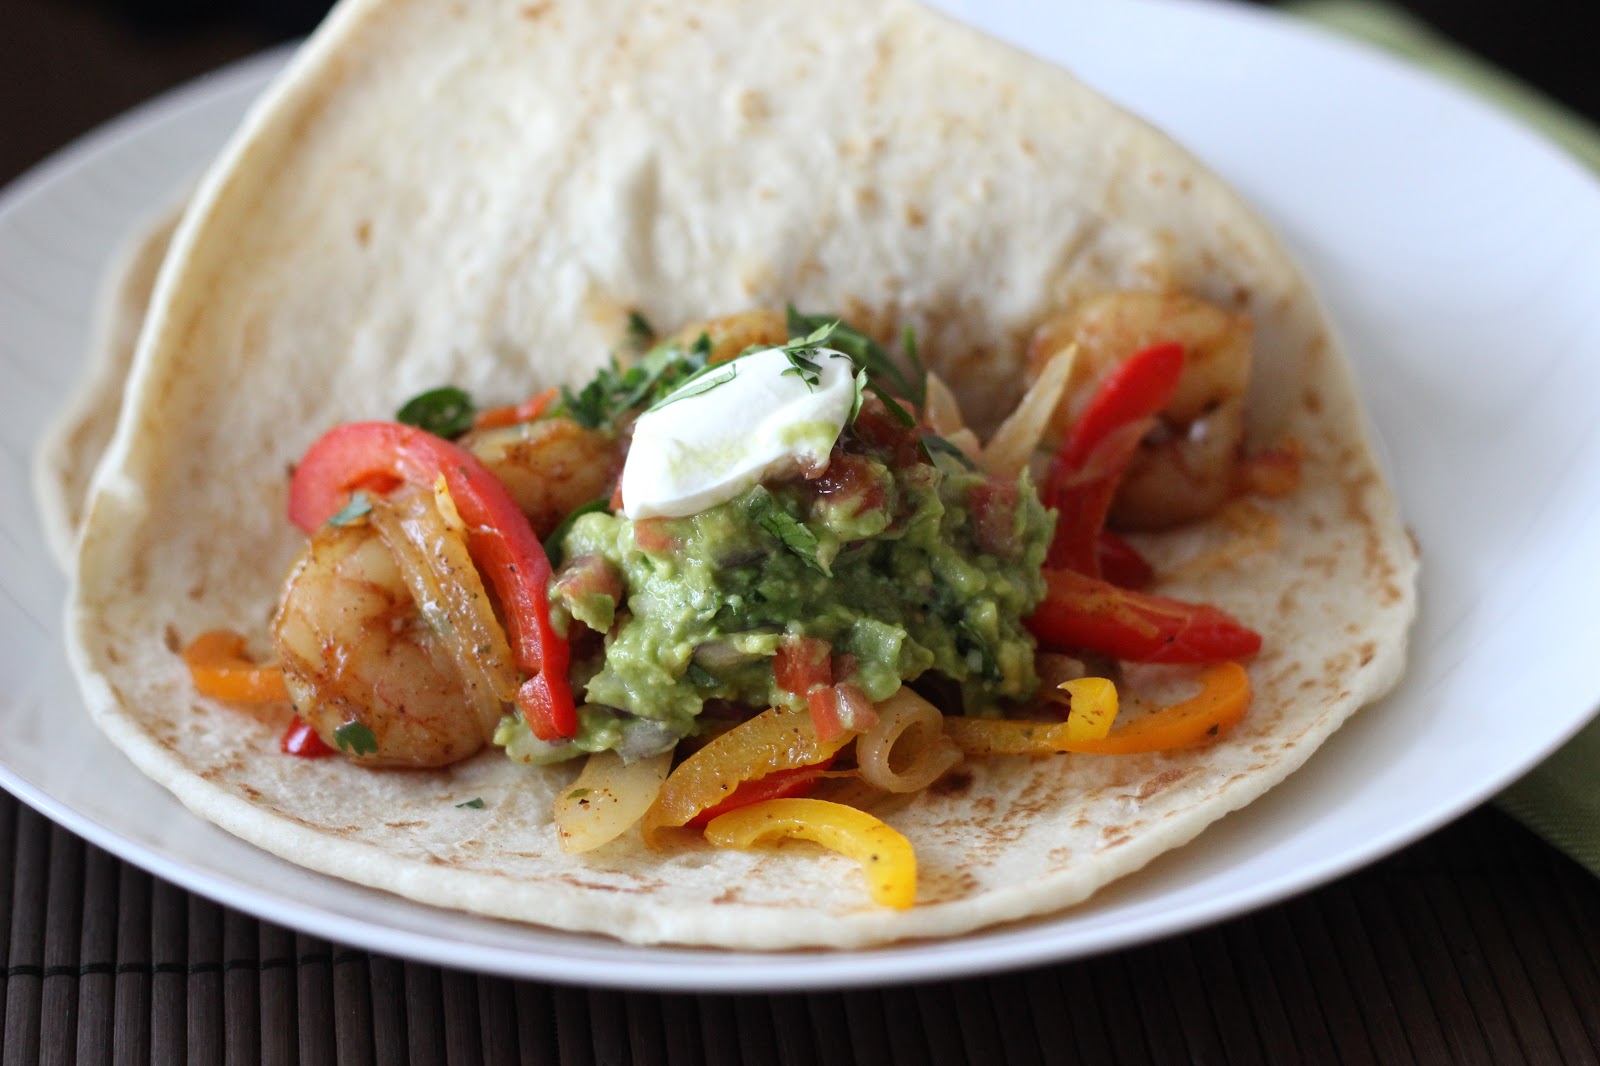
I already had a shrimp fajita recipe in my archives. But it has been replaced. There was nothing wrong with it- it was an excellent recipe. But this one is even better. I’ve made it twice now in the last few weeks. I served it to my parents this weekend when they came to visit and they too thought it was fantastic. And it’s easily adaptable (and just as tasty) if you’re eating dairy-free: just forgo the sour cream.
Shrimp Fajitas
INGREDIENTS
1 1/2 lbs. shrimp, peeled and deveined
1 tsp. ground cumin
1 tsp. garlic powder
1 tsp. freshly ground black pepper
1 tsp. kosher salt
1 tsp. chili powder
1 tsp. light brown sugar
1/4 tsp. dried oregano
2 cloves garlic, minced
2 Tbsp. extra virgin olive oil + extra for sautéing
1 large white onion, sliced into thin wedges
2-3 bell peppers (I used yellow, red, and green), seeded and sliced into thin strips
for serving:
warmed flour tortillas
guacamole or avocado
salsa or pico de gallo
sour cream
cilantro, chopped
lime wedges
DIRECTIONS
1. In a small bowl combine the spices and brown sugar. Set aside 1 Tbsp. of the spice mixture for later. Add the shrimp, garlic, and olive oil and toss to coat.
2. Heat a drizzle of olive oil in a large saute pan over medium-high heat. Add the onion and cook until starting to soften and brown, about 4 minutes. Add the peppers and continue to saute for 3 minutes. Stir in the remaining spice mixture and continue to cook until the onions and peppers are tender, another couple minutes. Transfer to a bowl or plate. Return the skillet to medium-high heat and add the shrimp. Cook, stirring frequently, until the shrimp are cooked through, about 3-4 minutes. Add the vegetables; toss to combine and reheat. Serve with warm flour tortillas and the other optional toppings.
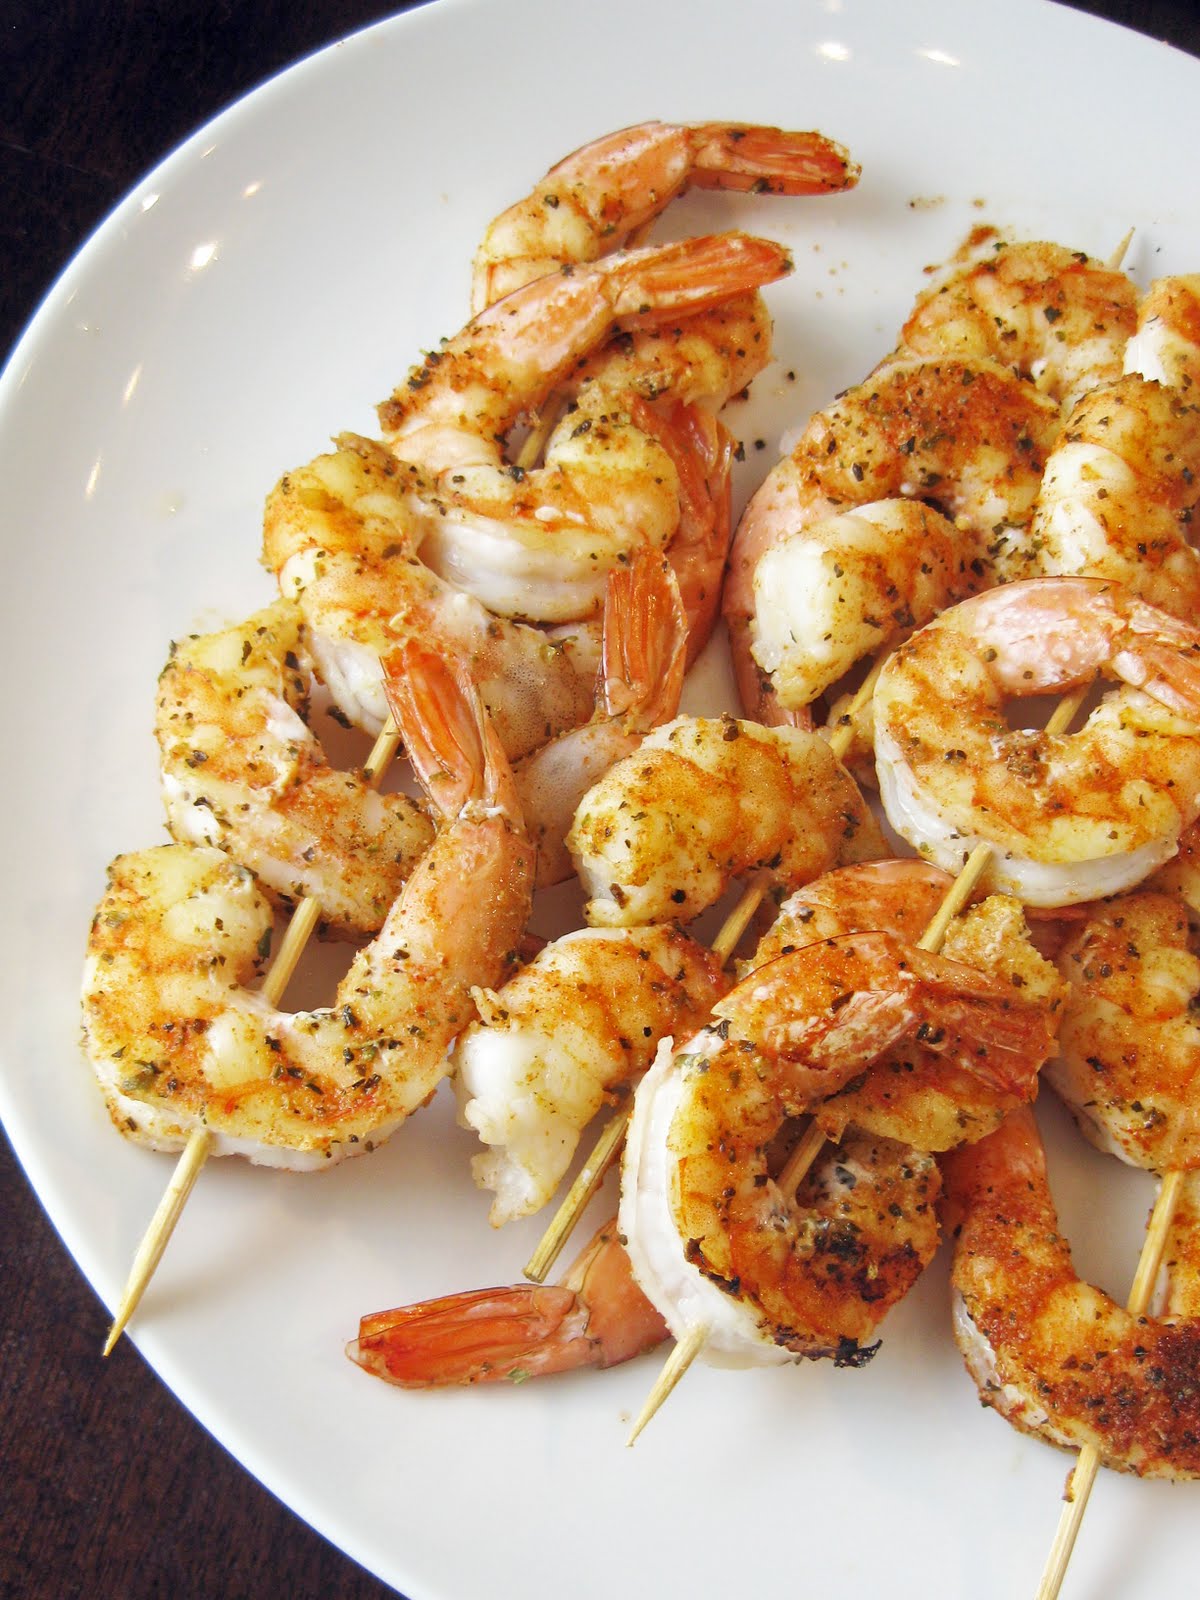
This is a simple and satisfying way I’ve been preparing grilled shrimp for some time now. The truth is I never actually measure the spices. I just throw them together and it always turns out great! Consider this recipe a suggestion. It is the blend of ingredients I prefer, but of course you’re welcome to add or subtract anything to your liking. I’ve made it without the smoked paprika several times and it didn’t ruin the dish (I just prefer it with!). The key to good shrimp is how long you cook them. The minute they curl up and turn opaque they are done. Don’t leave them on the grill a minute longer. If your shrimp are chewy, it is a result of over-cooking them.
Spice-Rubbed Grilled Shrimp
INGREDIENTS
1 lb. raw shrimp, peeled and deveined
extra virgin olive oil
Spice Rub:
1/2 tsp. garlic powder
1/2 tsp. sweet paprika
1/2 tsp. smoked paprika (optional, but I love it!)
1/2 tsp. dried basil
1/2 tsp. dried oregano
1/2 tsp. ground cumin
1/2 tsp. onion powder
salt and freshly ground black pepper
dash cayenne pepper
DIRECTIONS
1. Preheat outdoor grill or indoor grill pan to medium-high heat.
2. To make the spice rub, stir to combine all the ingredients in a small bowl. (Can be stored in an airtight container at room temperature for a long time.)
3. Pat the shrimp dry. Rub spice mixture over both sides of shrimp. Brush the shrimp with olive oil.
4. Grill shrimp several minutes on each side (cooking times will vary depending on the size of your shrimp), until opaque.
I made shrimp fried rice and it worked! I even used brown rice with no difficulty! I owe my success to Jaden of Steamy Kitchen who spares no detail in explaining how to achieve fantastic fried rice. I thought about not even bothering to post the recipe myself, and instead link you directly to her site, but I’ve decided to do both. I made a few slight changes to the ingredients but I followed her directions exactly. If you are considering making this recipe, please follow this link to read her rules for the best fried rice. And then stick to them. Unless, of course, you’re already a pro with a wok, and then I feel embarrassed because I’m such a novice. I’m still elated that I had my rice dancing in the skillet, and the eggs cooked to perfection, and that my husband kept mouthing “this is so good!” in between forkfuls of tender shrimp and rice!
I thought the flavor was very very good. But I was craving a little more kick. Nothing that I presume garlic couldn’t solve. So next time I’ll add a few cloves and see what happens. I just realized I might need to enroll in some sort of garlic addiction recovery program. I can’t make a recipe anymore without throwing some in. It seems wrong not too!
I can’t emphasize enough- strictly adhere to the instructions on the method of cooking. If you do, your fried rice will work like a charm. You’ll masterfully replicate the Chinese takeout favorite. My second piece of advise would be to prep all of your ingredients before you begin. There’s no time to chop and measure once you start frying. In a hot wok, things cook fast, and you’ll become flustered and most likely ruin the recipe. So be ready to go with your ingredients lined up next to your stove. This goes for any form of stir-frying- if you are prepared you have a much better chance of success!
Shrimp Fried Rice
INGREDIENTS
8 oz. small uncooked shrimp
1/4 tsp salt (or 1/2 tsp. kosher salt)
freshly ground black pepper
1/2 tsp. cornstarch
2 Tbsp. canola oil, divided
3 eggs, beaten
2 stalks green onion, thinly sliced
4 cups leftover cooked brown rice, grains separated well (I recommend using day-old par-boiled brown rice, the grains are much less sticky)
3/4 cup frozen peas and carrots, defrosted (I used 1/2 cup frozen peas and about 1/2 cup freshly grated carrot)
1 Tbsp. low-sodium soy sauce + 1 tsp. extra to taste
1 tsp. toasted sesame oil
DIRECTIONS
(direct from Steamy Kitchen)
1. In a bowl, toss the shrimp with the salt, pepper and cornstarch. Let marinate for 10 minutes at room temperature. Heat a wok or large sauté pan on high heat. When the pan is hot enough for a bead of water to instantly sizzle and evaporate, add just 1 tablespoon of the cooking oil and swirl to coat pan.
2. Add the shrimp, quickly spreading out around the cooking surface area so that they are not overlapping. Let fry, untouched for 30 seconds. Flip over and let the other side fry for 30 seconds, or until about 80% cooked through. Remove the shrimp from the pan onto a plate, leaving as much oil in the pan as possible.
3. Turn the heat to medium, let the pan heat up again. Add the eggs, stirring in a quick motion to break up and scramble the eggs. When the eggs are almost cooked through (they should still be slightly runny in the middle), dish out of the pan into the same plate as the cooked shrimp.
4. Use paper towels to wipe the same wok or sauté pan clean and return to high heat with the remaining 1 tablespoon of cooking oil, swirling to coat. When the oil is very hot, add the green onions and fry until fragrant, about 15 seconds. Add in the rice and stir well to mix in the green onions throughout. Spread the rice all around the wok surface area and let the rice heat up, untouched until you hear the bottoms of the grains sizzle, about 1-2 minutes. Use the spatula to toss the rice, again spreading the rice out over the surface of wok.
5. Drizzle the soy sauce all around the rice and toss. Add the peas and carrots, the cooked eggs, shrimp and sesame oil, tossing to mix the rice evenly with all of the ingredients. Let everything heat back up again, until the rice grains are so hot they practically dance! Taste and add an additional 1 teaspoon of soy sauce if needed.
I love this sweet, flaky salmon. It’s a breeze to prepare and flavors are wonderful: earthy cumin and paprika, warm chili powders, and coarse sea salt. It seems like a lot of spice for just two servings, but brushing the fillets with maple syrup calms the heat (and finishes the fish with a beautiful copper glaze.) In the dead of winter (or when you’re too lazy to fire up the grill) you can prepare this dish under the broiler with a similar result.
Maple-Ancho Grilled Salmon
INGREDIENTS
2 6-oz. salmon fillets
1 tsp. paprika
1/2 tsp. chili powder
1/2 tsp. ancho chili powder
1/4. tsp cumin
1/4 tsp. brown sugar
1/2 tsp. sea salt
2 tsp. maple syrup
DIRECTIONS
1. Preheat outdoor grill or indoor grill pan to medium-high.
2. Combine paprika, chili powder, ancho chili powder, cumin, and brown sugar. Sprinkle salmon with salt and then rub with the spice mixture.
3. Coat grill with oil or nonstick cooking spray. Grill the salmon until it flakes easily with a fork, brushing it with maple syrup about a minute before it finishes cooking.


/ 3 COMMENTS / Share